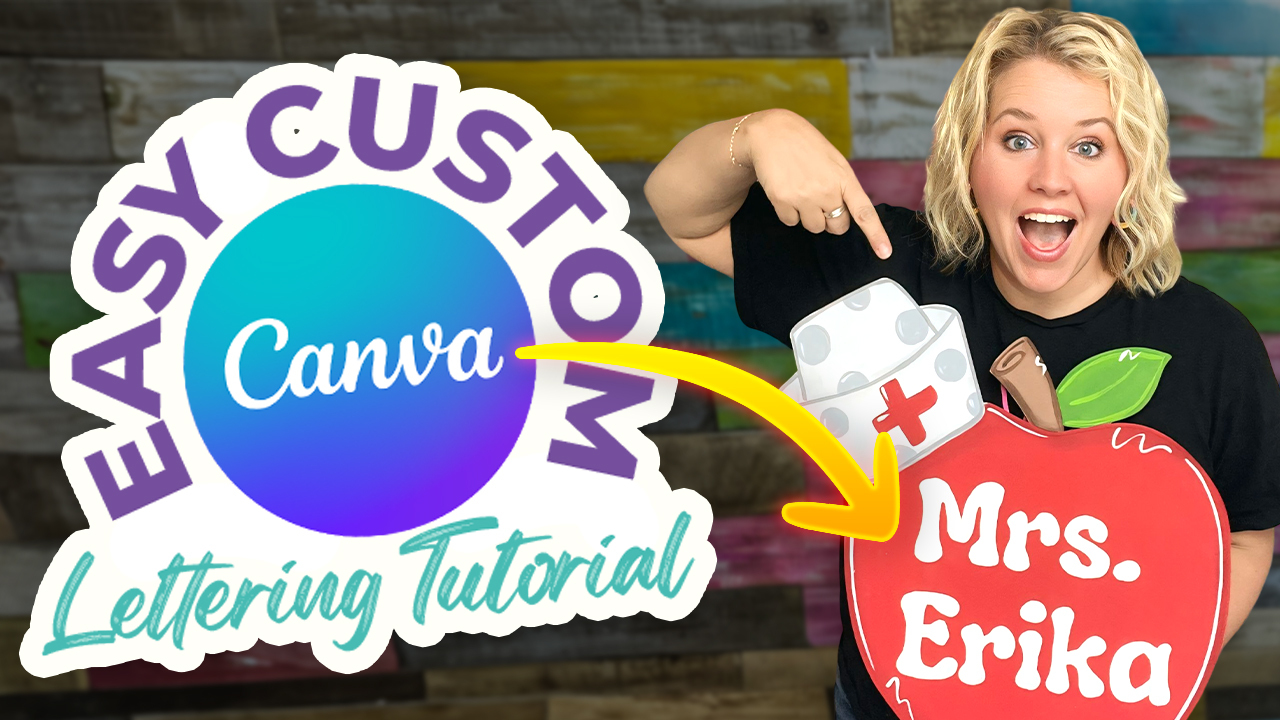
If the thought of hand-lettering your door hanger makes you nervous, you’re not alone! I know it can be intimidating, and you might feel like you have to get it just right. But there’s a trick I’m going to show you here that can help you nail your hand lettering for door hangers, even if you’re a total beginner!
I’m going to show you how I added custom lettering to a cute apple door hanger using Canva. Here’s how I did it step by step!
Watch the video below, or keep scrolling to follow along with the notes.
Lettering with Canva step 1: Finish your door hanger
The first thing you’ll do is take a picture of your completed door hanger. This is to help you visualize how the hand lettering will look once it’s finished. When you have a photo that clearly shows the entire door hanger in the frame, upload it into Canva.
Lettering with Canva Step 2: Set up your Canva document
Next, open a new document in Canva. Create a custom size that will fit your home printer — I recommend using an 8.5 x 11 inch size since it’s compatible with most printers and is usually large enough to cover the area where I hand letter.
Then drag your door hanger photo into your document. Crop the image to fill the page as much as possible so that the lettering will be nice and large when you print it out.
Just make sure you’re not cutting out ANY part of the door hanger! It’s okay if there’s some whitespace — we’ll work on that later!
Lettering with Canva Step 3: Add your text
When you’ve got everything fit on the page nice and snug, it’s time to add text! Click on “Add Heading” and type in the words you want to use.
From there, you can choose the font you want! Canva Pro has THOUSANDS of options, and even the free version has plenty of good choices.
For this project, I used the font “Lucky Bones.”
No matter what color you want your hand lettering to be on your door hanger, you’ll want to change it to gray. That way, when it’s printed, it’s easy to see the outline (and you won’t have to worry about printer ink or color precision. This is JUST for tracing!).
Finally, delete the photo of your door hanger and you’ll be left with just your words.
Lettering with Canva Step 4: Adjust your spacing
Before you print, make sure everything’s spaced out and ready to go. The last thing you want is to print, trace, and realize something’s off!
Using Canva’s grid lines, adjust the spacing and size of the text. For my project, I measured the actual area of my door hanger where the lettering will go. It was 10 inches x 8 inches, so perfectly within the printing size!
From there, I used the grid lines to make the text bigger to fit the exact parameters.
When you’re happy with how everything looks, download the design as a PDF so it will print true to size.
Lettering with Canva Step 5: Transfer your design
Now it’s time to transfer the design to your door hanger. This is the best part! You’ll need:
- Your printed hand lettering design
- Graphite paper
- Ballpoint pen
- Filbert-tipped brush
- The paint color of your choice
- Multi-surface tape
When printed, tape your design down with the multi-surface tape on the top. Place the graphite paper underneath (shiny side down), then, use your ballpoint pen to trace the outline of your lettering onto the wood.
Remember, this is just a guide for when you start painting! If there are a few imperfect lines, that’s totally okay!
Lettering with Canva Step 6: Start painting!
Once your design is traced, it’s time to paint! The type of brush you use depends on the size and style of your lettering. Fine cursive scripts will need smaller, more fine-tipped brushes. Large, chunky text, like the one I’m using here, will need a bigger brush.
Once the first coat is done, use a hair dryer to speed up the drying process. Then, add a second coat to make the color more vibrant.
A few brush tips
If you get into the painting and feel like the brush you’re using isn’t quite right, it’s okay to switch! If you find you’re making too many strokes, your brush may be too small. If you can’t control the lines, the brush might be too big.
Lettering with Canva Step 7: Seal and finish
After your paint is completely dry, you can seal your door hanger if you’d like! This will protect your work and give it a polished look.
And there you have it! Adding custom lettering to your door hanger is easy with Canva. Freehanding hand lettering can be tough, but this will help you get the perfect wording on your door hangers faster and much easier.
However, if free handing is something you want to work your way up to, this is a great way to practice!
Learn more fun door hanger tips at SA Live!
Couldn’t make it to SA Live this year? Virtual tickets are on sale NOW!

From now until November 8th, grab your ticket and get access to our SA Live Facebook group, where you can watch the live streams of each event! We’ll be working on all kinds of fun projects, where you’ll learn all of my best door hanger tips — plus some special crafting projects from our guest artists!


0 Comments