
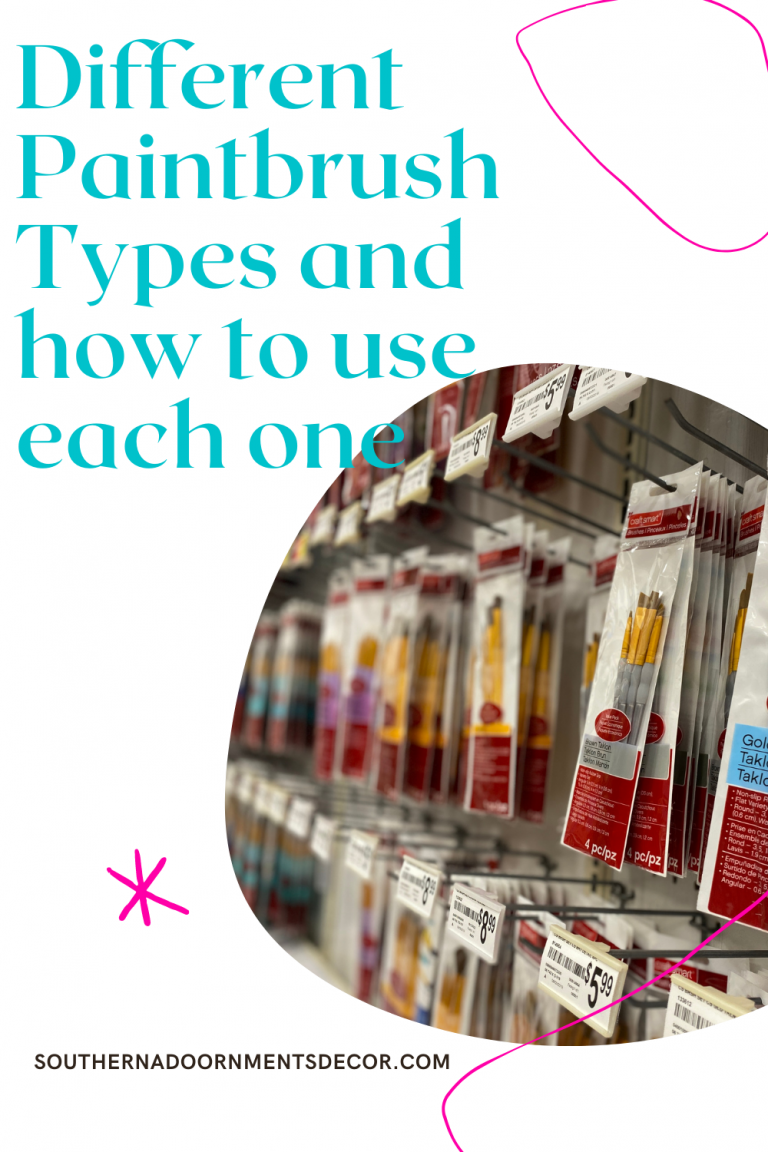
Paint brushes come in a variety of shapes and sizes. Some paint brushes are for hand lettering, some are great when painting a background, and others are better when painting intricate details. How do you know which type to use though! Today we’re going to go through a wide variety of paint brushes in detail so that you know the different brush types and what each type is used for.
Different Brush Types You’ll Learn About:
1. Wash Brush
2. Angular Brush
3. Round Tip Brush
4. Filbert Tip Brush
5. Oval Wash Brush
6. Liner Brush
7. Flat Brush
8. Fan Brush
Note: Affiliate links included within this post for your convenience. As an Amazon Associate, I earn from qualifying purchases.
Wash Brush
A wash brush is a large flat brush that is often used to paint background colors. If you watch my Facebook live videos, I often just refer to this brush as a larger flat tip brush. This is one of my favorite brushes to use because it allows me to cover a lot of space on a door hanger.

Angular Brush
An angular brush is great for painting in the edges of small pieces or around decorative shapes like flowers. I like to use it when I’m painting to get in little corners.
An angular brush is also nice when I am shading or blending colors. I often add two colors to the brush to achieve the perfect shading on a door hanger. You might’ve seen me do this in the Facebook live video of the bunny with the carrot.
Fun Fact: Did you know that the point of the angular brush is called the toe and the higher side is called the heel?
Round Tip Brush
While round tip brushes are great for creating lines and accents, I personally love to use round tip brushes for script lettering. I typically use a size 2 round tip brush when lettering a script font. This is because it’s easier to get thin lines and more delicate looking letters. To get a thicker line, you simply would need to apply more pressure.
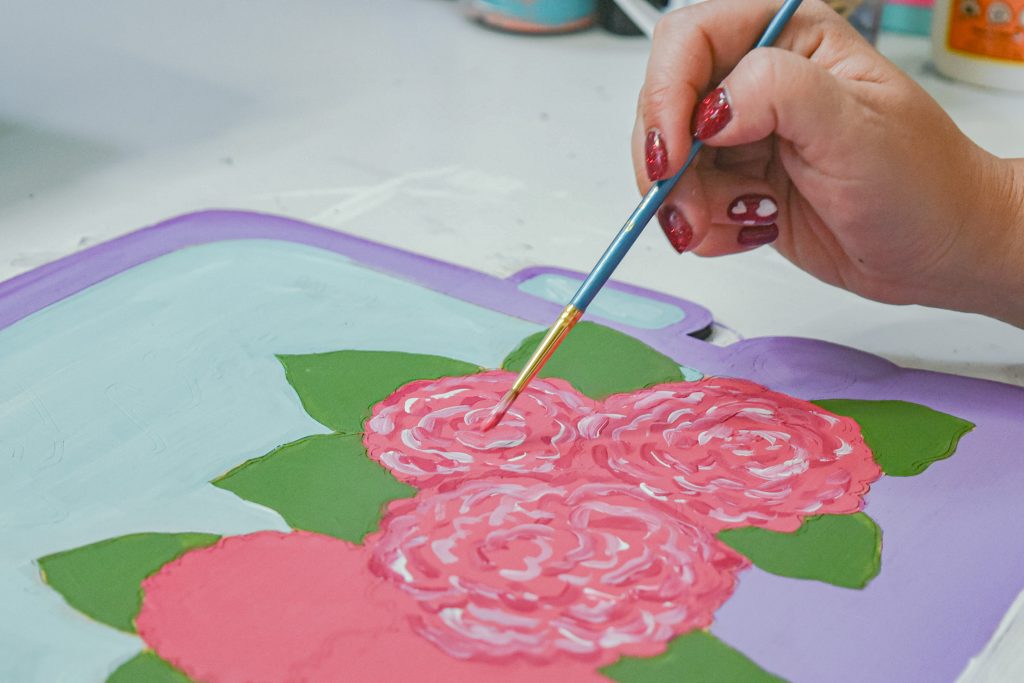
Small round tip brushes are also great for adding details to florals like I’m doing with these hydrangeas below.
Filbert Tip Brush
A filbert tip brush is very similar to a flat tip brush, except the corners are more rounded. Filbert tip brushes are great for lettering on your door hanger. They also are helpful in providing small dots and painting with precision.
Oval Wash Brush
While the oval wash brush is similar to the wash brush, the tip is more rounded. Just like the wash brush, though it is great for filling in large spaces or backgrounds. Its roundness makes it ideal for applying a smooth background.
Liner Brush
A liner brush is a very tiny pointed brush that is perfect for intricate details. The thinness of this brush can create a thin line and gives it the ability to add details that wouldn’t be possible with other brushes.
Flat Brush
A flat brush, is great for precision and applying color in small areas. If you have a smaller element on a door hanger that requires a lot of paint color, a flat brush is a great option. It’s great for painting lines or stripes on your wood.
Fan Brush
A fan brush is a great way to paint textures or even special effects. The bristles of the brush can provide a texture that’s very similar to that of a tree or foliage. While I don’t use this brush often, it’s a great option to have around Christmas with all the greenery that you might paint.
Don’t let yourself get overwhelmed by the different brushes. Most of the time you’ll see me reach for a wash brush (larger flat tip brush), round tip, angular, or a filbert tip. Having different brush types is always nice, but you don’t need each kind of brush to paint a really nice door hanger!
Related Resources
- Check out my blog post on choosing paint brushes
- Shop Paint Brushes in my shop.
- Check out my blog post on which paint brushes to use for different types of hand lettering.
- Read my blog post on how to care for your paint brushes

0 Comments