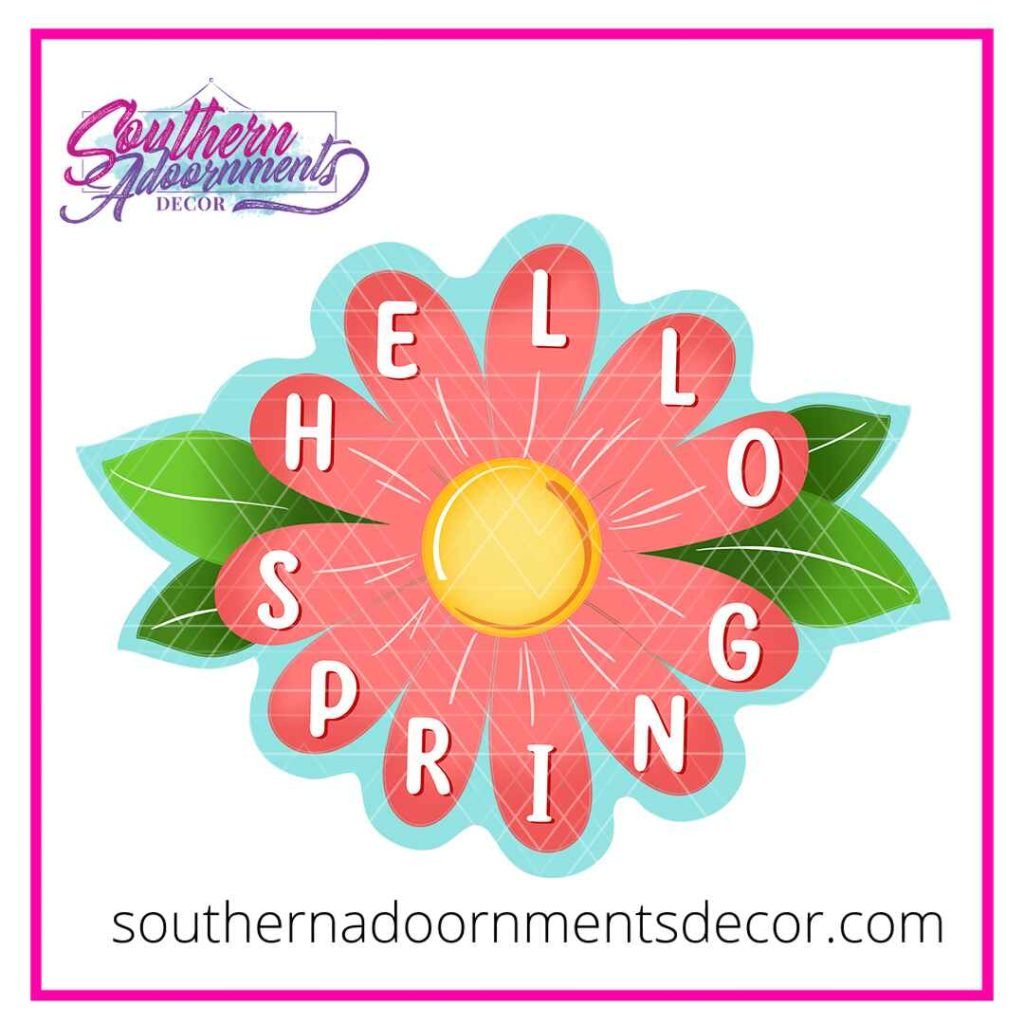
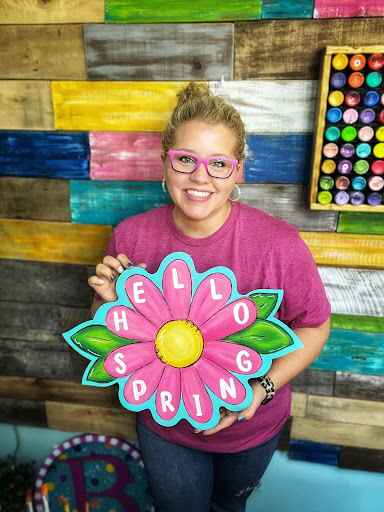
Spring has sprung, and with it, some beautiful flowers! So of course, I had to create an adorable door hanger to match — and I want to share it with you, too.
Check out this FREE spring flower door hanger tutorial below!
Rather read the notes? This post has them all, step-by-step!
Spring Flower Door Hanger Tutorial Timestamps
If you’re following along with the video, see the time stamps below:
- Painting the base coat: 3:18
- Painting the second coat: 31:12
- Painting the letters: 39:02
- Painting the second coat for the letters: 45:00
- Painting the details: 48:23
These are also helpful if you’re following along with the written tutorial in this post. You can come back and reference the video any time you need a visual example.
Now then, let’s get started!
Step #1: Print out your template and cut your wood blank
You can purchase the spring flower door hanger template here. Use it to guide you through cutting your wood blank. Heads up — you’ll need a jigsaw and sander to complete this portion of the project.
New to cutting wood blanks before? Check out my tutorial here!!
Don’t want to cut your own wood blank? No worries — take an intermission and pop over here to purchase yours!
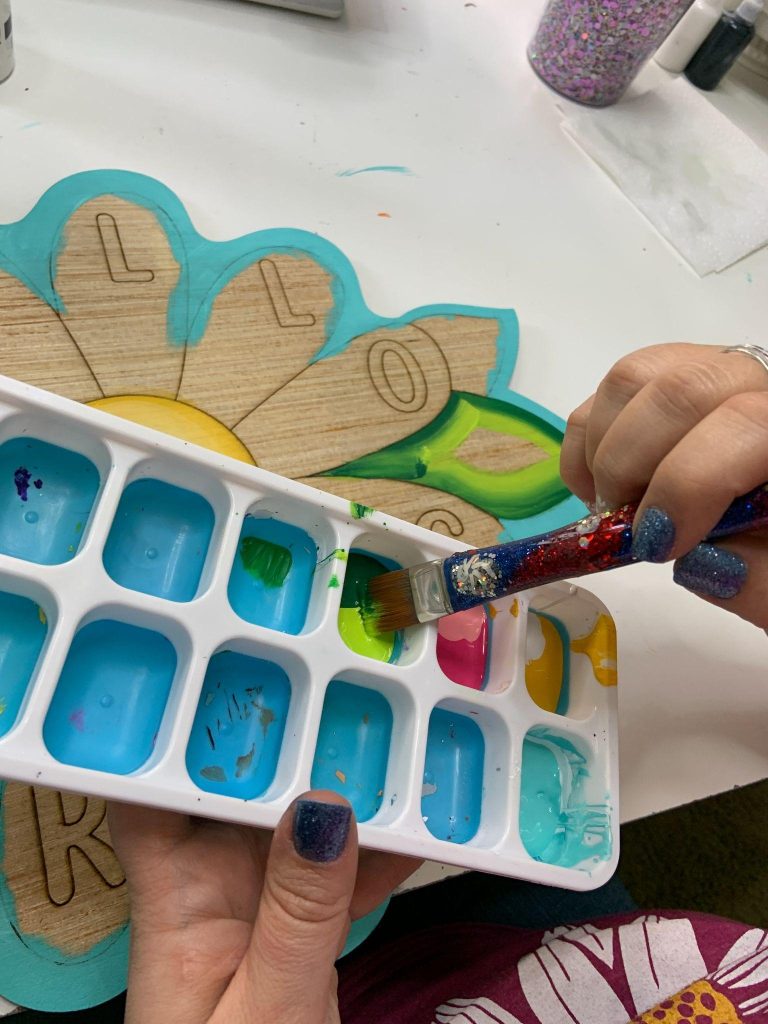
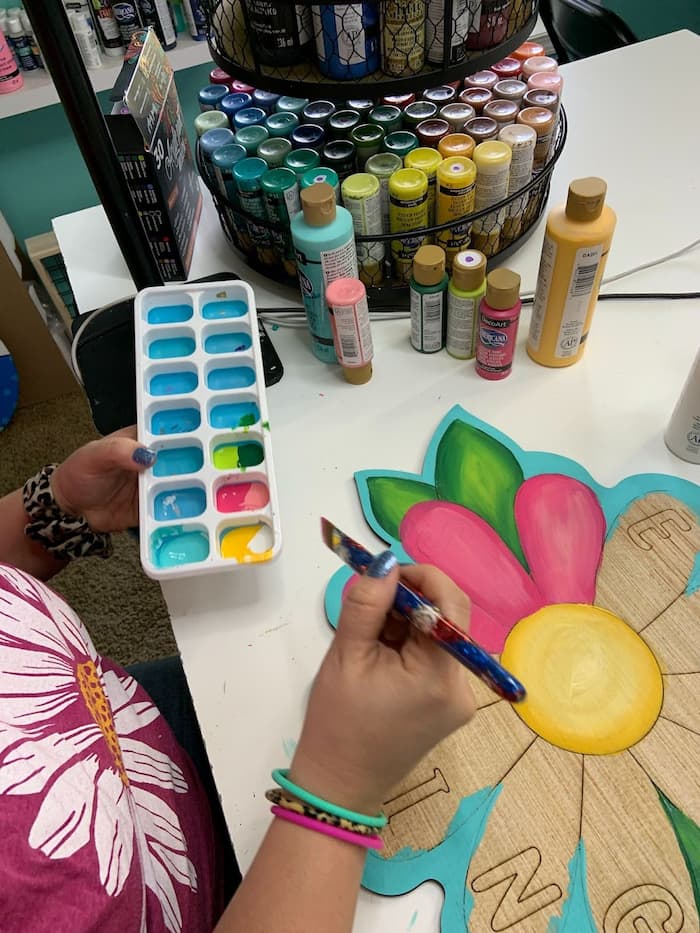
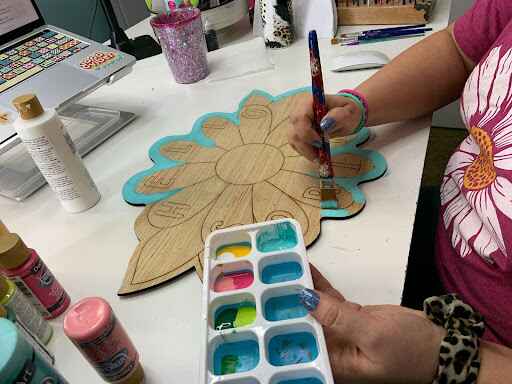
Step #2: Grab your paints and start your base coat
You can use the door hanger template to see what colors I chose for this project, but feel free to pick whichever colors you want! (However, I do recommend DecoArt acrylic paint for best results!)
Once you’ve got them all, you can begin the base coat. Follow along the lines you created on your wood blank — either by tracing or with etching via a laser cutting machine — painting each section one at a time.
Did you order a pre-made wood blank? Follow along with the etched lines, going section by section.
P.S. Don’t worry about painting around the etched letters. The lines will show through your base coat, so when it’s time to paint them, you will still be able to see them clearly!
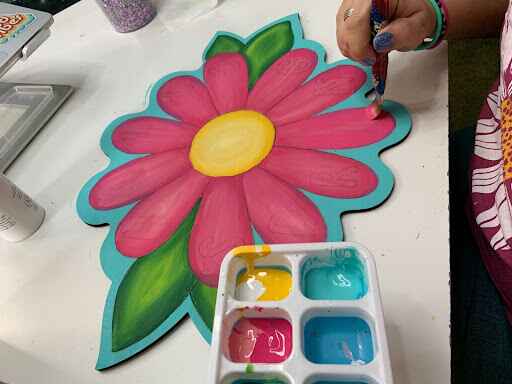
Step #3: Paint the second coat
It’s important that you wait until the base coat of each section is fully dry before moving on. If you want to speed up the process, you can always use a blow dryer!
Once it’s dry, cover everything with another coat to make sure the colors really pop!
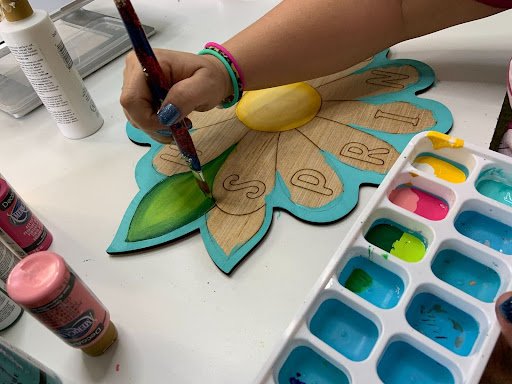
Step #4: Paint your letters
Following the etch OR sketch marks, paint each letter one by one, using a filbert flat tip brush.
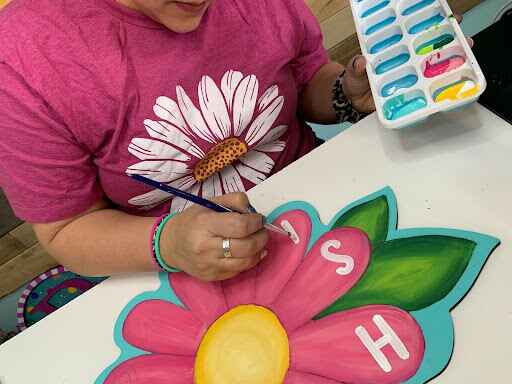
Wait for them to dry, then paint over each one once more.
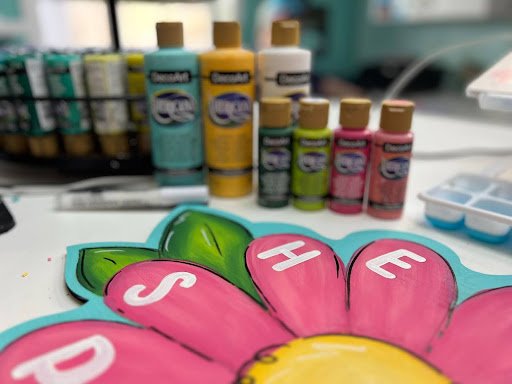
Step #5: Paint the details
Once the second coat on your letters has dried, pull out your favorite paint pen and get started on the details!
In this spring flower door hanger tutorial, I paint details around the middle of the flower, around the petals, and on the leaves with a black paint pen first. Then, I add a few small touches with a white paint pen.
Want another door hanger tutorial?
Taa-daa! There you have it — that’s how you paint a spring flower door hanger! Be sure to share your final product with me over on Instagram or Facebook. I would love to see how it turned out!
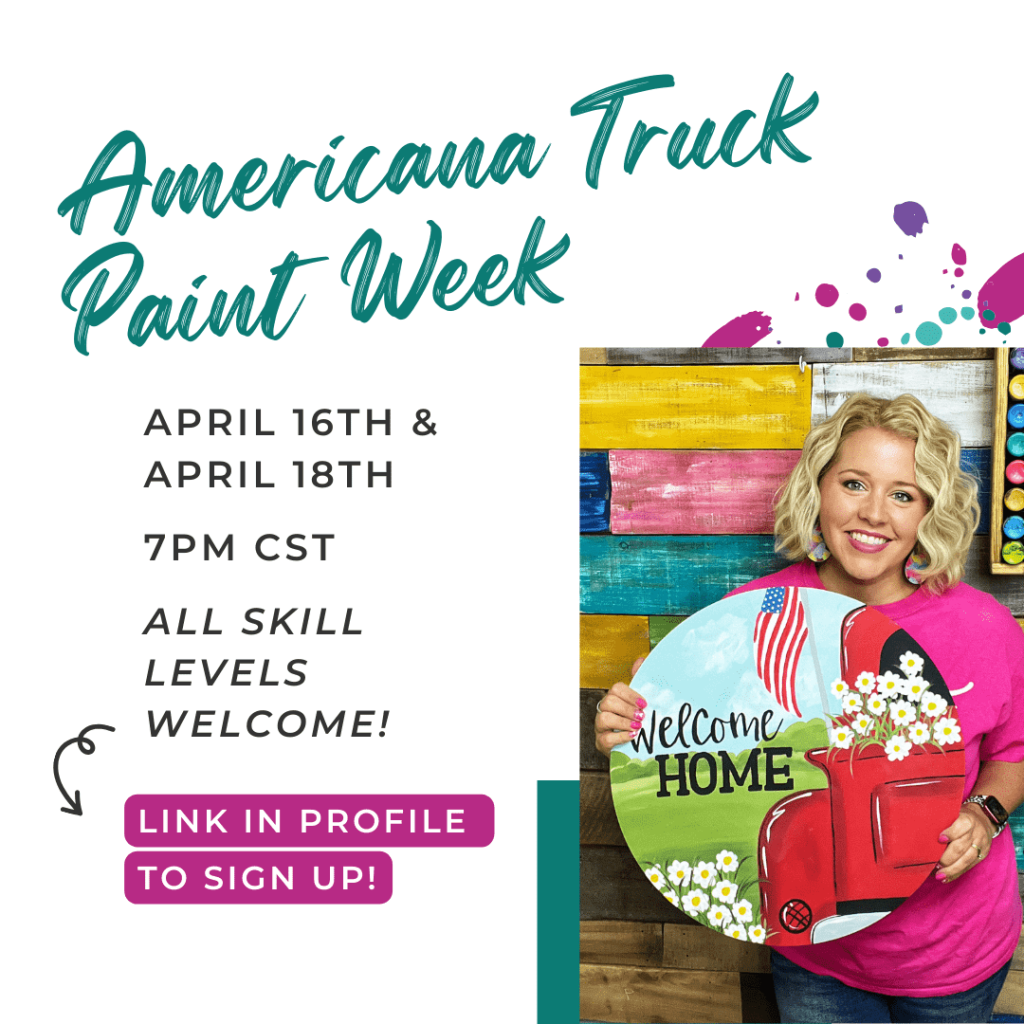
Want more door hanger fun? Join me for an upcoming door hanger workshop April 16th – April 18th! We’ll be painting an Americana truck, with two nights of tutorials, ideal for all levels of painters. If you want to join, make sure you sign up ASAP — we get started tonight!
Disclaimer: Southern Adoornments Decor is collaborating with Art Rave Studios© on this design & therefore, it may not be taught in paint parties unless a license is purchase through Art Rave Studios.

0 Comments