You can never have too many craft supplies, right? And listen, I’m the last person to judge for a Hobby Lobby trip that results in one too many paint brushes. In fact, if my friends aren’t sure what I’m up to…they say, “Oh, she’s probably at another craft store run!”
Trust me when I say I know it’s hard to resist a good craft supply haul!
But while your heart can never have too many craft supplies…your craft room sure can!
Before you feel like you have to do a massive declutter and get rid of all your favorite paints and ribbons though, read this blog. I’m showing you five different ways you can organize your craft room so you never feel overwhelmed with clutter — and can continue to craft with ease!
Craft room organization: Setup shelves for your paints
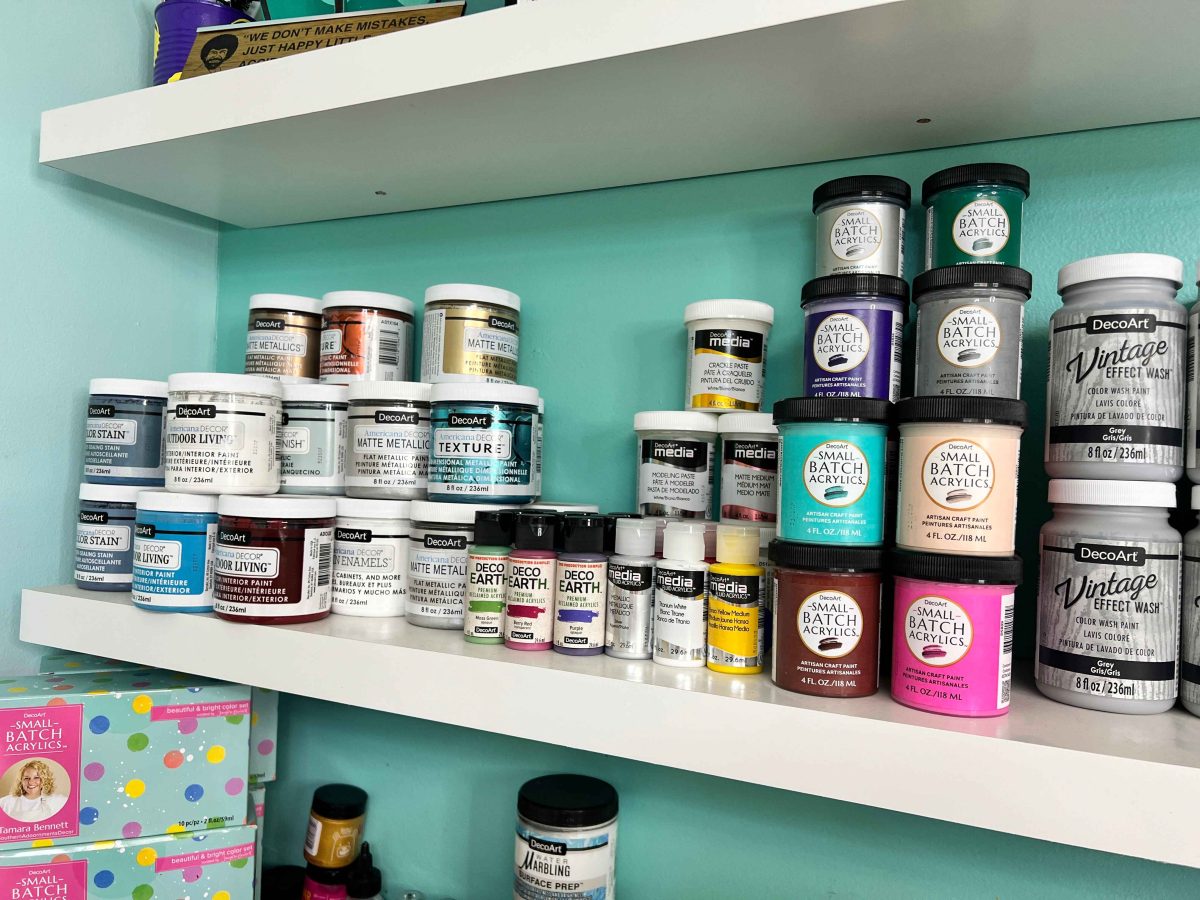
Feel like you have too many bottles of paint and no place to put them? These paint cubes can help! They’re basically small, square shelves you can easily hang on your wall — no complicated hanging required.

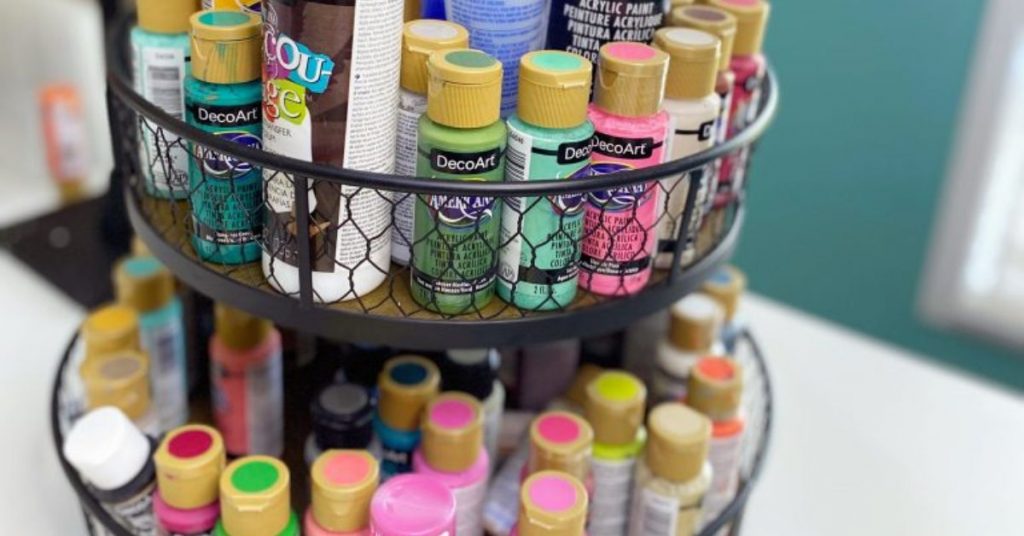
You can also keep your paints organized with a cute tiered tray to sit on your desk or shelves, if you have them!
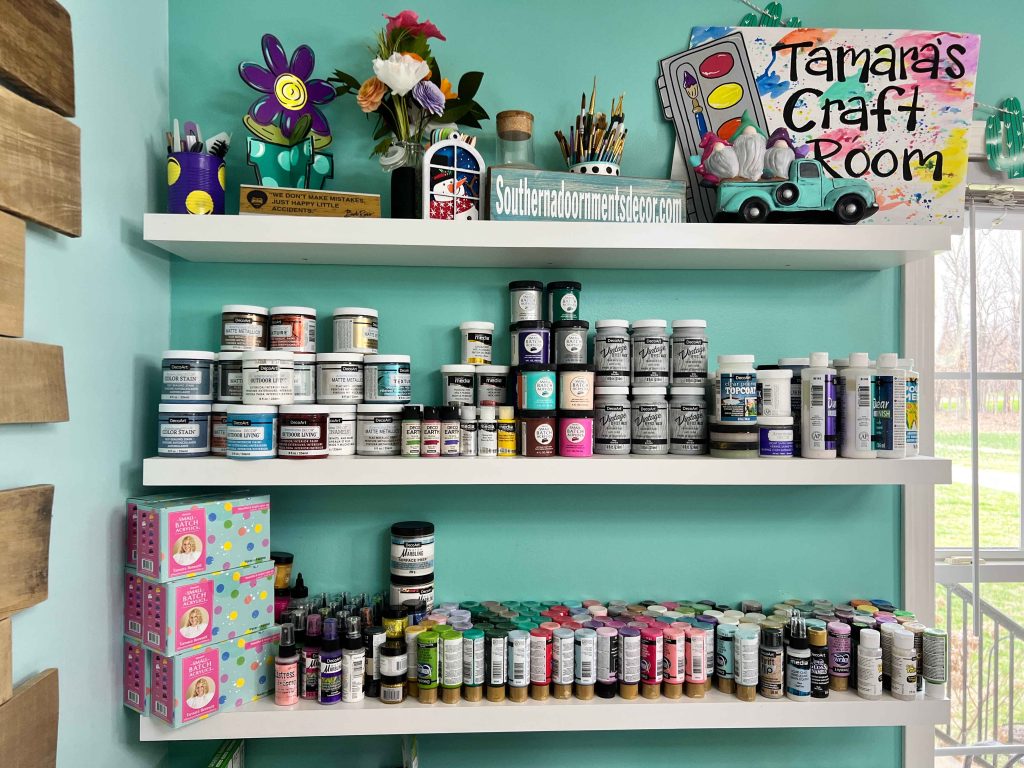
I also really love traditional shelving for all of my other supplies! I keep my most used items out and can grab and go whenever I need them.
Craft room organization: Maximize your closet space
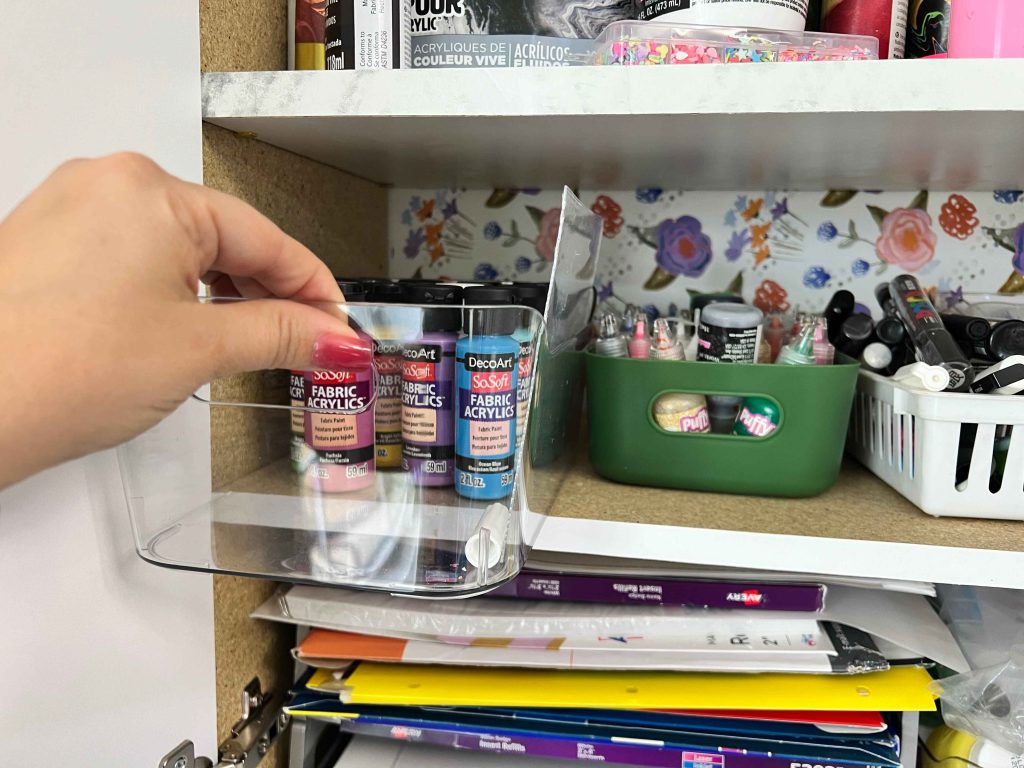
We all know that closets are the best places for storage. But to really make sure you get everything organized, make sure you’re using every square inch possible!
I installed a closet system in my craft closet that I got from The Container Store (It’s an Elfa brand). I pre-designed it online to fit my needs and then ordered it online too. They shipped everything directly to me and the setup instructions were easy to follow! It only took me a few hours with my mom’s help (it’s always helpful to bring in support!) to get it all done!
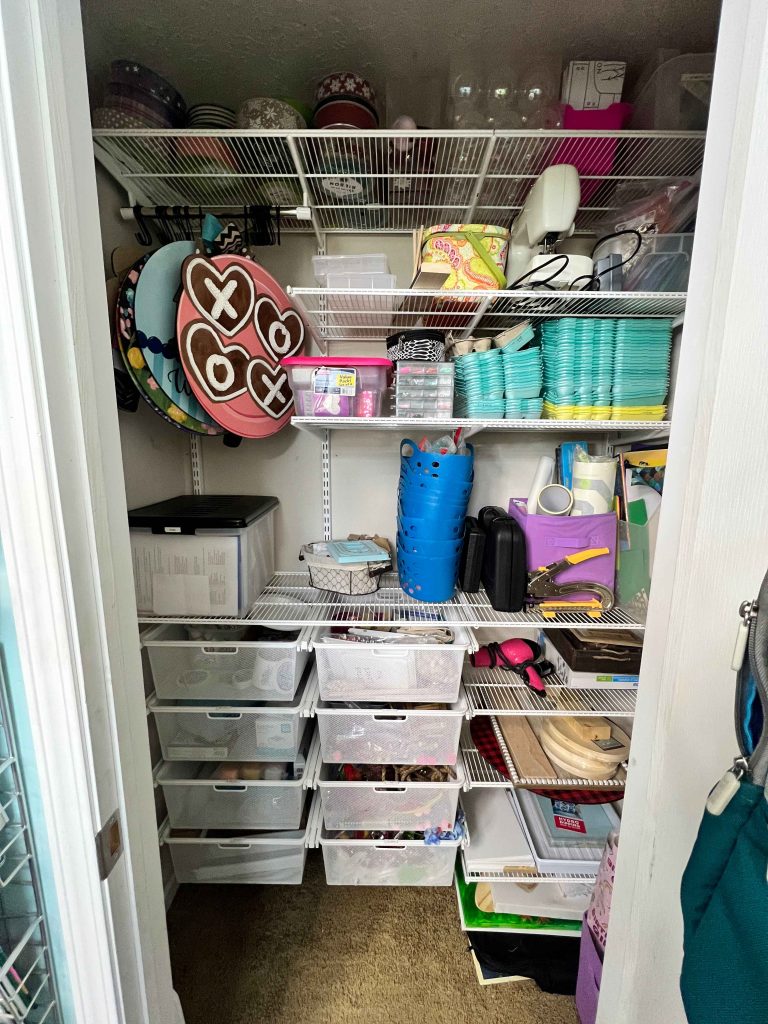
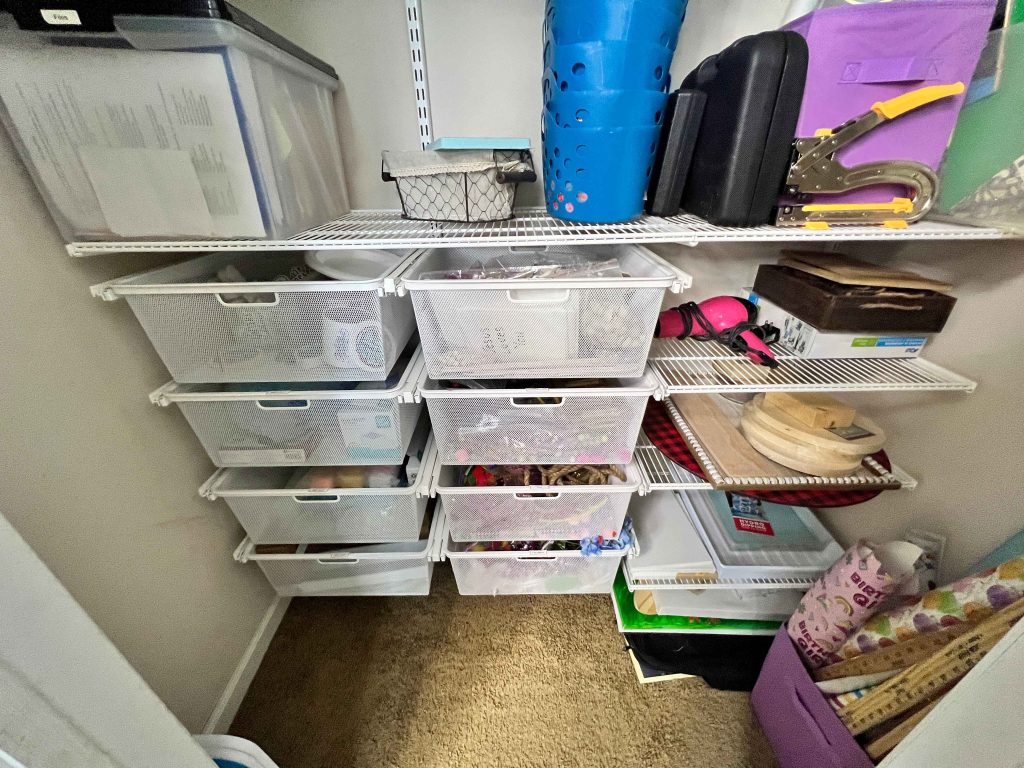
I also have a hanging bar at the top to hang up my door hangers, drawers to organize small items like ribbon, embellishments, and photo props, and of course, shelves where I can stack bins of supplies!
Craft room organization: Use a craft desk island
One of my favorite things in my craft room is my desk island! I put it together myself, in just a few simple steps, using ClosetMaid 9-Cube Organizers from Walmart and 1 (4’x8’) sheet of white Melamine board from Lowes.
It makes the perfect surface to work on my door hangers, and offers up a creative way to have extra storage in my craft room.
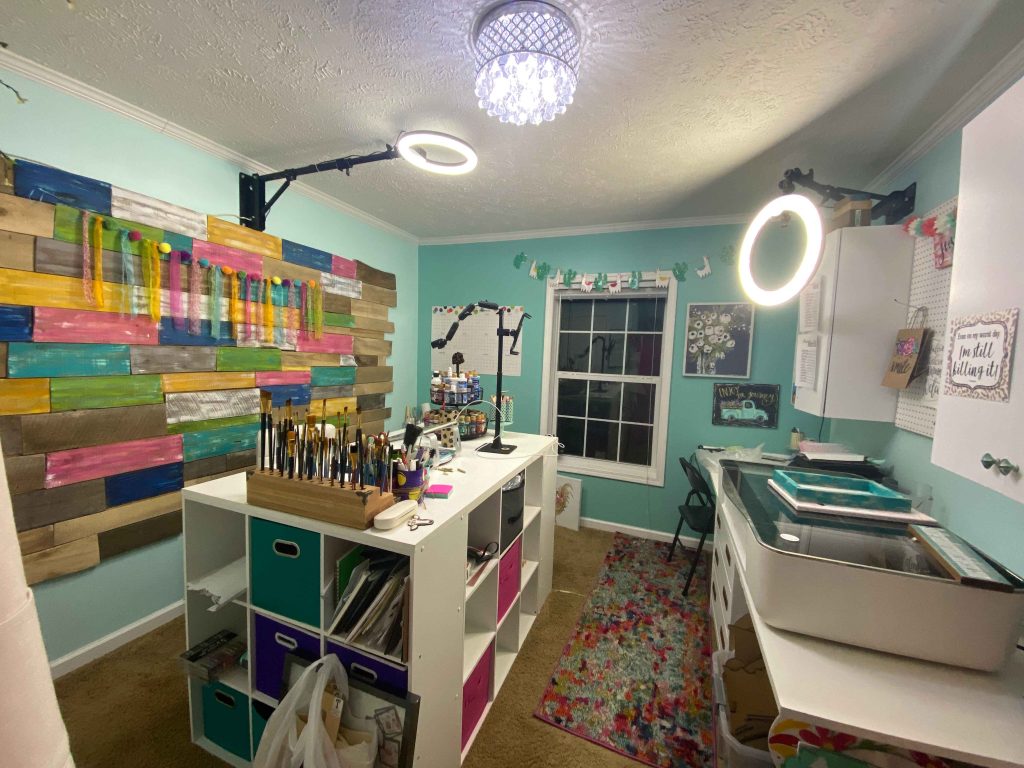
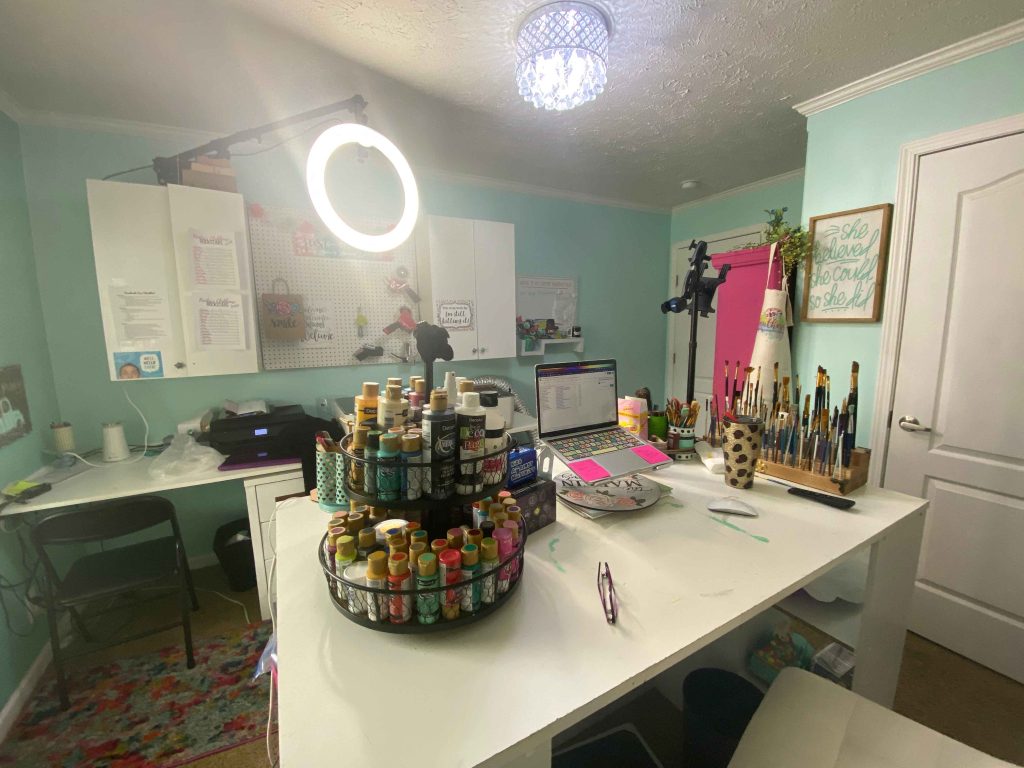
If you want to see the full tutorial of how I did it, check out the post here!
Craft room organization: Keep like items together
When it comes to smaller items like paintbrushes, I keep them stored together so I never have to chase down what I need. And because I’m constantly painting something, I keep all of those brushes on a neat little brush stand on my desk!
I love that it’s not too big that it takes up a lot of space, but not too small that it doesn’t fit everything I need. It’s the perfect size!

Craft room organization: Use a binder for your stencils
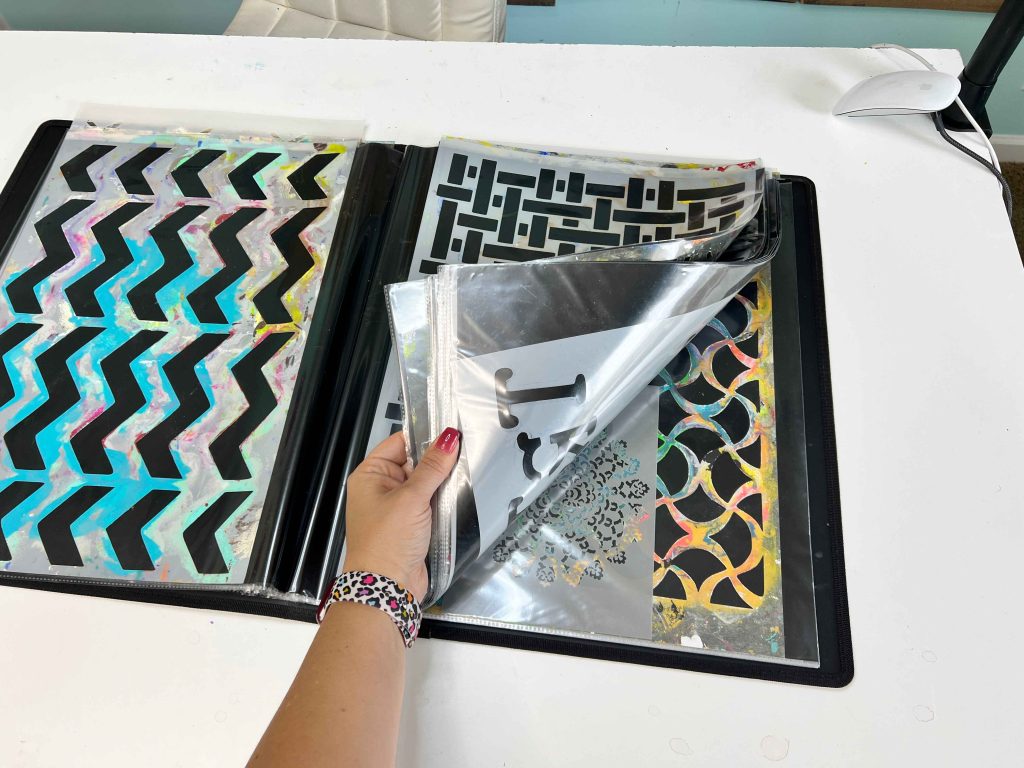
Stencils are one of those things that get disorganized FAST! Because they’re paper thin, it’s easy to toss them to the wayside and forget about them until your craft room is a mess. But over the years, I’ve figured out a simple way to prevent this.
One word: BINDERS! You can find them nearly anywhere — Walmart, Hobby Lobby, Michael’s, Target, etc.
See the craft room in action
Hopefully, now you have a better idea of how you can easily keep all your favorite supplies tidy and within reach. And because I LOVE talking about craft rooms, be sure you stay in touch with me over on Instagram — I’m always sharing fun tips like the ones in this blog!
But if you want to see my craft skills in action…be sure to join me for my upcoming workshop on April 16th and April 18th! We’ll be painting an adorable Americana truck door hanger, where you’ll get to see an up close and personal look at my craft desk island especially!
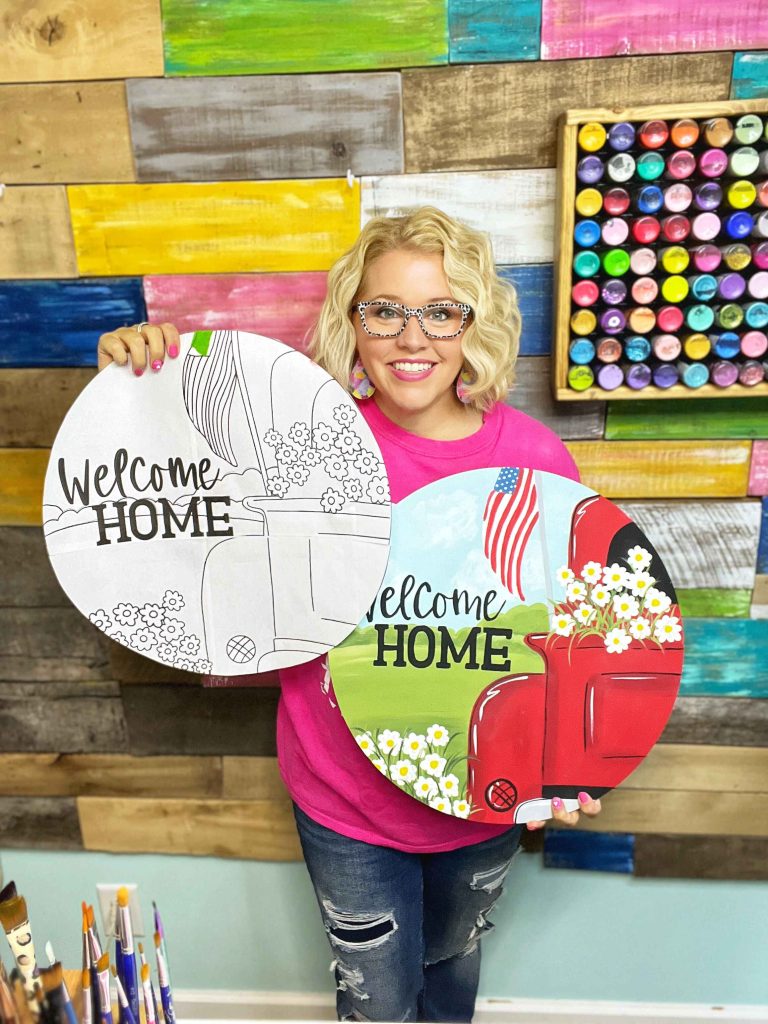
All experience levels are welcome to join, so make sure you save your spot before too long!


0 Comments