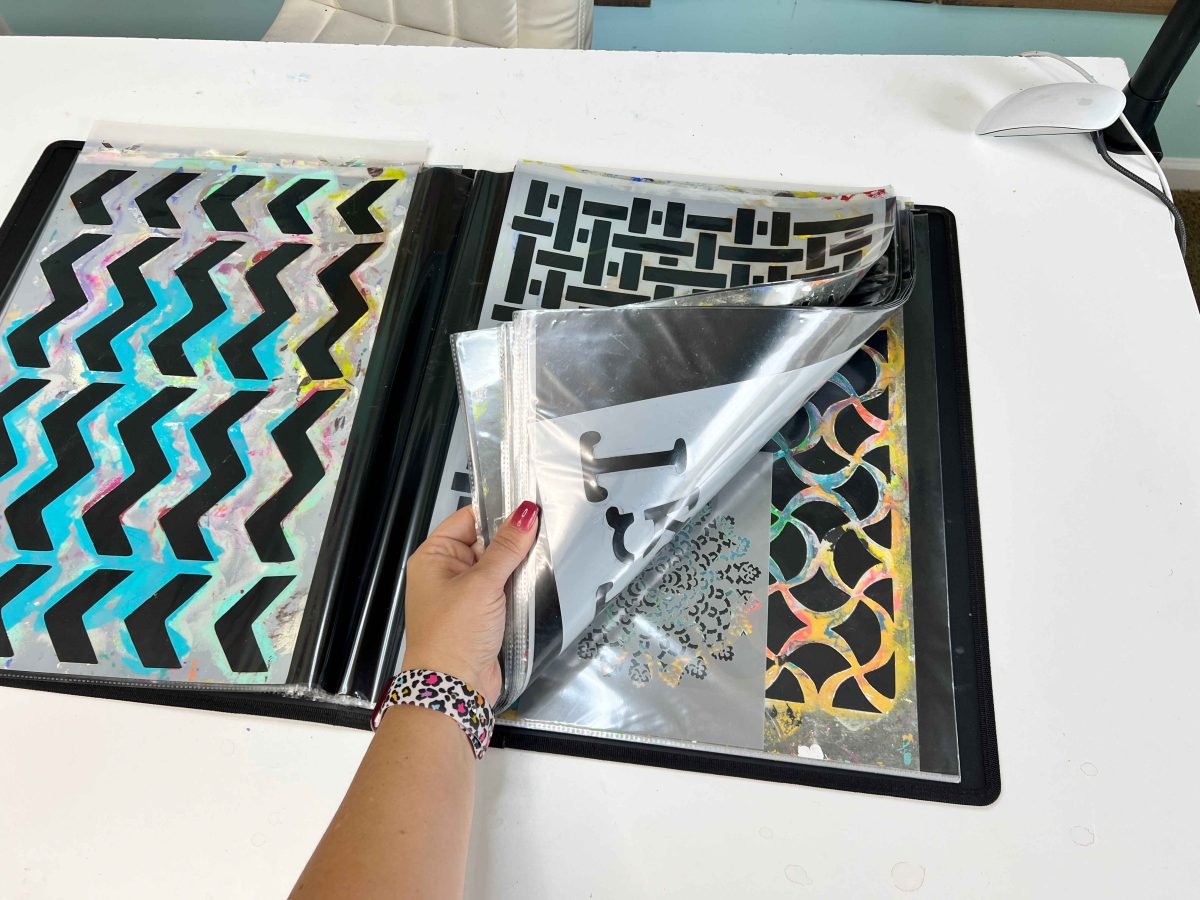
Looking for an easy way to create patterns or add details onto your door hangers — without the mess? That’s what stencils are for my friend!
I know they can seem a little intimidating to use at first, but once you get the hang of it, you’ll be on your way to effortless details for your best creative projects yet!
In this post, you can find five different stencil tips for door hangers. Or, if you prefer, you can watch the video below. Happy painting!
Stencil Tip #1: Choosing your colors
I’m all for creativity and trying new things! But with stenciling, try to pick your colors based on contrast, first and foremost. This will all depend on what design you’re bringing to life, but I always say they should be similar, but different enough that you can see the difference.
For example, you could have two shades of purple — one dark and one light. Or a light blue and dark blue. Pick whatever appeals to YOU!
Stencil Tip #2: Paint the base first
When using stencils, you’ll want to paint the base coat first! Now…what color to choose?
Whatever color you want to stand out more, save that one for the pattern and pick the other for your base coat. Depending on what colors you choose, you’ll need to paint more than one coat (the same goes for when you’re painting your stencil design).
A good rule of thumb to remember is that the lighter the color, the more coats of paint you’ll need!
Then, wait for the paint to dry completely before you get started on the stencil portion.
PRO TIP: If you’re having trouble getting the paint to spread, you can always use a spray bottle and spray the area you want to paint with water to loosen the paint up.
Stencil Tip #3: Keep your stencil from shifting
If you’ve ever used a stencil before, then you know that they can slip and slide pretty easily. To avoid this, you can tape it down (NOT on your door hanger, but on the table/tarp underneath your door hanger).
You can also try adhesive spray. Just make sure you give it enough time to dry before placing it back on top of your door hanger.
Stencil Tip #4: Small paintbrush or sponge?
There are two ways I usually suggest painting stencil designs: pouncing (dabbing) with a sponge brush, or painting with a stencil brush .
If using a sponge, pounce your brush in an up-and-down motion to get a clear coat. If using a painting brush, you can also paint up and down, or scrub with small circles.
Either way, you want to keep very little paint on the brush. If you have too much, paint can get underneath the stencil and spill on top of your base coat. I suggest dipping your brush no further than the very edge/tip of it to keep this from happening.
Stencil Tip #5: Filling in rough edges
Need to fill in some gaps or rough edges? It’s easy! All you have to do is wait for the paint to dry completely. Then, lay your stencil back down over your door hanger, and realign it to the design you painted.
From there, you can fill in those gaps and smooth out any edges that need it — without having to start over!
Learn how to make your own stencils for door hangers!
Now that you know how to use your stencils to enhance your door hanger designs, it’s time to create some of your own! Learn below how to use a Cricut machine to get the DIY designs of your dreams ⤵️
Read here: “Choosing the Best Materials to Make Your Own Stencils”


0 Comments