How to Create the Perfect Polka Dot
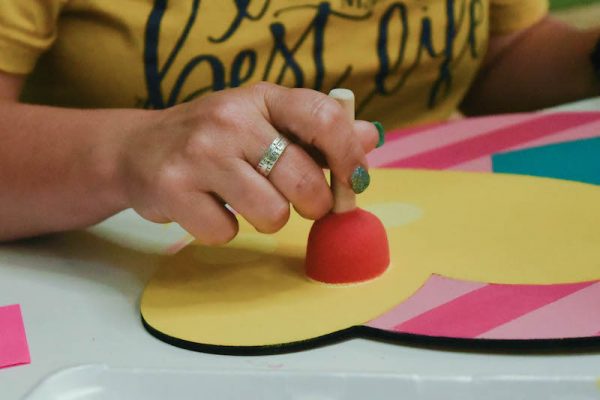
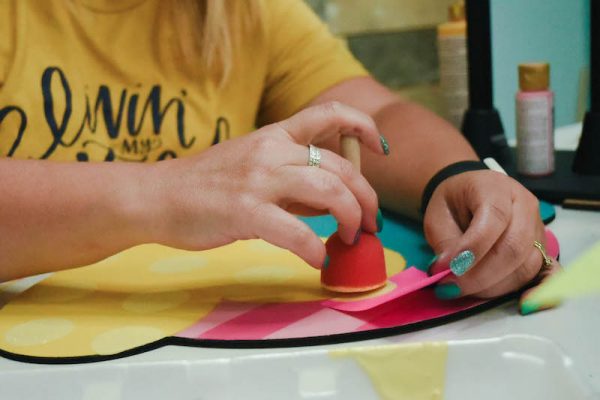
One of the most common tools used to create polka dots are sponge pouncers. I have a pack of sponge pouncers available in my shop that come in four different sizes. These are what I use most often when I’m painting door hangers and need to add polka dots to the background.

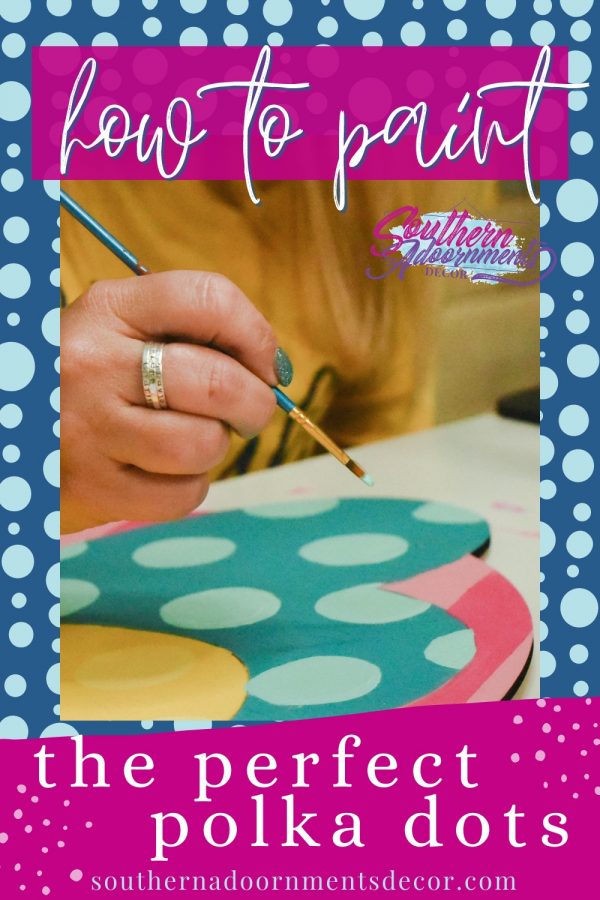
If you don’t have sponge pouncers available, another option is to trace the bottom of a cup or paint bottle with a pencil then paint it using a filbert tip brush. Wanna know a trick? You can get two different size polka dots using a paint bottle! Just trace the bottom of the paint bottle, then flip it over and trace the top of the lid. Tada, two different size polka dots and you were able to use something you already have!
Finally, the last option I’m going to suggest will help you not only create polka dots, but be sure that they are lined up perfectly on the background of your door hanger or DIY project that you’re painting. I have two polka dot stencils available in my shop at www.shopdoorhangers.com. One is a 18” x 12” Polka Dot Tile Stencil with polka dots that are all the same size. The other is a 18″ x 12″ Multi Dot Stencil that features different size polka dots. These stencils are very easy to use. You simply stencil the design, move the stencil over, up or down and overlap the last row of the design to get a perfect flowing pattern. Can be used on the wall, wood and even fabric.
How to Create a Polka Dot Pattern
Many people get intimidated when it comes to painting polka dots because they just randomly place them everywhere and then feel like their dots are either too far apart or too close together. You can guarantee that your polka dots look cohesive and patterned by creating a triangle pattern with them so that they are evenly placed. Anytime you add a polka dot to your project, make a triangle. This will help your pattern to be distributed evenly.
If your polka dot pattern goes off the edge of the area you’re filling with dots, only use half a dot. This helps keep your polka dots from awkwardly floating in your design.
A Polka Dot Tutorial Tip
If you’re learning how to create the perfect polka dot, then it’s also important to know other tools you can use when your dots start to overlap other designs. For example, say that you are painting the background of a door hanger and you have a design in the center. If where your polka dot is supposed to go overlaps that design grab a post it note! You can lay the post it note over the edge of the design and add the polka dot over it so that half your painted dot is on the post it note and the other on your background. This makes your lines neat and keeps you from having to cover up painted dots where they shouldn’t be. It’s also a perk that you probably have post-it-notes or paper of some sort laying around your craft room and easily accessible.
If you want to see this tip in action, watch this video. You can see how I use a piece of paper to add polka dots along the edge of the sunflower center. If you want to see a door hanger tutorial that consists of polka dots, head over to my blog post of the Funky Rainbow Door Hanger. This door hanger features adorable dots and patterns on a fun rainbow door hanger!

Using This Technique to Create the Perfect Polka Dots
Polka dots are always fun, I hope that this technique helps you to feel confident about the polka dots that you use for your next project! Whether you are using a stencil or sponge pouncers with a triangle pattern, with a little practice you will be polka dotting your project perfectly!


0 Comments