

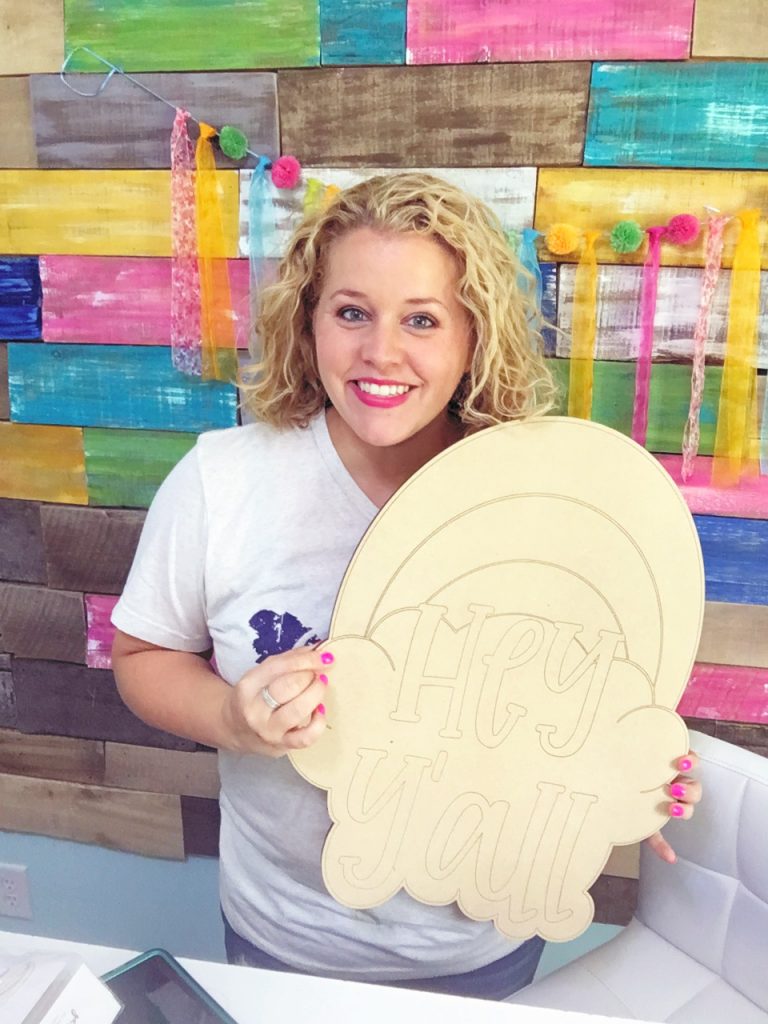
Nothing gives a warm welcome quite like a big rainbow! Today we’re going to be painting this funky rainbow door hanger, isn’t it so fun? I love the bright colors and the instant cheer this fun design brings. It makes the perfect addition to the front door of your home or a classroom door if you’re a teacher.
Do you want to learn to paint this door hanger too? Follow along with me as I paint this funky rainbow door hanger. I’ll show you what I did every step of the way!
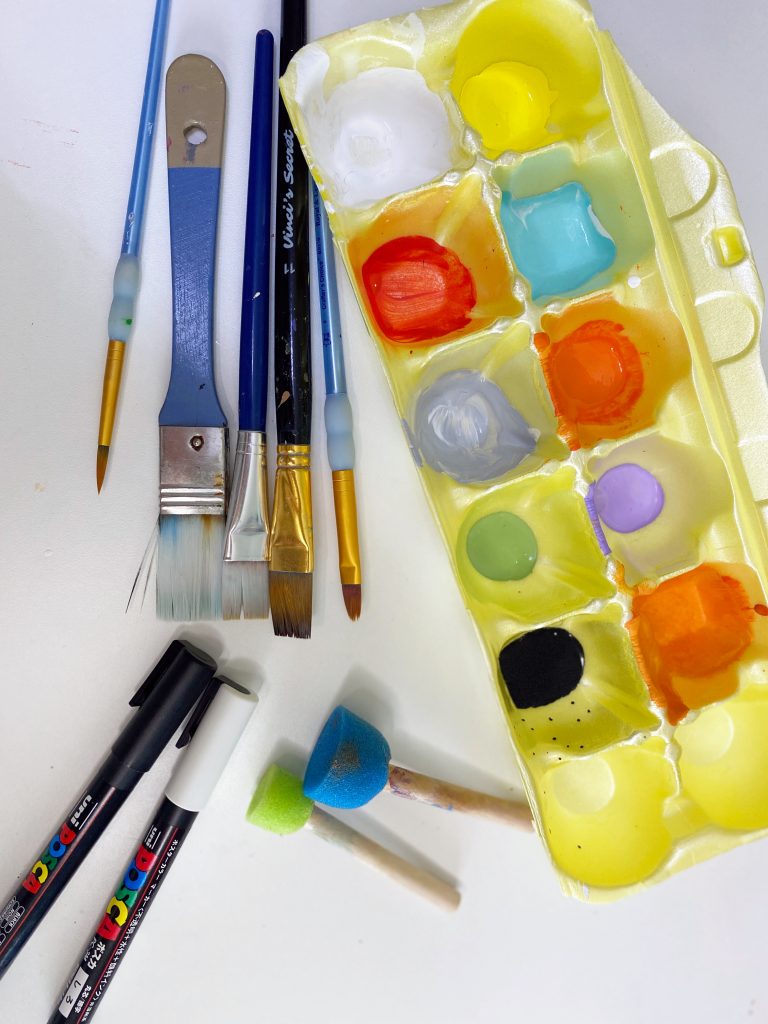
Supply List
And DecoArt Matte Acrylic Americana Paints:
-
- Black
- White
- Foliage Green
- Bahama Blue
- Sunshine Yellow
- Scarlet
- Canyon Orange
- Purple Cow
Note: Affiliate links included within this post for your convenience. As an Amazon Associate, I earn from qualifying purchases.
DIY Your Own Funky Rainbow Door Hanger
When I started, I used an etched blank. I love how easy etched blanks make painting! However, if you’re up for a challenge or you are an experienced painter you may opt for the blank that is not etched and that is totally fine. I like etched blanks because it makes painting simple. It’s like the paint-by-number kits that you did as a child.
You also have the option to cut out your funky rainbow door hanger at home. I have a printable template and digital cut file in my shop if you’re up for that!
Psst – If cutting door hanger blanks from templates is right up your alley, then you would love you be part of our Template Club! The Template Club is a monthly membership that emails templates directly to you every month. You will receive all of the new monthly templates (20-25 designs total) at a low monthly cost. If you’re interested in joining our Template club we’d love to have you, head here to sign up!
Now it’s time to get back to our funky rainbow door hanger! If you’re not sure which blank door hanger option is best for you, that’s totally okay. I have a blog post that will help you decide between a template or a ready-to-paint blank cutout.
Today, I’m painting a 20″ size cutout blank of the funky rainbow door hanger, which is the perfect size for a door hanger. In my shop you can choose a variety of size options depending on how you want to use your project in your decor. The best part is all the sizes in my shop come with etching and no etching options for simple painting.
- 20” for door hangers
- 12” for porch welcome sign attachments
- 8” for door hanger attachments
- 6” for ornaments or wreath attachments
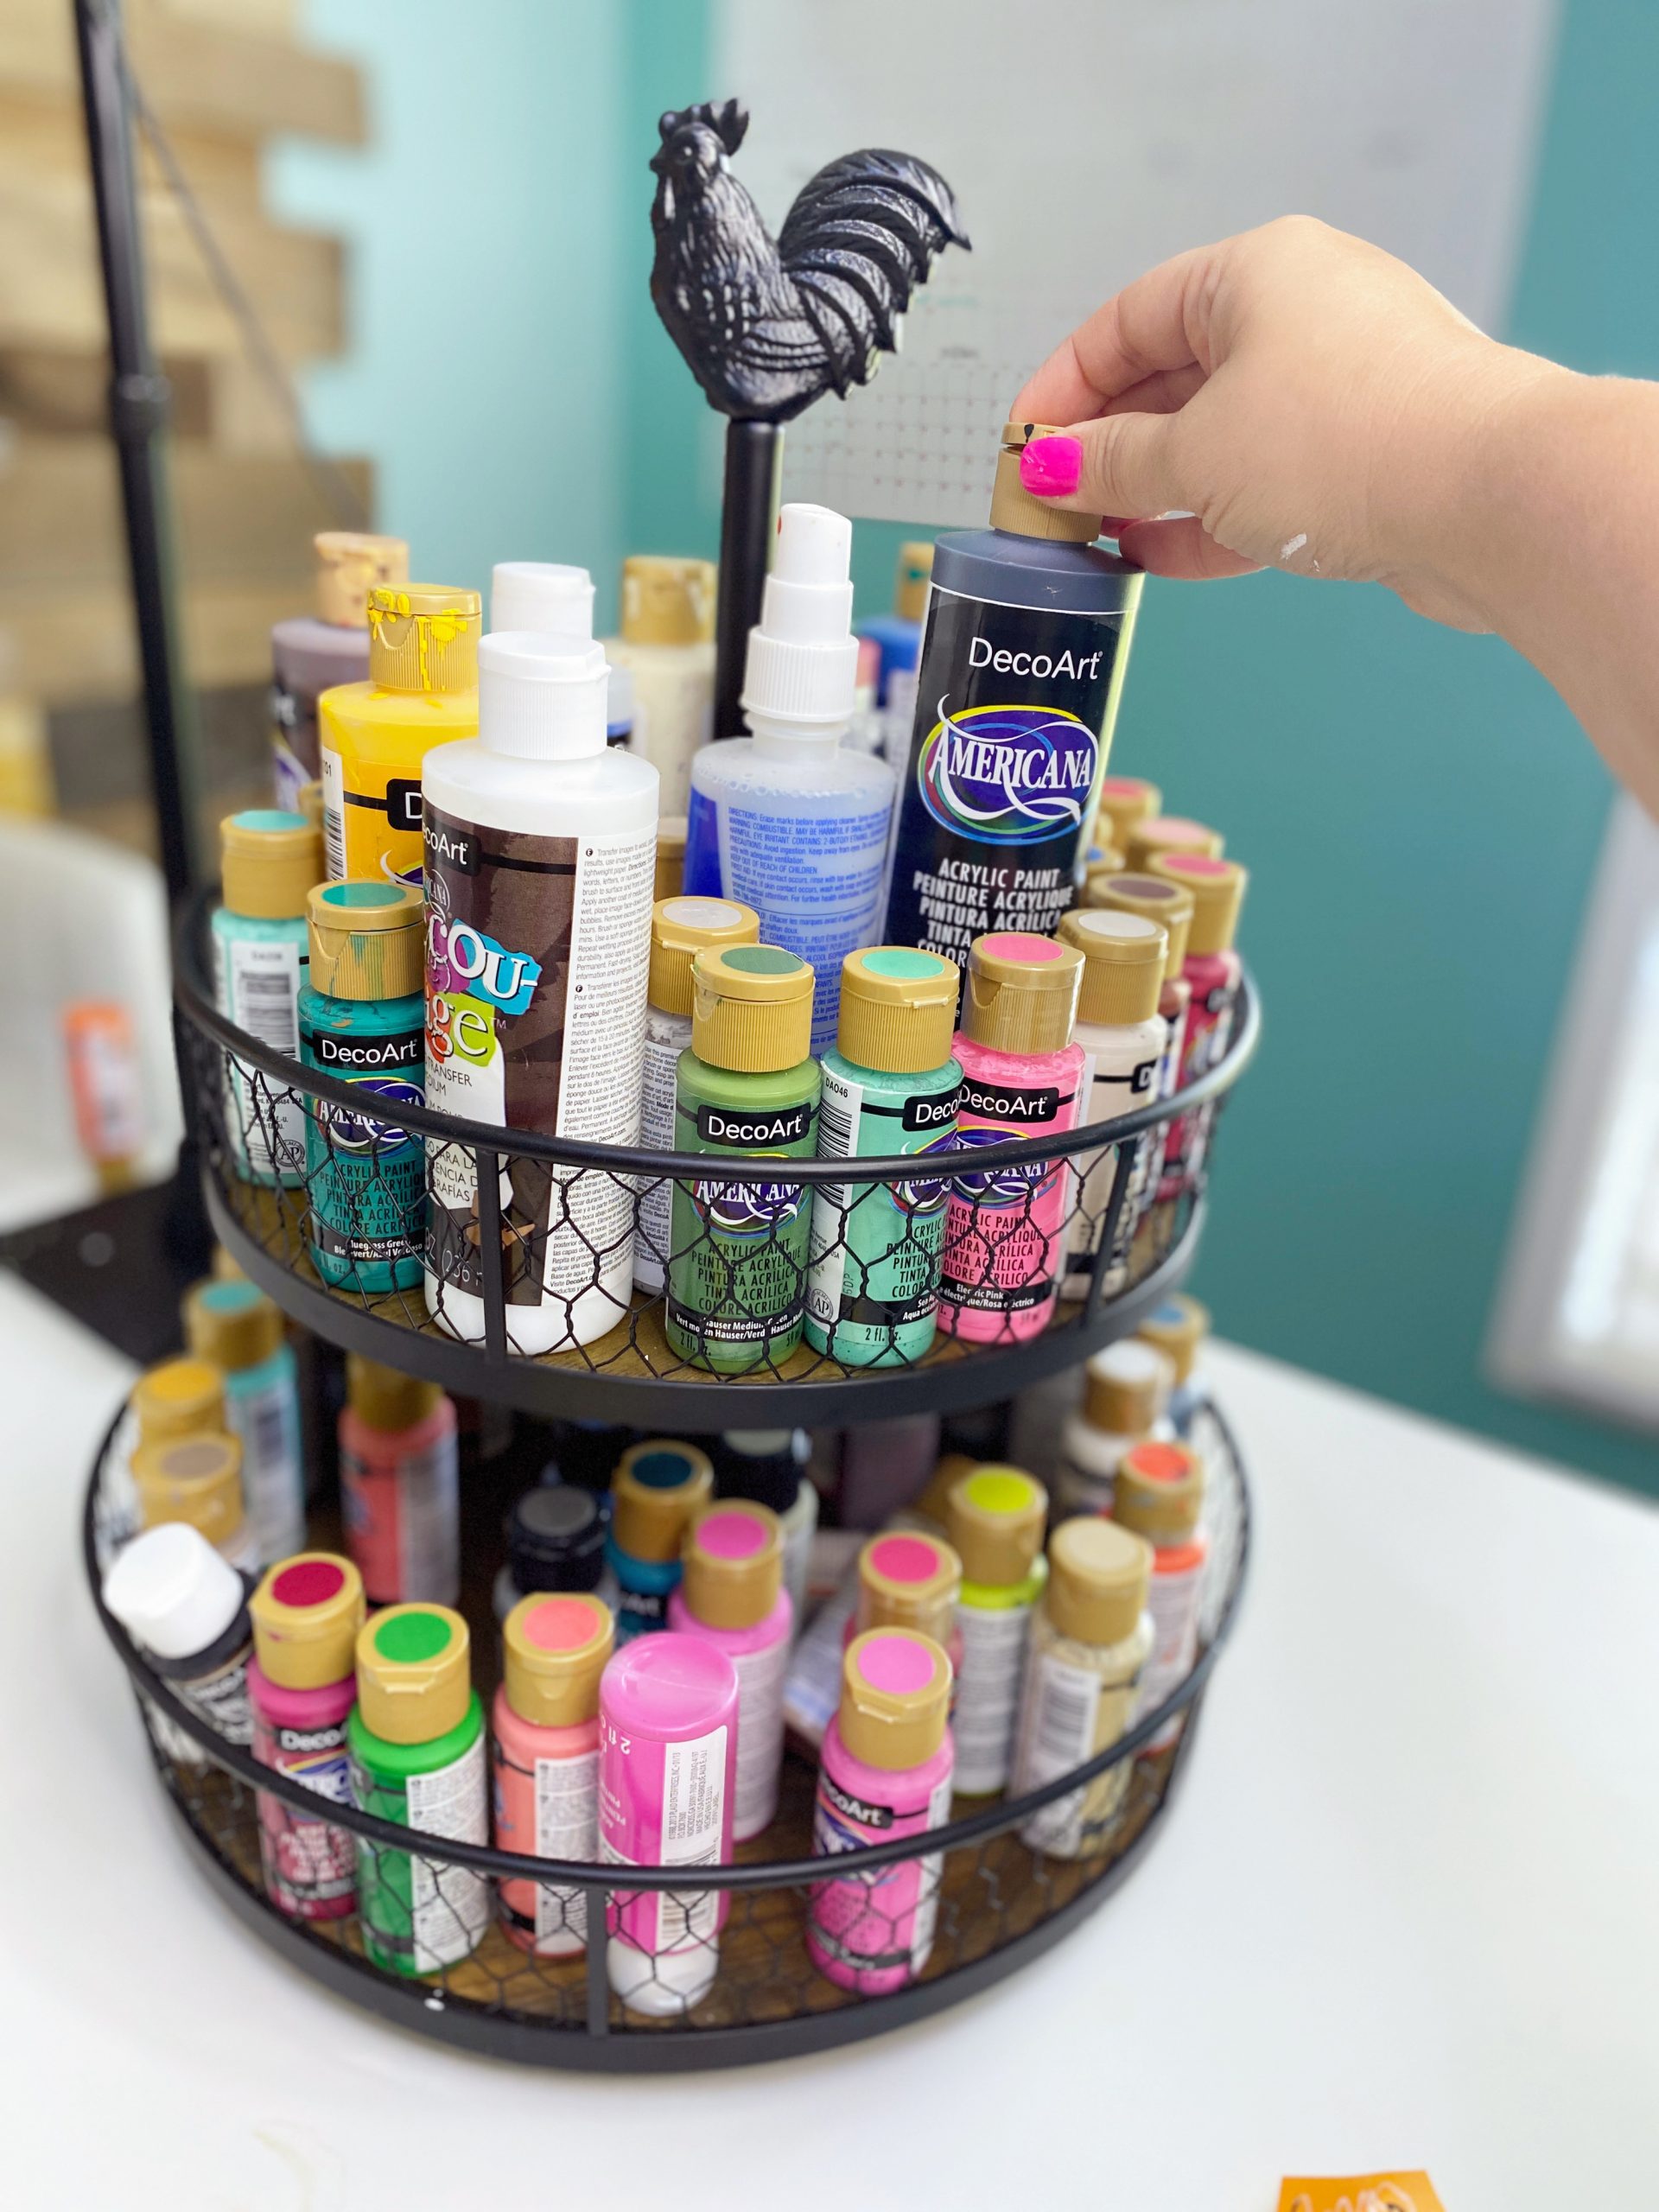
Grab Your Supplies and Let’s Get Started!
It’s finally time to get started painting, yay! First, I painted the entire door hanger white. This helped to brighten my final colors and really make them stand out on the door hanger. If you are painting an etched funky rainbow door hanger, don’t fret because even after you paint the background white you will still be able to see the etched lines that help you paint.
When it came to painting my actual rainbow colors, I decided to start at the top stripe of the rainbow. I painted the first rainbow stripe color DecoArt Scarlet Red. Next, I painted the Sunshine Yellow stripe followed by the Bahama Blue mixed with a little bit of white paint to lighten it up. (I used a 1:1 ratio when mixing DecoArt’s Bahama Blue and White paint.)
Can’t Have a Rainbow Without the Rain Clouds
This funky rainbow door hanger is so much fun to paint because it involves a wide variety of colors, patterns, and techniques! And if you enjoy that wide variety, we would love to have you join our Painter’s Clubhouse. In Painter’s Clubhouse we learn new tips and techniques to painting door hangers together. We help you in your journey from being a beginning painter to becoming a confident artist! If you’d like to join our Painter’s Clubhouse, head here to get on the waitlist!
So now it’s time to give our rainbow some bright clouds! For starters I gave my clouds a second coat of white paint to make them just a little brighter. I then decided to add some shading to our clouds using the color Gray Sky from DecoArt – how appropriate! After I added shading with gray along the edges of the clouds, I went back and added some more white paint to help blend it in.
TIP: Add matte fluid medium to the gray paint. This creates an ombre effect that will help it blend better with the white paint in the clouds. You can find matte fluid medium at Hobby Lobby, Michaels, or Amazon.
Let’s Add Some Details!
Next we’re going to add some patterns to those rainbow stripes! Our funky rainbow door hanger is looking fabulous, but I want to add some patterned details to the stripes! Working from the top stripe down to the bottom I added dots and horizontal lines. For the top stripe I used a larger circle sponge to add dots and a smaller circle sponge to add dots to the bottom blue line. Then, I added horizontal lines to the middle rainbow stripe using a round-tip paint brush.
TIP: The lines go on smoother and more easily if you use your pinky as a guide to hold you sturdy.
While my patterns are looking bright and cheerful, I still wanted to add a little more! I decided to create an orange sherbet type of orange to overlap my top dots to brighten them up. Using the same sponge brush for my dots as in the beginning I was able to make my rainbow look even more cheerful.
If you’re looking for some really great tips or techniques when it comes to painting polka dots, I have a blog post filled with tons. Be sure to head here to find it and learn to paint those polka dots like a pro.

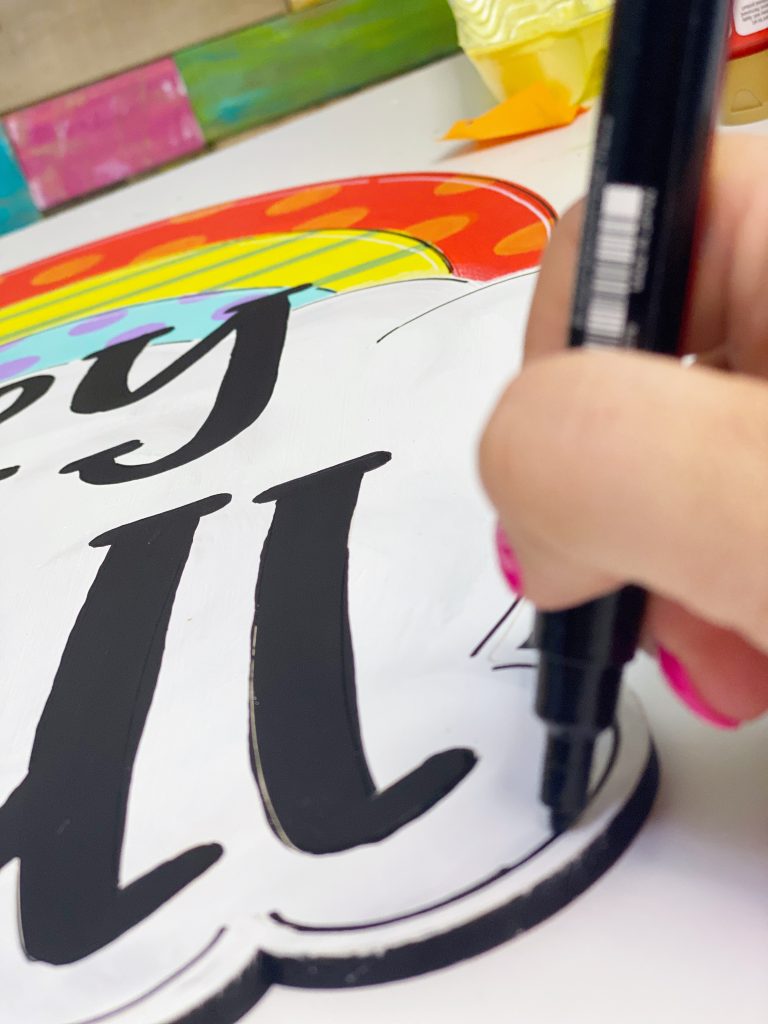
It’s time to add our lettering and if you’re from the south like I am you know the words, “Hey Y’all” could not be more appropriate for this funky but cheerful rainbow door hanger! First, I grabbed my size 8 Filbert Tip brush to help me paint my etched lettering. Next, I started with the serifs on the letters, then went back and painted in between them.
A paint pen is also a great option when it comes to lettering. If you struggle with painting in the lines, you could always outline the letters with a paint pen and go back and paint the inside.
Finishing Up Your Funky Rainbow Door Hanger
The final detail we need for our funky rainbow door hanger is to outline the edge. This final detail will help our cheerful door hanger pop even more!
Using a black paint pen, outline the edge of the rainbow stripes and clouds. Your pinky will help you stay aligned with the edge and keep your line thickness the same throughout the entire process. Once you’re done with the black, add white outlining on the inside of the black.
If you mess up or smudge something don’t fret, you can always use a baby wipe to fix little mishaps. I wrote an entire blog post about what to do if you make a mistake – we’re human, it happens. You can head here to learn how to fix it!
I hope painting this funky rainbow door hanger makes you as happy as it did me. Every time you see the door hanger I hope you’re happy because of the cheerful bright colors and spring weather that often comes with those rainbows.

And that’s a wrap! Your door hanger is ready to hang up on your front door, classroom door, or even in a child’s playroom!
If this funky rainbow door hanger leaves you thinking about the pot of gold at the end, you can paint that too! I have a blog post from when I painted a pot of gold here. These would be perfect for St. Patrick’s Day!
Check Out the Video Tutorial
If you don’t already follow me on facebook, you’re really missing out! I actually painted this door hanger live on my Facebook page. If you missed it be sure to watch it now so I can show you step-by-step exactly how I painted it!
Once you’ve finished your funky rainbow door hanger, make sure you share it in my free facebook group for painters! One of my favorite things is hanging out on Facebook with all of you and getting ideas and inspiration from everyone.
If you’re ready to start right away, you can always find the painting supplies that you need in my online shop or Amazon door hanger supply storefront. Then just grab the funky rainbow door hanger blank, or printable template and digital cut file, from my online store:
Find It In My Shop:
Previous
Next
Featured Products
Love this funky rainbow door hanger? Pin it for later:

Get the Help and Inspiration You Need!
Make sure you follow me on Facebook, Pinterest, and Instagram to get even more ideas, video tutorials, links to my favorite products, and lots of other fun stuff!
Never even heard of a door hanger before and now you’re painting one? Well, let’s back up and visit my blog on door hanger basics for the beginner and how to get started. I’ll walk you through all the basics and give great tips to getting started with painting your own door hanger.
Have you signed up for access to my FREE template gallery? Sign up and you’ll get access to download some of my favorite door hanger templates – for free! Ready for more? Join my new Template Club and get first access to all of my new releases every month, for one low price!
And don’t forget about our Painters’ Clubhouse! Once you join, you’ll become part of a monthly membership group where we paint and learn together! From new techniques and painting tips, to getting access to exclusive content all month long, it’s the best place to grow your painting hobby together with us! Make sure you get on the waiting list so that you’ll be one of the first to have an opportunity to grab a spot when membership opens again. It only opens twice a year – you won’t want to miss it!
Join Our Painters’ Clubhouse Waiting List Now!

0 Comments