Some of the links shared in this blog post are affiliate links. This means I earn a small commission when you purchase through these links, at no extra cost to you. All opinions and reviews are honest and my own. Thank you for supporting my small business!
It’s time to get into the Christmas spirit — the crafty way!
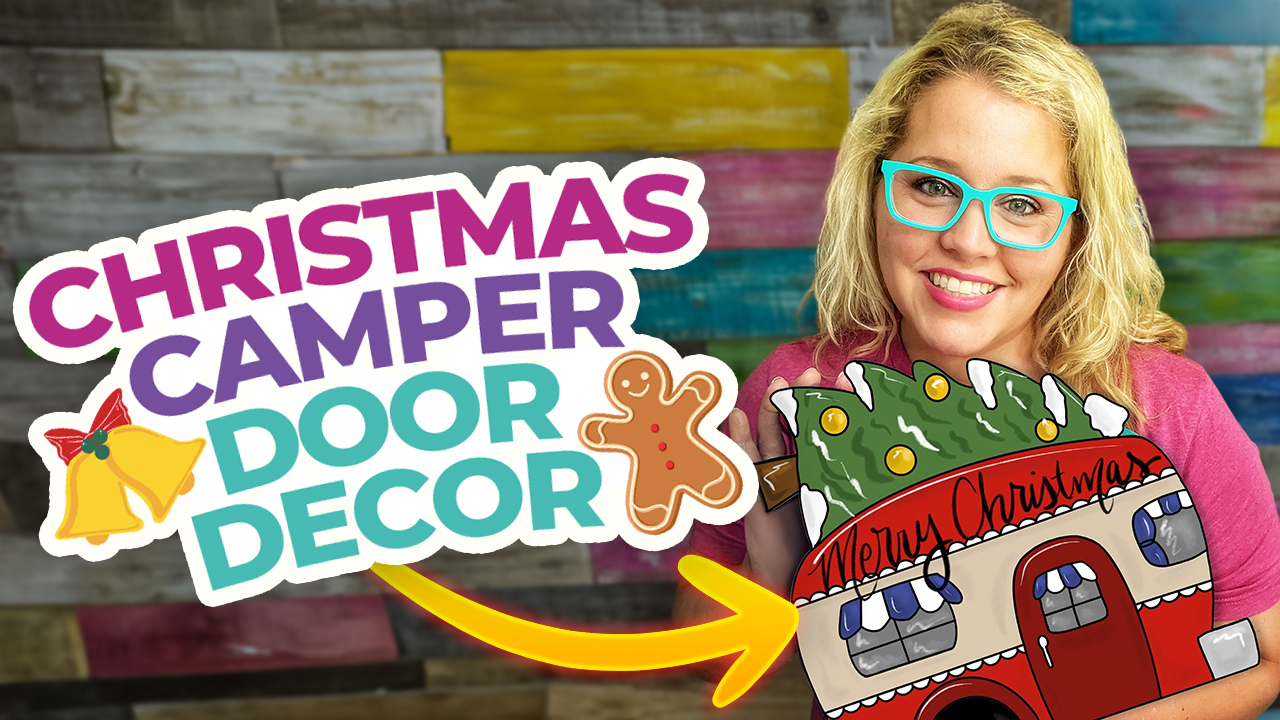
In this tutorial, I’ll show you how to paint a simple but adorable Christmas Camper door hanger. I’ll walk you through each part, step by step, so by the end, you’ll have something beautiful to hang on your front door, porch, or display somewhere in your home!
Below, you’ll find the full video tutorial, but I’ve also included notes in this post if you prefer to follow along.
Let’s get to painting!
*Note: This video is from 2020, and I have since updated the door hanger template. You may notice some differences in the current version, but that’s okay! This tutorial will still show you how to paint the Christmas Camper, and I’ve included links throughout the blog to additional tutorials to supplement what you need.
Supply List for Your Christmas Camper Door Hanger
The first step is always to gather your supplies. You can find most of these in my shop, on my Amazon storefront, or at your local craft store!
- Christmas Camper door hanger blank
- Christmas Camper door hanger template
- Acrylic paints (try my favorites here!)
- Flat-tip paintbrush
- Round-tip paintbrush
- Sponge pouncer
- Baby wipes
- Hair dryer (optional)
- Craft paper or a plastic tablecloth to protect your workspace
Want a challenge? Cut your own wood blank! My free mini-course will give you a basic rundown of how to do it, even if you’re a beginner.
Step #1: Prepare Your Wood Blank
The door hanger blank I have available in the shop comes etched, so you don’t have to worry about tracing any lines yourself. However, if you decide to cut your own blank but don’t have a way to laser etch it yourself, you can manually trace the lines.
I have a full 4-step tutorial you can follow here to see how it’s done!
Step #2: Paint the Base of Your Door Hanger
Most door hangers need a solid base coat that covers the entire surface. However, because this door hanger is sectioned into multiple parts, you’ll need to take it one section at a time.
Start with the biggest area first — in this case, the red on most of the camper. Then, move on to the green for the Christmas tree, and so on until you’ve painted every section.
Keep in mind that the smaller the area, the smaller your brush should be. Use a wide, flat-tip brush for larger sections and a smaller flat-tip brush for details like the window and tires.
Let everything dry before adding a second coat (or use a hair dryer to speed up the process!).
Step #3: Paint the Details
Now it’s time to paint those details!
In the video, I use a polka dot pattern across the camper, which you can create using a sponge pouncer. This is also a great time to add texture to your tree, which I created using a small, round-tip brush.
Want to spice it up? Add a string of Christmas lights to the top of the camper! To replicate what I did in the video, paint a squiggly line using your small round-tip brush. Then, dot your lights with multiple colors.
I recommend choosing 5-6 different ones, but the sequence of those colors is totally up to you!
Step #4: Add the Finishing Touches
If you’ve been painting with me long enough, you know that little details make a big difference. So, it’s time to add the finishing touches!
I always give my designs an outline — in this case, a black outline around the door, tire, windows, star, tree trunk, and the front of the camper. I use a very small round-tip brush, but a paint pen works well too!
I also added ornaments to the tree with a smaller sponge pouncer.
See an area that could pop a bit more? Try adding white details, like snow on the Christmas tree, for an extra-special touch!
Step #5: Spray With Sealant Spray
Once all your painting is done, use a hair dryer to ensure everything is completely dry. Then, touch up any areas that need polishing.
Once dry, spray your door hanger with sealant spray to help protect it while it’s outside or in storage for next year.
And that’s it! You now have a beautiful Christmas Camper door hanger to display in your home this holiday season.
Want More? Mark Your Calendars for 12 Days of Door Hanger Deals!
The door hanger fun doesn’t stop there! We’re kicking off 12 Days of Door Hanger Deals on December 6th, giving you the chance to snag a brand-new deal each day!
Whether you’re a seasoned crafter or just getting started, this sale has something for everyone. We have amazing deals lined up for you, including:
- Ornament kits
- Mystery door hanger boxes
- T-shirts
- Paint supplies
- And more!
Each deal will be available until the sale ends on December 17th, so mark your calendars, set your timers, and get ready to shop!
>> Check out the daily deals here!


0 Comments