
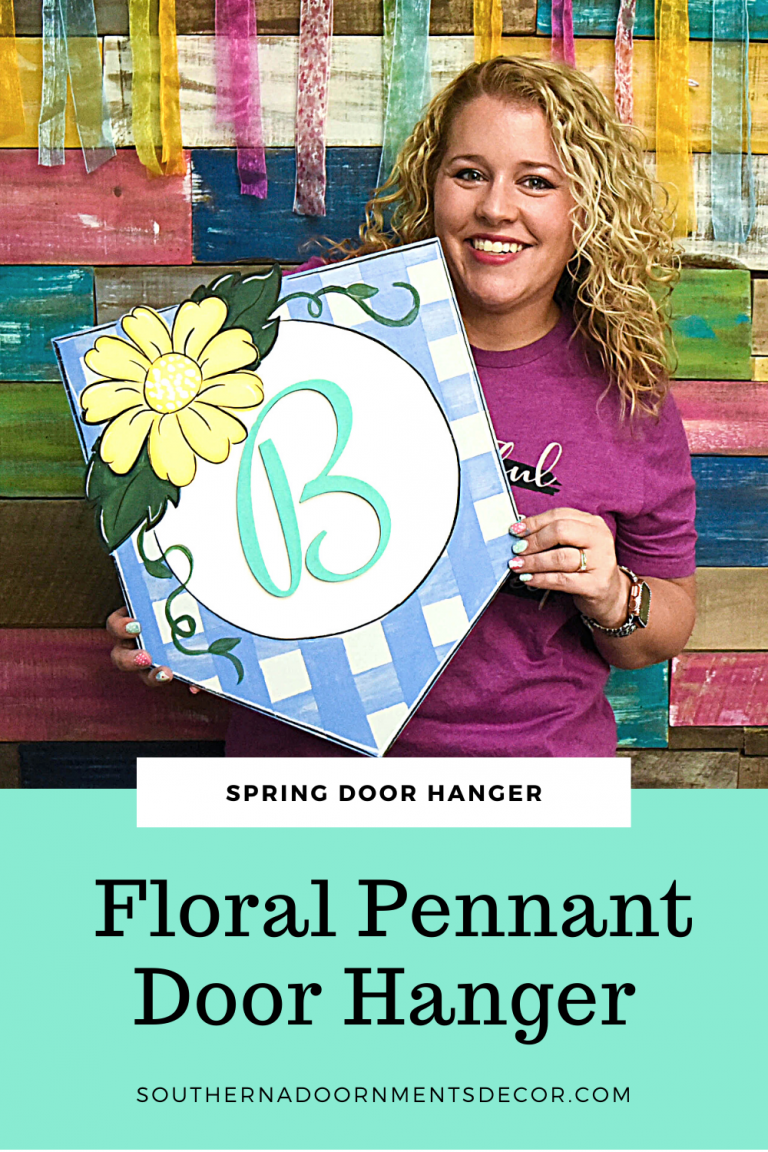
I don’t know where you live, but here in Kentucky the birds are chirping and the sun is shining, and we’re ready for some warmer weather. You may have seen me paint this door hanger on Facebook live a little while back. This sweet floral pennant door hanger is the perfect addition to your front door this Spring and it will transition so well into Summer.
Supply List:
- 1/2 inch flat tip brush
- 1/4 inch flat tip brush
- 1/4 inch angle tip brush
- Wide flat tip brush
- Letter Attachment (I cut mine with the Glowforge)
- 1 inch Painter’s Tape
- Baby Wipes
- Black Posca Paint Brush Pen
- Stick Fast Glue
- Floral Pennant Blank OR Floral Pennant Template
DecoArt Americana Paint Colors:
- White
- Grey Sky
- Periwinkle
- Turquoise – Crafter’s Acrylic
- Daffodil Yellow
- Primary Yellow
- Hauser Dark Green
- Hauser Light Green
- Black
- Dark Blue
Note: Affiliate links included within this post for your convenience. As an Amazon Associate, I earn from qualifying purchases.
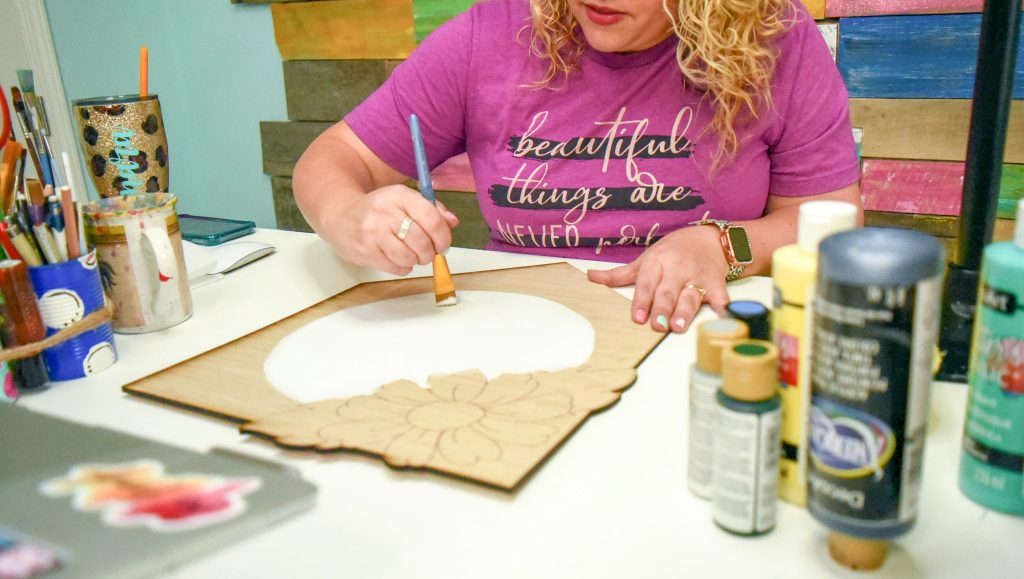
Getting Started
This door hanger is so fun because the attachments that I added gave it a 3D effect. To get started I painted the entire circle white. I didn’t worry too much about getting outside my etched lines because I knew they would be covered with other colors.
Once my circle was painted, I painted the background of my floral pennant door hanger using the color Grey Sky. After those background colors were down it was time to add our plaid background.
Floral Pennant Background
Don’t be intimidated by the background of this adorable door hanger. Achieving this look is easier than you’d think. First you’re going to grab some painters tape. I placed a piece of tape vertically every one inch across the door hanger. You can use the width of a piece of tape as your guide to be sure your lines are all the same distance apart.
After mixing Dark Blue and Perriwinkle together I used a baby wipe dipped in paint to paint the area around the circle and flowers while staying between the painter’s tape.
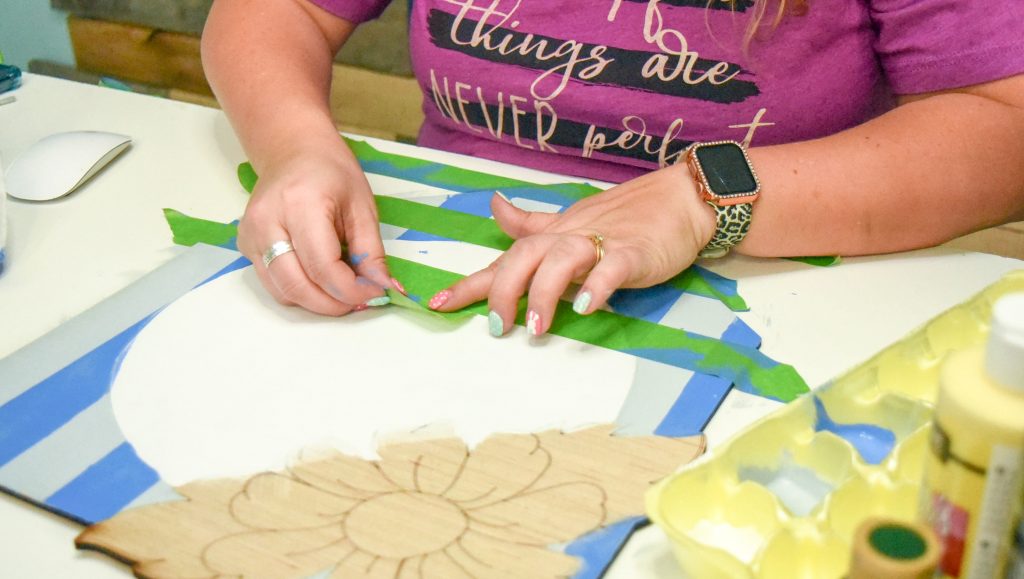
Once that paint was dry, I used painter’s tape to create horizontal lines, and repeated the same steps with the baby wipe using a little less paint than the first time. This gave my floral pennant door hanger an adorable gingham effect!
Let’s Paint The Flowers
Nothing screams spring quite like the flowers that are in bloom. I love how this yellow flower looks against this blue background. Let’s paint it, shall we?
To start I added a white base coat to the flower, followed by the Daffodil Yellow. By adding a base coat, the yellow was able to really pop. Next I grabbed a 1/4 inch angle brush dipped in both Primary Yellow and Daffodil Yellow and went around the flower edge. This created a nice shade on the flower.
Once the flower was done, I painted the leaves using Hauser Dark Green. I highlighted the centers of the leaves using Hauser Light Green. Finally, using Hauser Dark Green mixed with Hauser Light Green, I was able to add vines to the leaves.

The Final Details
To add the finishing touches to this floral pennant door hanger, I reached for my Posca Paint Brush Pens. Have you seen these? I just recently came across them and I love them!
I used the black Posca Paint Brush Pen to add details to the flower and outline the white circle and outside edges of the door hanger. Using the white Posca Paint Brush Pen, I added highlights to the leaves and door hanger edges.
Finally, I used a small round tip brush to add white dots to the center of the flower. Using a makeup sponge and turquoise paint, I painted the letter attachment. Once dry, I stuck the letter to the door hanger using Stick Fast glue. This glue is amazing and works really well for my door hangers. There you have it folks, a door hanger that will carry you all the way into summer!
Watch Me Paint
As I mentioned earlier, I painted this live on my Facebook page. You can watch it below, but head to my Facebook and like my page so that you don’t miss any future live videos either!
I hope that you’ve enjoyed this floral pennant door hanger tutorial as much as I enjoyed painting it. I am loving these colors! If you paint this door hanger, be sure to head to my Facebook page on Mondays to share it on my Made it Monday post. Can’t wait to see you there!
Related Resources
- Check out my blog post on a DIY Easter Garland.
- Like my Facebook page to follow along as I paint a door hanger live every Tuesday.
- Watch more tutorials on my YouTube Channel.

0 Comments