
People are always asking me for advice about painting with stencils! Using stencils can add some fun patterns to your DIY craft projects, but it can be a frustrating experience if you don’t know what you are doing. You can end up with paint bleeding under the stencil and ruining your project!
I’ve been using stencils on my door hangers for years – I take them to every paint party! So I’ve learned a thing or two that might help you, too, the next time you make a door hanger, create a painted furniture piece, or paint a wooden craft project .
So, here are my 5 top tips for painting with stencils:
1. Make sure your bottom layer of paint is dry.
It is so easy to get impatient and want to start stenciling right away, but if your bottom layer of paint is not dry, you will have an awful mess when you take up the stencil! The paint from the bottom layer can stick to the stencil and peel right off.
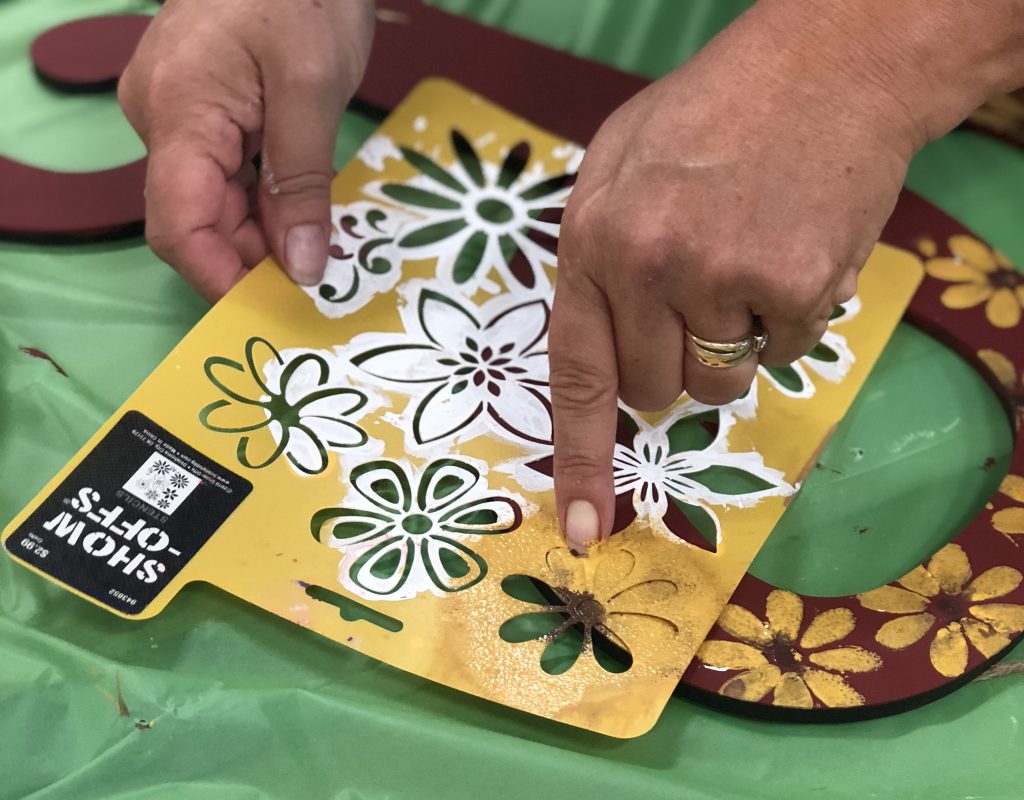
2. Apply thin coats of paint & use thicker paint if possible.
After you dip your sponge pouncer, wipe off all of the excess until it looks like you barely have any paint on the sponge. Apply paint in a pouncing motion over the stencil in light/thin coats. If you are working with thin runny paint, you run the risk of the paint bleeding under your stencil. Paint that is made for multi-surface use works well since it is usually a thicker consistency.
3. Work quickly!
If you take your time while you’re painting with stencils, the paint will dry to your stencil and not only make cleaning the stencil more difficult, but it can cause the stencil to stick to the painting surface.
4. Keep baby wipes nearby.
You can use baby wipes to quickly clean up any accidents! If you apply paint in an unwanted area or if you have any bleeding, you can quickly wipe it up with a baby wipe before it dries. You can also use these to wipe the stencil clean if needed, but I prefer to wash with warm soapy water first. Then if there are any stubborn spots, I use a baby wipe.
5. Keep your stencils clean.
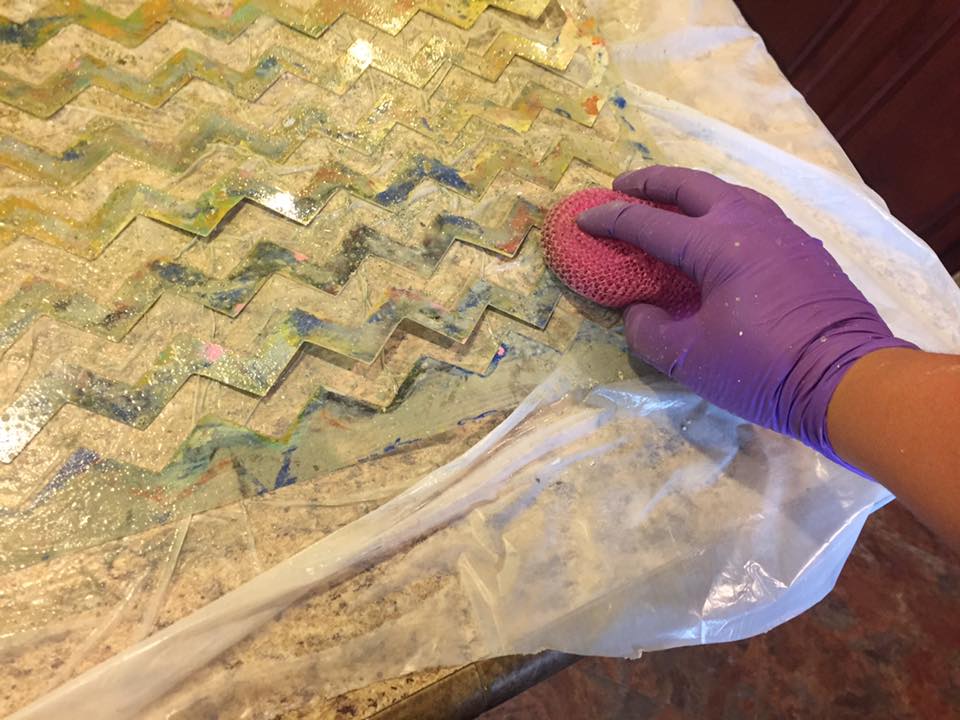
A stencil that has dried paint all over it will not work as well as a clean stencil! If you wash your stencils immediately after each use, you will get much better results each time you use them! Wash with warm soapy water! Gently scrub with a plastic pot scrubber or brush if needed. Just be careful of delicate areas so you don’t rip the stencil material.
Bonus!
Here’s a Facebook Live video that I did that shows another stenciling tip: how to use a small stencil on a large door hanger!
And, don’t forget the tips I shared in this blog post about choosing the best materials for making your own DIY stencils!
Note: Affiliate links included within this post for your convenience. As an Amazon Associate, I earn from qualifying purchases.
I hope these tips and tricks will help you use more stencils in your DIY painted door hangers and craft projects!
Don’t forget, I have a lot of my favorite products for using stencils listed in my amazon shop. Plus, you can purchase some of my most popular stencil designs right from my shop!

I really liked your way of presenting the article. Thank you for sharing this great article.