Supply List
- 18″ Circle Blank
- Snowman with Pipe Attachment Template OR Snowman with Pipe Attachment Blank
- one inch flat tip brush
- 1/2 inch flat tip brush
- small round tip brush
- 1/4 inch flat tip brush
- White 5M Posca Paint Pen
- Black 5M Posca Paint Pen
- Stick Fast Wood Glue
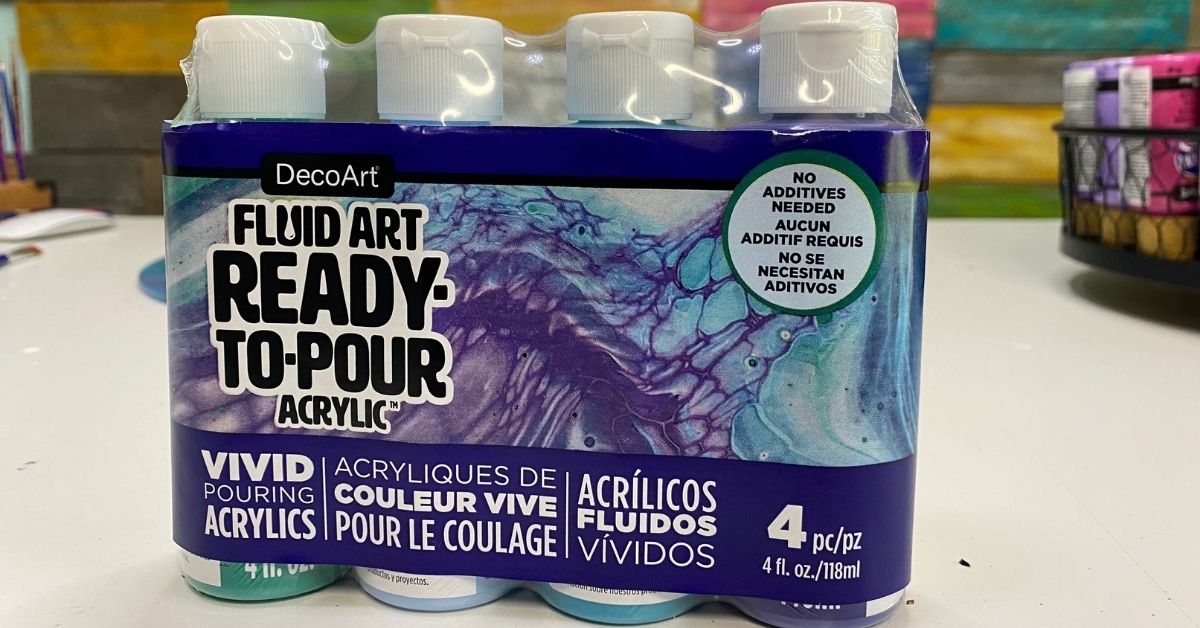
- Fluid Art Ready to Pour Paint Pack – Lagoon
- Fluid Art Ready to Pour Acrylic Paint – White
DecoArt Americana Paint Colors:
- Toffee
- Dark Chocolate
- Dragon Fruit
- Patio Paint – Pumpkin
- Black
- White
- Grey Sky
- Dazzling Metallics – Shimmering Silver
- Craft Twinkles – Crystal
- Glitter Basecoat
Note: Affiliate links included within this post for your convenience. As an Amazon Associate, I earn from qualifying purchases.

Gathering Supplies for Paint Pouring
First things first, I gathered my supplies. You can get an 18” round wood blank and the snowman with pipe attachment in my shop. There are also templates available if you’d rather cut your own snowman attachment. For the lettering, I chose a font in Canva and exported it as an SVG so that I could cut it on my Glowforge. Learn more about using Canva for hand lettering in this blog post! Once the lettering was cut, I painted it black and set it aside to dry! I went ahead and gathered the paint that I am using to paint my snowman attachment as well so that it was ready to go when I was finished with my paint pour.

Time to Paint Pour on Our 18″ Blank
Before paint pouring on my wooden round, I placed my round blank on some cups on top of cardboard so that it would sit up and the paint would drip onto my cardboard when I poured my paint.
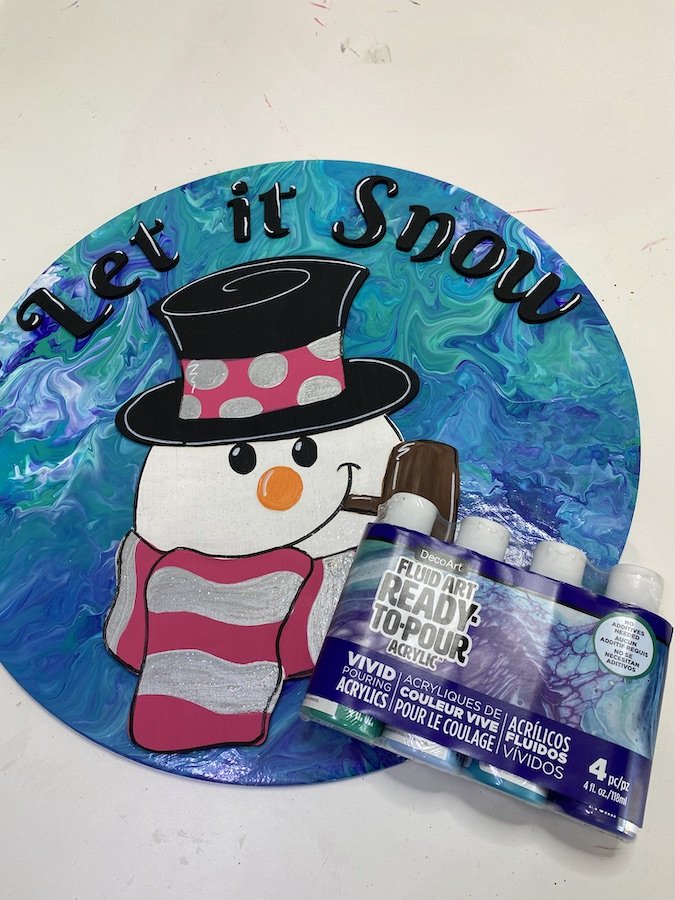
I chose the Lagoon Fluid Art Ready to Pour Paint Pack. It features Blue Violet, Aquamarine, Tropical Blue, and Sky Blue. I started by painting the entire background of the blank using White Fluid Art Ready to Pour paint.
Next I poured some of each color of paint into four different cups so that I had a good mixture of paints in all four cups. Using each cup pour the paint horizontally in lines across the door hanger. Using a hair dryer on low speed or a straw you’ll want to blow those streaks of paint across the door hanger so that the paint can mix together and achieve that fluid look. You can watch me paint this door hanger round here on my Facebook page, but be sure to keep reading to see what we did with it after!
Painting the Snowman with Pipe Attachment
Once the round door hanger is complete, set it to the side and allow it to dry. Grab your snowman attachment and start by painting the snowman’s face white using a one inch flat tip brush. Then, use the same brush to paint the snowman’s hat using black paint. Make a switch to a round tip brush and paint the eyes and mouth black. Next, using a 1/2 inch flat tip brush, paint the pipe using the color Dark Chocolate mixed with a little Toffee. Then, go back and add highlights with the Toffee color. Switching back to a small round tip brush, paint the nose using the Patio Paint Pumpkin color.
Add the Accessories and Details
Now it’s time to fancy up our snowman! Start by painting the scarf and hat band using the color Dragon Fruit. Next, using a small flat tip brush and the color Grey Sky, add polka dots to the hat band. I free-handed them for this tutorial but you can use sponge pouncers for this if you’d like, or you can trace the bottom of a paint bottle and paint it in.
Moving down to the scarf, add some stripes using a small flat tip brush and the color Grey Sky. Grab the Dazzling Metallics in Shimmering Silver and mix it with the glitter basecoat. Using this mixture, go over the Grey Sky paint you just used on your attachment to add some sparkle to the hat ribbon and scarf. Dry your attachment & then add a coat of Craft Trinkles in Crystal on top. This coat should be applied kind of thick. Finally, add a thin coat of the Craft Twinkles in Crystal to the snowman face using a one inch flat tip brush to really make it glisten like snow!
To finish up the attachment, use a Black 5M Posca Paint Pen to outline the edges of the snowman attachment and details. Switching to a White Posca Paint Pen 5M, add some detail lines to the snowman’s hat and pipe. When it is all dry, glue the attachment and letters to the round using Stick Fast Wood Glue. Finally, add some white accent lines to the letters to make them stand out even more and they’re ready to go. Hang on your door and enjoy or gift to someone who loves the snow!

Watch the Replay
The snowman with pipe attachment was filmed as a separate part of this tutorial, but you can catch the replay for that tutorial below! When you watch it, you can see the entire finished door hanger in all of its beauty. I hope you love it as much as I do!
Related Resources
- Learn how to use Canva to add hand lettering to your door hanger!
- Subscribe to my YouTube Channel and watch me paint.
- Like my page on Facebook and tell me what you made this week on my Made it Monday post!


0 Comments