Paint a Ceramic Truck with Tamara
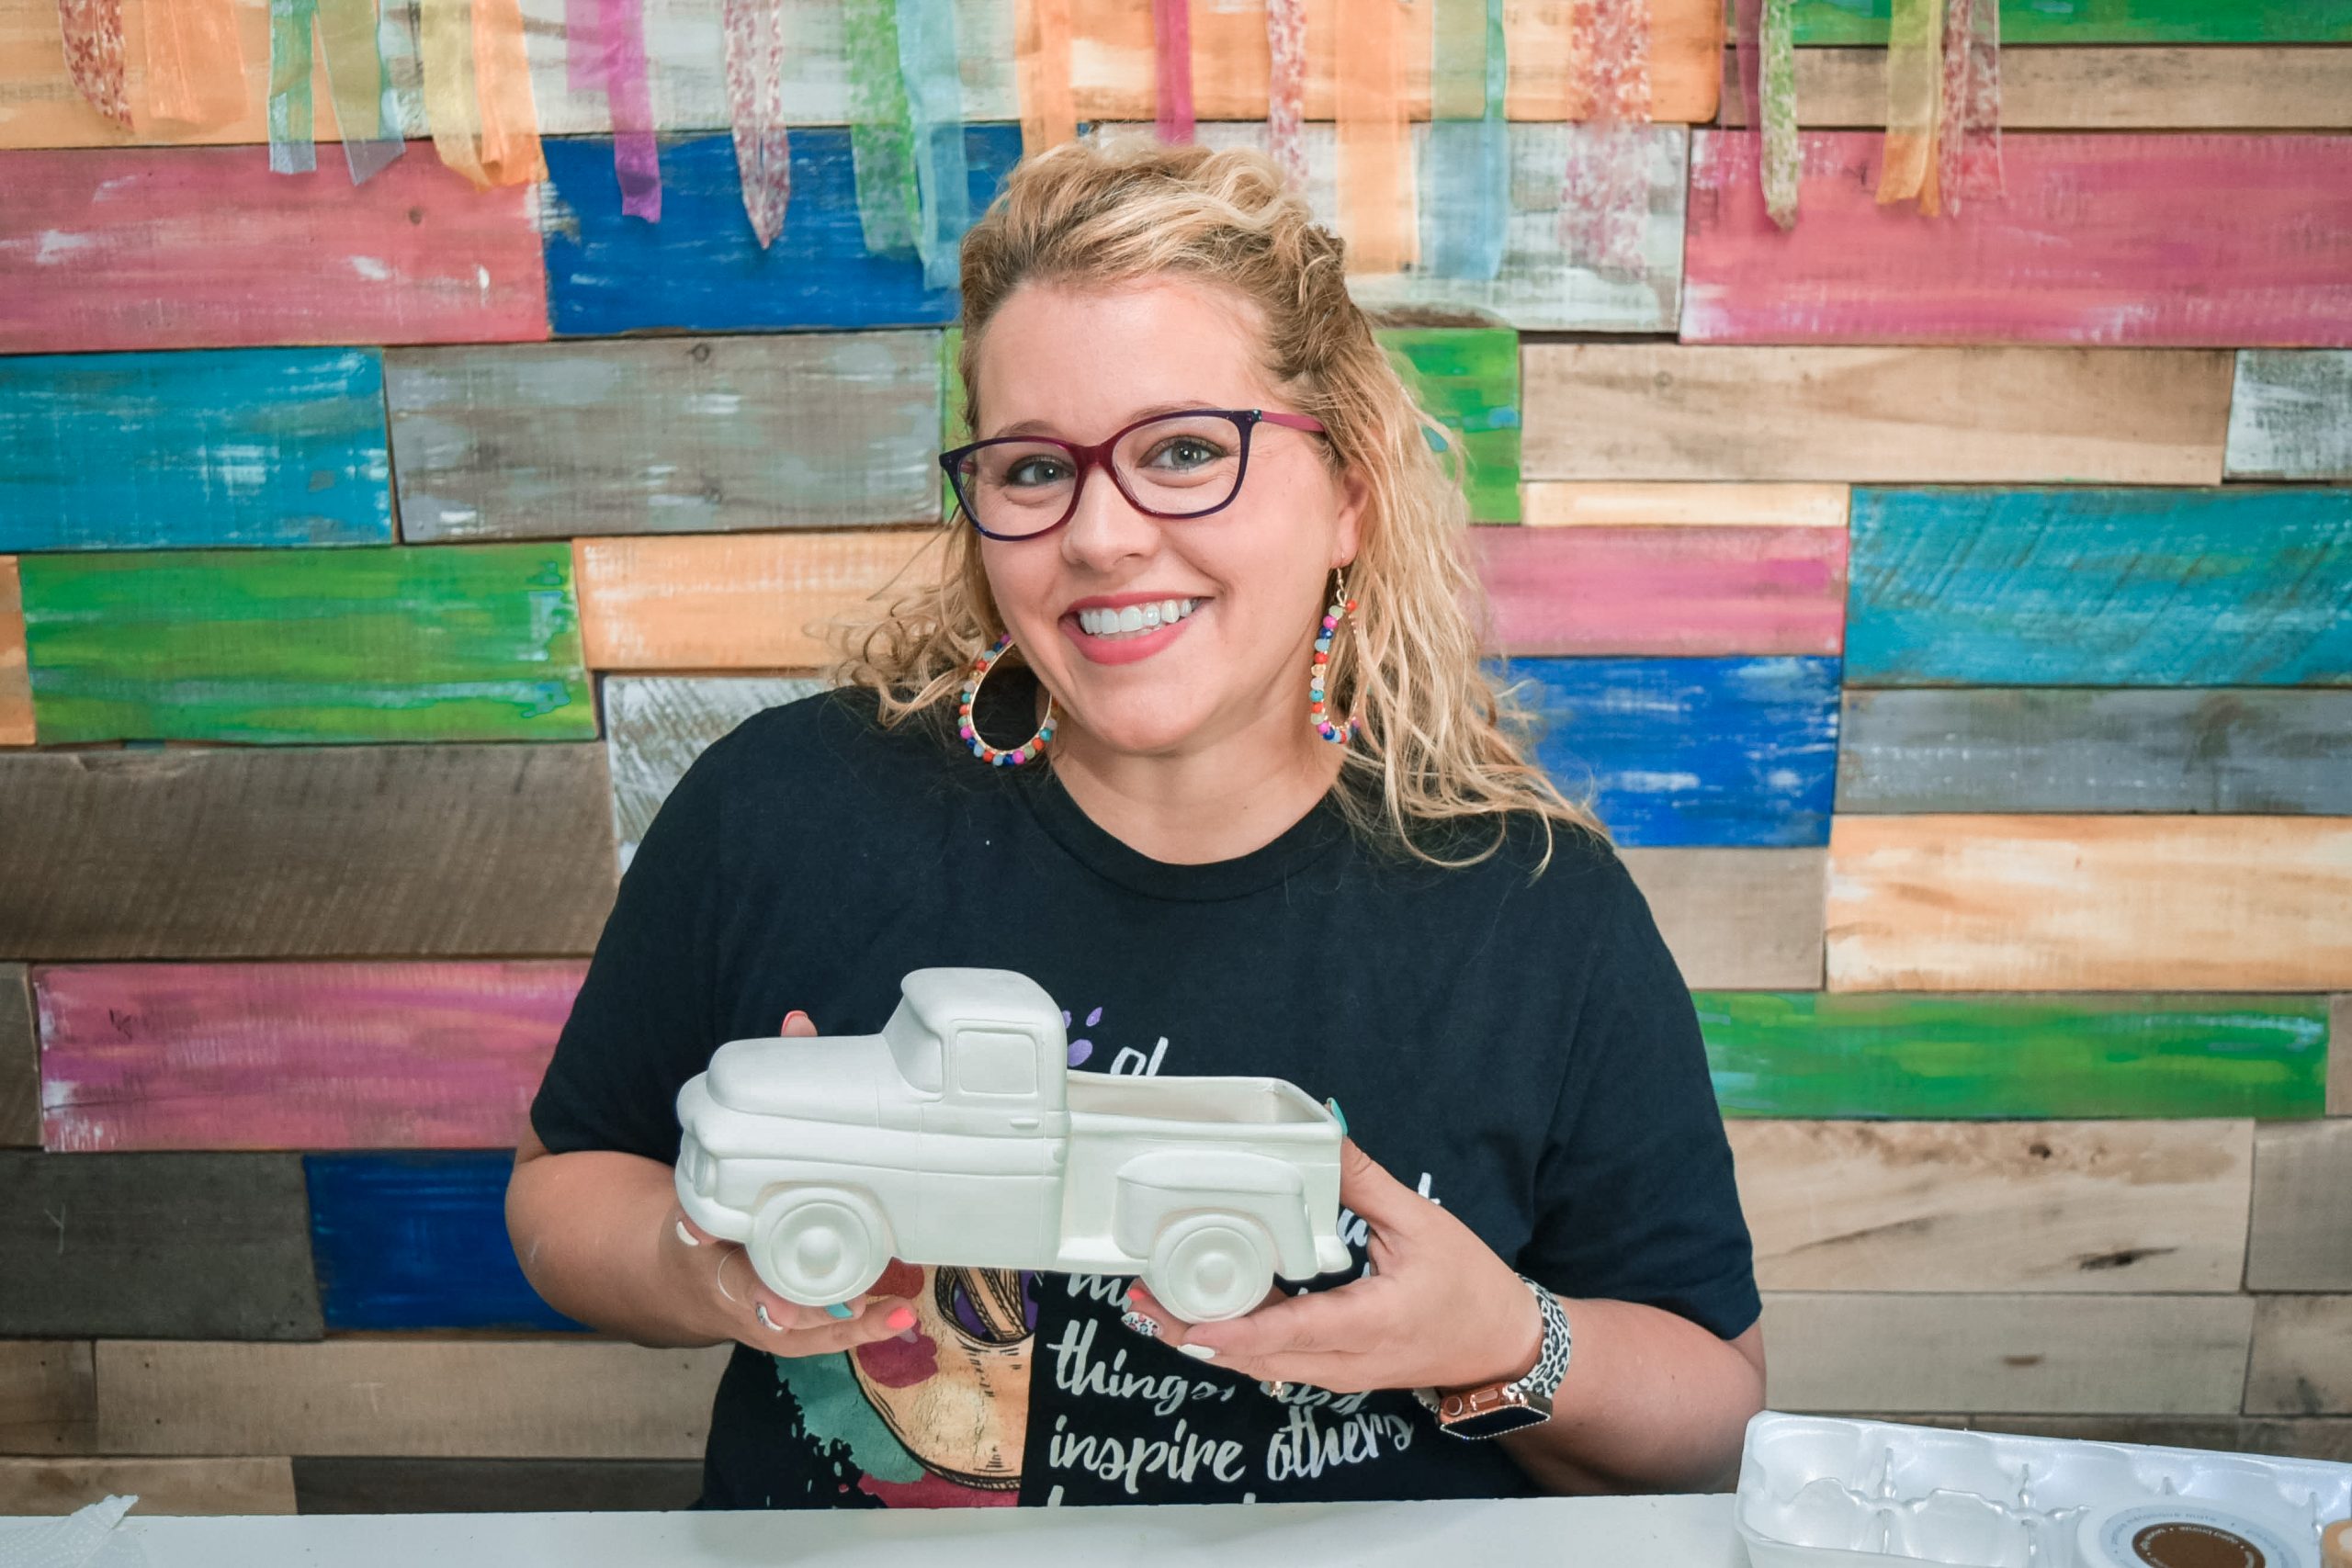
Hey guys, today on the blog we’re going to paint this 1955 ceramic truck! It’s a great year round decorative piece that can be paired with our interchangeable truck bed inserts for the various seasons and holidays. I love that versatility of these trucks and I’m so excited to paint this one with you today. Let’s dive right in!
Supply List
- 55 Pickup Truck, Ceramic
- 1 inch flat tip brush
- Small Flat Tip Brush
- Dry Brush
- Small frayed or older brush
- Round Tip Brush
- Liner Brush
- Paper Towels
DecoArt Americana Paint Colors:
- Dark Chocolate
- Victorian Blue
- Dove Grey
- Dazzling Metallics Shimmering Silver
- White
- Black
- Primary Red
- DecoArt Glazing Medium
- Americana Matte Metallics – Aged Bronze
Note: Affiliate links included within this post for your convenience. As an Amazon Associate, I earn from qualifying purchases.
Getting Started
To get started you will use a one inch flat tip brush to paint the entire truck using the color Dark Chocolate. Our truck will be blue when we are finished but this base coat allows us to give it a rustic look as we progress. Next, using a small tip brush, you will need to add some of the Americana Matte Metallics – Aged Bronze to create a rust look around the edges of your truck.
Using a dry brush, dip in the Victorian Blue and lightly dry brush it on the truck. You want the rust and brown to show though so it has that rusty look. Next, grab a small brush, and lightly cover it with dove grey paint and then feather the paint brush over the front of your truck. Finally you will dry brush the shimmering Silver in some places over the dove gray.
Painting the Wheels and Tires
Now that the base of the ceramic truck is painted I’m going to show you how to paint the details on the truck, starting with the bumpers. Using a small frayed brush, paint the front and back bumpers white. You want to feather the paint on the bumper so that it has the scratchy, vintage look. Next, using a round tip brush, paint the tires of the ceramic truck black. Then, going back to your rough, frayed brush paint the wheels of your truck using white paint dry brushed on. To finish the tires and wheels of your truck use a round tip brush, to paint the hubcaps using the silver paint.
Adding Details to the Ceramic Truck
First, using Dove Grey paint and a flat tip brush, you will want to paint the windows and headlights of your truck. After, you’ll switch to a round tip brush and blue paint to paint the circles around the headlights. Once your headlights are painted and outlined, use a liner brush and watered down black paint to add some lines to the headlights.
Next, you will add some black to the grill separating lines on the front of the truck. Then add a black line around the hubcaps of the truck. Finally using a tiny bit of Primary Red paint, paint the tail lights of your truck. Then grabbing your liner brush again paint the door handles and gas cap silver.
Let’s Make It Vintage
Now that the ceramic truck is completely painted, it’s time to give it that vintage feel. In order to this you’re going to mix DecoArt Glazing Medium with a little bit of black and brown paint. Using the same larger brush that you did the dry brushing with, put the Glazing medium mix all over your truck. Once it is covered, take your paper towels and wipe it off before it dries. If you feel like you have too much just dab the paint out with your paper towel. Ta da, your truck now has a vintage effect!
I hope that you’ve enjoyed painting this ceramic truck as much as I have. I encourage you to head to my shop and check out the various interchangeable truck beds. They are a great addition to your ceramic truck that changes with the seasons. I can’t wait to see how you paint this truck for yourself!


Where are you from? I want to paint the ceramic truck and do it as a fundraiser. I am located in Pennsylvania.
You can shop at shopdoorhangers.com. We are located in Kentucky but do not have a storefront!