Supply List
- Love Camping Template OR Love Camping Blank
- one inch flat tip brush
- 1/4 inch paint brush
- liner brush
- Pencil
- Ruler
- Sponge Pouncers
- Posca Paint Pens
DecoArt Americana Paint Colors:
Note: Affiliate links included within this post for your convenience. As an Amazon Associate, I earn from qualifying purchases.

Start with the Basics
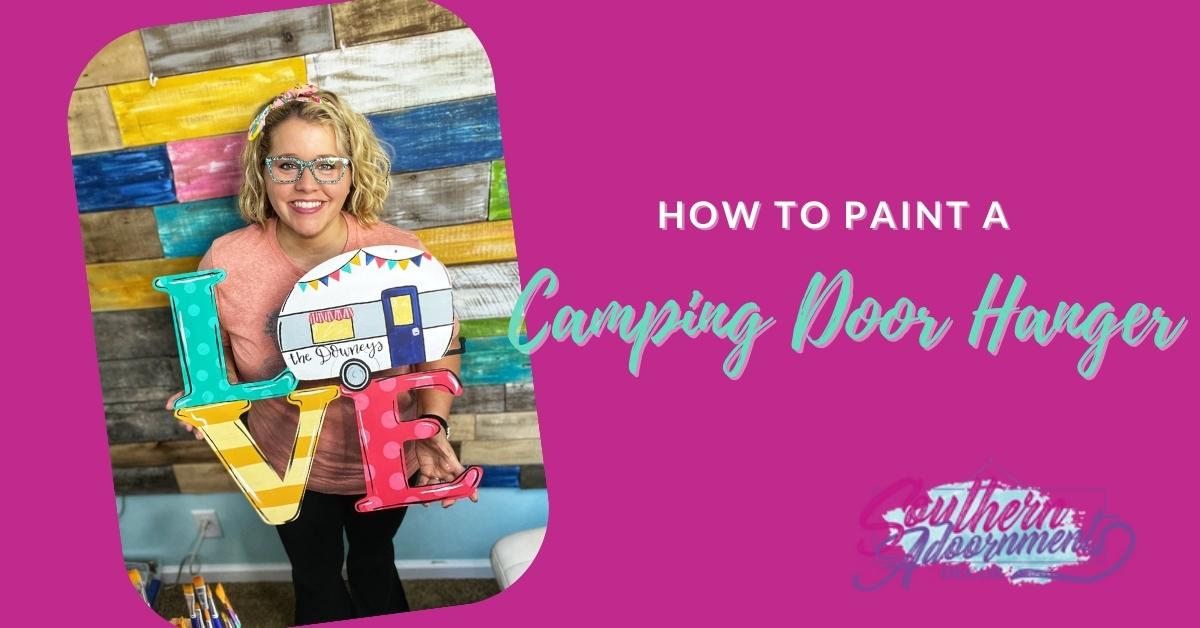
After you have gathered all of your supplies, we’re going to start with the basics of painting this camper door hanger! How fun is this door hanger for some camping decor for your campsite? I love it!
- Paint the camper white with a one inch paint brush.
- Paint the letter L with the color Teal Mint.
- Paint the letter V with the color Marigold.
- Paint the letter E using the color Watermelon Slice.
- Once each letter has dried, add a second coat of paint to each.
This is our foundation for our adorable door hanger!
Add Polka Dots
Two of our letters are polka dotted using the sponge pouncers I have available in my shop. Looking for how to do polka dots? Check out this blog post!
- Mix White paint with the Watermelon Slice to create a lighter shade.
- Use a large sponge pouncer to dot the E with this lighter shade of Watermelon Slice.
- Mix white paint with the Teal Mint to create a lighter shade.
- Using a small sponge pouncer, dot the L with the lighter Teal Mint shade.
Add Stripes
Now that we’ve added our dots, it’s time to add our stripes to our letter V. We will use a ruler to create these lines.
- Using a ruler and a piece of chalk, create lines across the V the width of the ruler.
- Mix White paint with the Marigold to create a lighter shade of yellow.
- Using a one inch paint brush, paint alternating stripes on the V.

Paint the Camper
It’s time to paint our camper! I’m doing this so that the colors flow well with the rest of the door hanger but you can customize this camper however you like and with whatever colors your prefer.
- Using a ruler and pencil, add horizontal lines to the camper and create the door.
- Using a pencil, freehand a window and shade on the camper.
- Use the color Grey Sky and a 1/4 inch paint brush to paint the horizontal stripe that runs across the camper.
- Use Black paint and a 1/4 inch paint brush to paint the tire and hitch.
- Use the color Grey Sky to paint the hubcap.
- Use the color True Blue to paint the door on the camper.
- Add a second coat of paint to the door.
- Use White to highlight the strip of Grey Sky on the camper.
- Using the Marigold and White paint you mixed earlier, paint the window on the camper and door.
- Paint the curtains using the Watermelon Slice paint that was used to paint the letter E.
- Using White paint and a liner brush, add some lines to your curtains.
- Grab a Black Posca Paint pen and add bunting across the top of the camper.
- With a pencil, draw triangles on your bunting.
- Paint the bunting using the colors Teal Mint, Marigold, Navy, and Watermelon Slice with a liner brush.

Final Details
Now that we have the camper painted and the letters done, it’s time to add the final details to our door hanger.
- Outline the details on the camper using a black Posca Paint pen.
- Add a handle to the door using a silver Posca Paint Pen.
- Use a White paint pen to add a circle to the tire.
- Looking to customize your camper? Hand letter a family name with a Posca paint pen.
- Add some outlines to the letters using a fine tip paint brush with Black paint.
- Using white paint add some highlight lines to the letters.
Ta da, your Love Camping door hanger is complete! Hang it on your camper door and decorate your campsite!
Catch the Replay
That’s our Love Camper Door Hanger! What do you think, do you love it? If you’d like to catch the replay, you can watch it on YouTube below. It was so much fun to paint with you guys and this design is perfect for summer!
Related Resources
- Like my Facebook Page and follow along!
- Join my Painter’s Clubhouse Membership and learn more techniques just like this one!
- Subscribe to my YouTube channel!


0 Comments