
Sealing a door hanger is among one of the final but very important steps when it comes to painting door hangers. After all the work that you pour into your door hanger, you want to be sure that it lasts. Sealing your door hanger is a great way to preserve the bright colors and protect the paint, so let’s dive in to how to do it!

Wait for the Door Hanger to Dry
One of the most important steps when it comes to sealing your door hanger is that you wait for it to dry thoroughly. This is especially important if you are using the brush-on gloss varnish because you don’t want to smudge your door hanger. If you ever find yourself trying to fix a smudged door hanger, check out this blog post. You might want to bookmark and save it for later!
Choose the Sealer You Want
I often use either the Rust-oleum Lacquer Spray or the DecoArt brush-on DuraClear Gloss Varnish. The spray sealer goes on much quicker, and is an easy and quick way to get a good, smooth coverage. You can build up the gloss by adding multiple coats. The DuraClear Gloss Varnish is also a great option, especially if you love a glossy finish. The brush-on Gloss Varnish typically is glossier than the spray-on but because it is a brush on it is typically not as smooth as the spray. For a deep dive into choosing the best sealant for your door hanger, check out this blog post!
Using the Spray
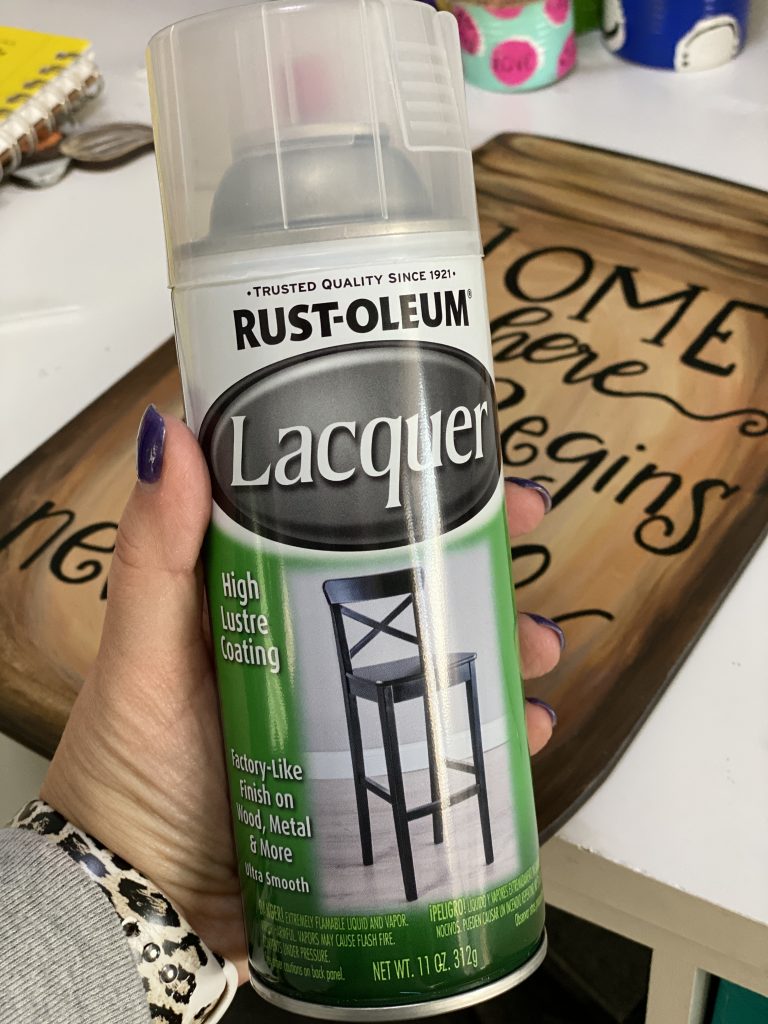
If I use the Rust-oleum Lacquer Spray I will wait for my door hanger to completely dry then take it outside and give it a good spray. I recommend taking it outside just so you don’t get overspray or those paint fumes in the house.
Using the Brush-On Gloss

When using the brush-on gloss it’s even more important to let your door hanger completely dry! Once it is dry I take a wide flat tip brush and brush it on in up and down strokes. It’s so important that your brush strokes go the same way so that you can get as smooth of a finish as possible when using the brush. By doing this you will still be able to see brush strokes up close, but when it’s hung on a door you won’t even notice!
Allow the Sealant to Dry
I always recommend setting the door hanger aside to dry before you add a hanger to the back or package it up to gif or ship. You don’t want your sealant to leave a smudge on your door hanger because you didn’t wait long enough for it to dry. If you can set it outside when the weather is nice, that will sometimes help it to dry more quickly.
Get a Free Template and Start Painting
If you want to paint pretty door hangers too then you need to sign up for access to my free template library! It’s a great place for the beginner painter to try their hand at printing and using a template for door hangers. I can’t wait to see how you paint your first one!

0 Comments