
Where to find the Trays for Etching with a Thunder Laser
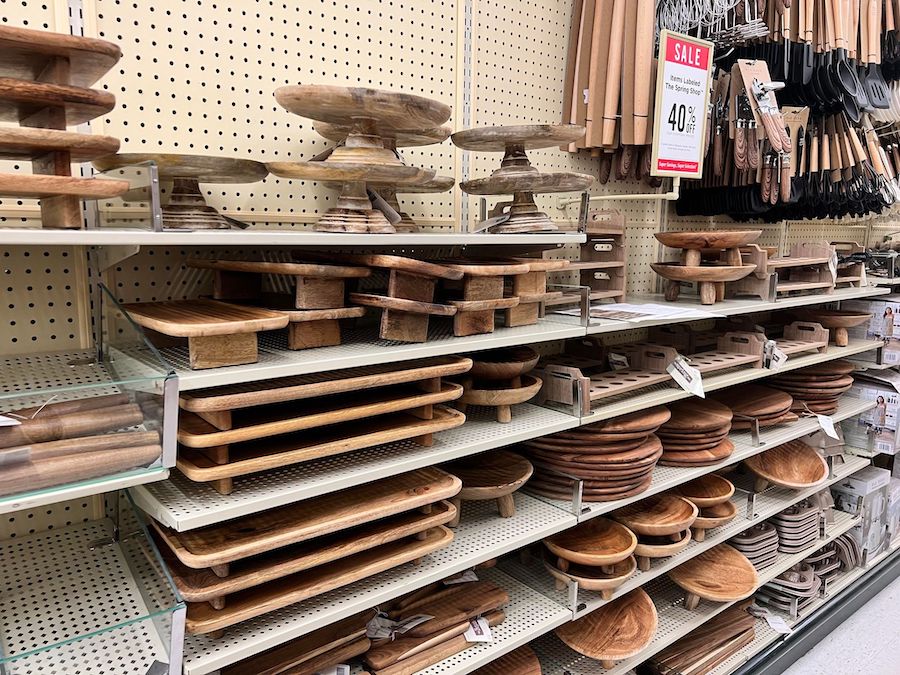
I came across these wood trays at Hobby Lobby in their Spring Shoppe collection. I highly recommend checking their seasonal department next time you’re in there for these adorable blank trays. They were even 40% off! You could also check the craft and home accents departments as they may also have options available there.
Creating the Design for Etching with a Thunder Laser
I first created a design that I liked in Procreate on my iPad and exported it as a jpeg. If that sounds foreign to you, then I recommend you join my Procreate for Makers course. It’s a course where I teach you in bite-sized tutorials how to use Procreate to design templates or artwork. Once my design was exported, I imported the jpeg into Lightburn on my MacBook. I was then able to select the image, click “Tools” and then “Trace Image”. This is a quick way to create a vector graphic from a jpeg that can be cut in Lightburn.

How to Trace with the Thunder Laser Camera
Once my image was in LightBurn, I used the camera on my Thunder Laser to position the design over the center of the wood tray. To make sure the design was aligned and in the perfect placement, I used the “trace outline” function in LightBurn. This is probably one of my favorite functions! It shines a red laser beam onto the wood surface and without any heat, the laser moves around the perimeter of the design boundaries. If the red beam goes off the edge of the wood or is not moving in a straight line across the wood tray’s surface, then you can reposition the tray and trace again. This is such a lifesaver as doing this will prevent wasting the wood tray if you have an error!

How to Etch with the Thunder Laser Nova 24
Once everything was aligned for tracing, I set the artwork to engrave at 450 speed and 60 power. Can you believe this whole job only took about 20 minutes? The speed at which the Thunder Laser can get a job like this done is so convenient. I am even more impressed that there is no need for using a masking material. Once the job was complete, I wiped the soot off the surface of the wood tray with a baby wipe and it was ready to go!

How to Etch with the Thunder Laser to Pay for Your Machine
This is just one of the many projects that you can DIY with the Thunder Laser Nova 24. I’d encourage you to do projects like this and sell them so that you can help pay for the Thunder Laser. I know it’s an investment if you choose to purchase, but the possibilities to what you can make are endless. This particular etched tray would be a great gift for a friend of an item to add to your store! If you don’t have a Thunder Laser and you’re considering purchasing one, I encourage you to checkout this blog post on using the Thunder Laser in your business. If you’re trying to decide between purchasing a Glowforge and a Thunder Laser and looking to see which product is best for you, checkout my blog post where I compare the two. If you’re ready to purchase a Thunder Laser you can purchase here at my affiliate link.

0 Comments