
Some of the links shared in this blog post are affiliate links. This means I make a small commission when you purchase through these links at no extra cost to you. All opinions and reviews shown are honest and my own. Thank you for supporting my small business!
I always love finding new ways to work with the classics. Truck rears have been a staple at Southern Adoornments for quite some time, but recently, a lightbulb went off about how I could shake things up.
I’ve been seeing all things bumble bees everywhere — not just online, but also in my favorite craft stores. So, I thought…why not combine a new trend and an old favorite?
That’s how the project you see here came about. Check out this FREE bee truck rear door hanger tutorial below and watch this idea come to life!
Rather read the notes? This post has them all, step-by-step!
Supply list for your truck rear door hanger tutorial
Before you get started, take a moment to gather your supplies:
- Bee Truck Rear Door Hanger Template
- Bee Truck Rear Door Hanger Blank
- Jigsaw (for cutting out your wood blank)
- Sander (for smoothing out the edges of your wood blank)
- 18” graphite paper
- Pencil
- Flat tip paint brush
- ½” Angle paint brush
- Round tip paint brush
- Blow dryer (for speeding up the painting process!)
- Paint pens in black and white (either Posca or Artistro)
- DecoArt acrylic paint in the colors of your choice
Step #1: Print out your template and cut your wood blank
If you need the template for your door hanger, you can purchase it here! You’ll use it to guide you as you cut your wood blank and trace the design for the painting portion of this tutorial.
If you don’t want to cut out your own door hanger, you can purchase the pre-cut wood blank here!

P.S. If you’re cutting out your own wood blank, you’ll likely have a little bit of splintering on the edges. That’s where sanding comes in! Make sure you smooth out all the edges before getting started so your paint goes on smoothly, too.
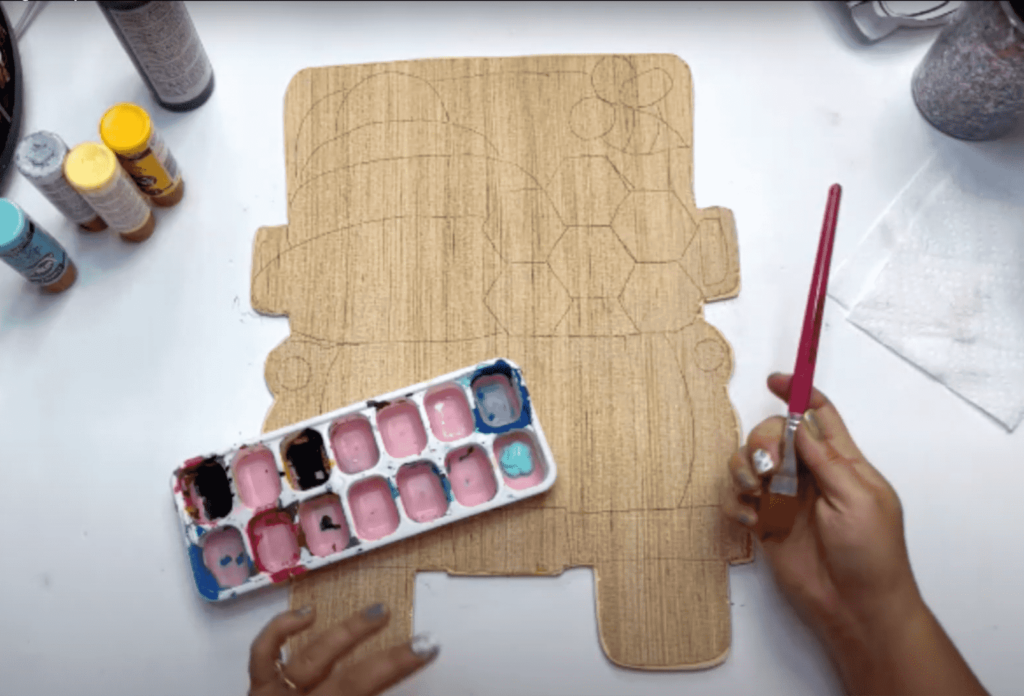
Step #2: Trace your design
After you have your wood blank cut out, take your graphite paper, and place it on top of the blank, followed by your template on top of that.

You’ll then take your pencil and trace the design.
Know that it’s okay if it’s not perfect! These lines are there to support you, not hinder you! Think of them like bumpers at the bowling alley — just there to keep you going in the right direction!
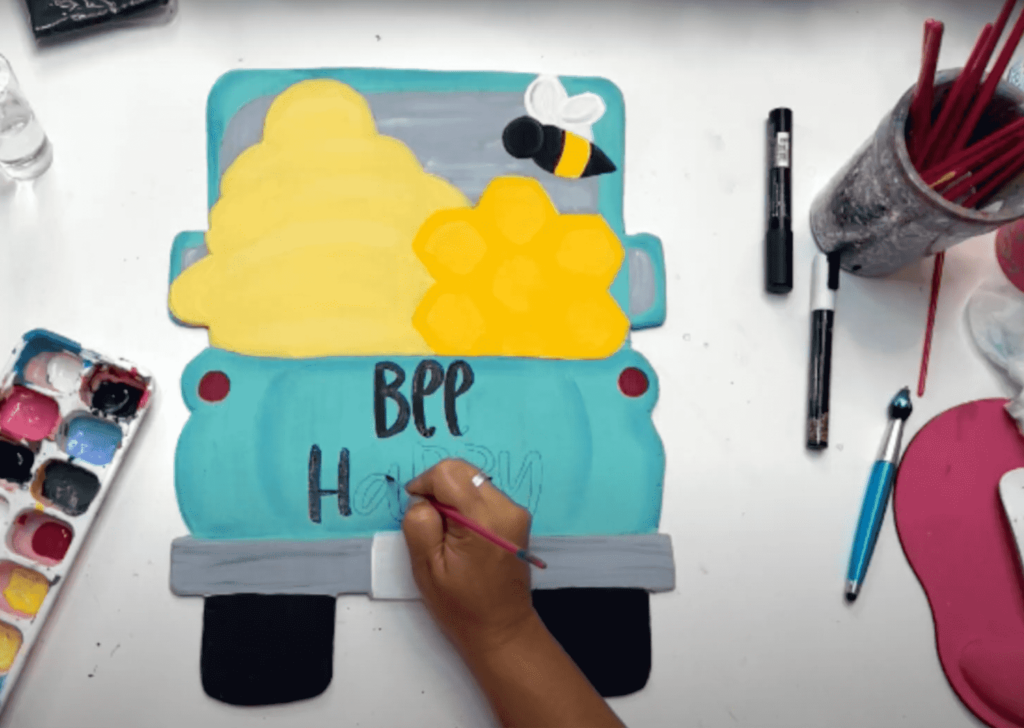
Step #3: Paint your door hanger
Of course, you can pick any colors your heart desires! I would just recommend staying away from orange or yellow as your main color since the honeycomb and hive details will be yellow.
Once you have all your colors picked out, start painting the base coat, following the lines you traced with the graphite paper. (Again, don’t worry if this isn’t perfect — everything is fixable!).
Don’t forget to paint the edges for a nice, smooth look overall. If you ordered a door hanger blank from our shop, or cut your door hanger with a laser machine, you can ignore this step since the machine automatically creates a black line along the edges.

P.S. Need to speed up the drying process? Use a blow dryer on the low heat setting in between coats!
Step #4: Paint the details
Once you’ve painted your base coat, it’s time to add those fun, whimsical details! For this part of the project, I like to use water-based paint pens because they’re easier to use and a little less messy.
If you decide to use a paintbrush, go for a small, round-tip one. Apply more pressure to get thicker lines, or paint just with the tip of the paintbrush for smaller, fine lines.
Now, line your template back up to your design and trace the lines of the details. On this door hanger, that includes the bumble bee, headlights, and hand lettering!
I use a black paint pen to trace along the edges, and then go back with a white paint pen to add subtle details that help polish it up!
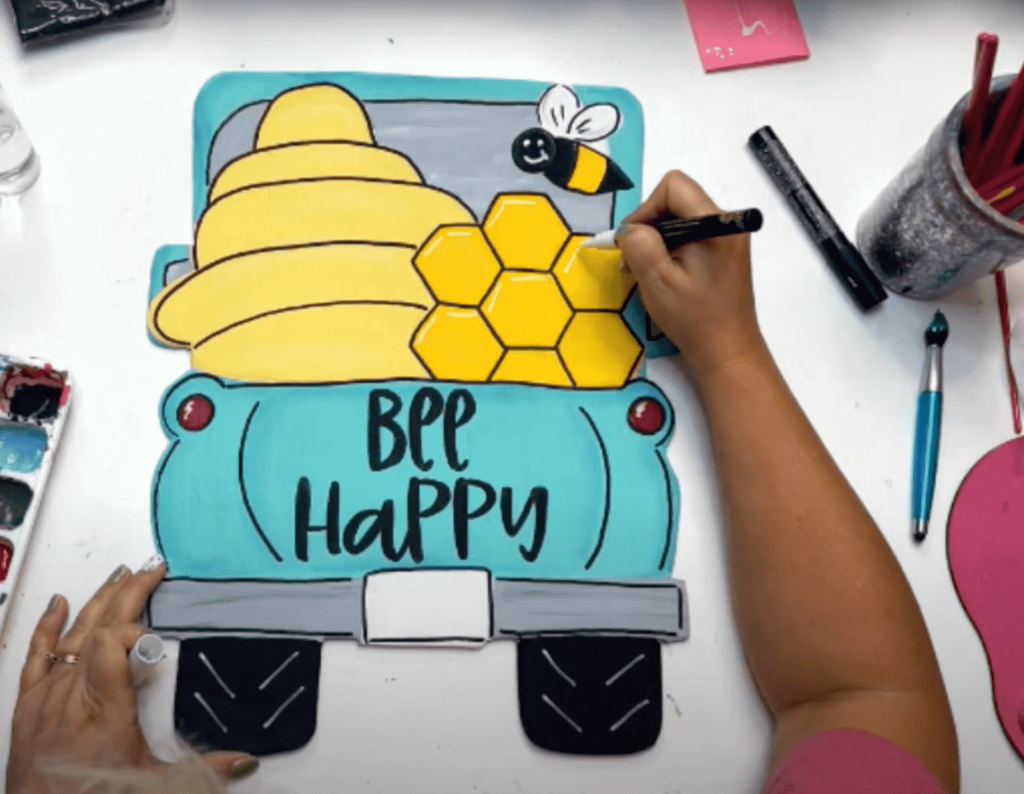
And there you have it! One beautifully painted door hanger!
There’s more where that came from!
Did you enjoy this door hanger tutorial? Well…there’s a whole lot more where that came from! Inside the Painter’s Clubhouse, we have monthly door-hanger projects, with templates, supply lists, and live tutorials.
You’ll get hands-on support as you create a new door hanger each month, have the chance to make friends, ask questions inside our private Facebook group, and so much more!
Sound like something you’d enjoy? Learn more about the Painter’s Clubhouse here!

0 Comments