Some of the links shared in this blog post are affiliate links. This means I make a small commission when you purchase through these links at no extra cost to you. All opinions and reviews shown are honest and my own. Thank you for supporting my small business!
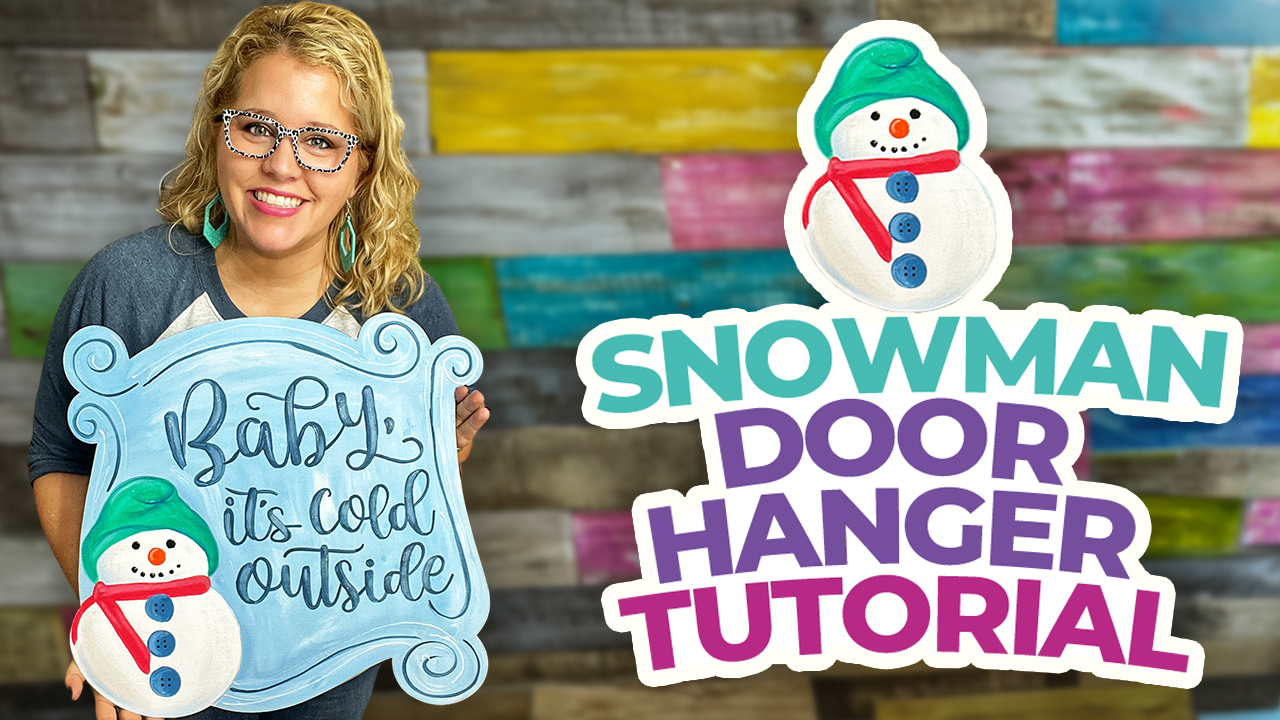
This Snowman Swirl Winter Door Hanger has been a crowd favorite since its release in my shop! With a whimsical blue background, swirling snowflakes, and glittery details, this project is both festive and fun to create — just in time for January too!
Whether you’re using our laser-etched wood blanks or working from a template, this step-by-step tutorial will show you everything you need to know to create your own!
Supply List for Your Snowman Swirl Winter Door Hanger
Before you get started, gather your supplies. Many of these are available in my shop, on my Amazon storefront, or at your local craft store:
- Deco Art Acrylic paints in the following colors:
- Flat-tip paintbrush
- Round-tip paintbrush
- Baby wipes (optional, but great for quick cleanups)
- Hair dryer (optional for faster drying)
- Craft paper or a plastic tablecloth to protect your workspace
- Snowman Swirl Frame Door Hanger Template
- Snowman Swirl Frame Door Hanger Template Blank
- Crystal Gloss Enamels Glitter
- 3D Puffy Paint – White Glitter
- Writer Bottle with Black Paint
Now you’re ready to get paintin’!
Step #1: Painting the Background
If you’re using our etched blank, the lettering and design will be etched when you receive it in the mail. These are much easier to follow along with, but if you want to take on a creative challenge and work off the template, I have a tutorial for you here!
For the base coat, we’re going to use DecoArt Baby Blue. For a softer look, you can mix in a little white too! Apply your paint in thin, even layers with a damp flat-tip brush.
Allow each coat to dry completely before adding the next — or use a hair dryer to speed up the process.
Step #2: Paint the Snowman
Start with a coat of white paint for the snowman’s body. Apply a second coat to get that bright, clean finish.
Worried about painting perfectly inside the lines? The laser etching gives you a great guide, but if you get a little paint outside of them, don’t worry too much! There are plenty of details throughout this winter door hanger that can easily cover it up.
Step #3: Add Colorful Details
Now we’re going to paint some of those snowman details. I used Watermelon Slice for the scarf and Paradise Green for the hat. Use a smaller brush to get even strokes, and then wait for the first layer to dry before adding a second one.
Then, use a darker blue to add some depth to the edges of the hat. Blend the paint with a damp brush for a smooth gradient effect. You can even add a touch of white to lighten the gradient!
Next, take a Filbert tip brush to paint the rounded buttons. For the buttons, I used Victorian Blue, and for the carrot nose, Orange Flame with a small round-tip brush.
Step #4: Lettering and Facial Features
We’re going to jump ahead to what seems like a later step, but it will be easier to paint in this order. Otherwise, you risk smudging your work!
Let’s start with the lettering. You’ll need a round-tip brush to follow the etched lines or the lines you traced with your template. Start with thin, steady strokes, then flatten out when you need thicker lines (I show you how to nail this down in the full video, so make sure you watch to the end!).
For the eyes, mouth, and buttonholes on the snowman, you’ll need a writer bottle with black paint. This allows you to easily dab on those tiny dots and gives it that coal-like texture!
Let everything dry completely before moving to the next step.
Step #5: Add the Finishing Touches
This is the fun part! First, let’s paint the swirls. You’ll need your darker blue. Use white glitter puffy paint for swirls in the background and along the edges. You can also use a writer bottle if you want finer, more controlled lines.
Add a subtle highlight to the buttons, hat, and scarf by using a damp brush and a tiny bit of white paint. Imagine where the light would naturally hit to guide your placement.
For the iridescent highlights, use Crystal Gloss Enamels Glitter with a flat-tip brush. I added this to the snowman and highlighted it throughout, but you can add glitter and customize it to your heart’s content!
Step #6: Seal and Protect
Once your design is complete, let everything dry thoroughly. Seal the door hanger with a clear, weatherproof spray to keep it vibrant and protected all season long — even when it gets frosty outside!
Join the Template Club for More Door Hanger Templates Like This!
Ready to unlock more door hanger designs like this? Say hello to the Template Club, where you’ll get fresh designs delivered straight to your inbox every month!
With 20+ NEW door hanger templates (before anyone else can grab them!) at 70% off, you’ll never run out of creative ideas for your paint parties, craft shows, or personal projects.
Each template comes in multiple formats — JPEG, PDF, SVG, DXF, and EPS — making them perfect for laser-cutting machines or tracing. When you join, you’ll also unlock access to our entire template library, with over a thousand designs!
And at just $42 per month, this membership practically pays for itself!
If you’re interested, you can https://southernadoornmentsdecor.com/template-club/!


0 Comments