Some of the links shared in this blog post are affiliate links. This means I make a small commission when you purchase through these links at no extra cost to you. All opinions and reviews shown are honest and my own. Thank you for supporting my small business!
Learning how to cut my own wood blanks has made it so much easier to get creative while painting (and save some money, too). While I know wood blanks can seem a little intimidating at first, having the right tools can help!
In this post, I’m going to show you what tools you need, and how to use them correctly, so you can get started ASAP.
Ready to take the confusion out of using these tools to cut your door hangers? Let’s dig in!

(Like this “Gettin’ Jiggy With It” t-shirt? You can grab one right here!)
Recommended tools to cut door hangers
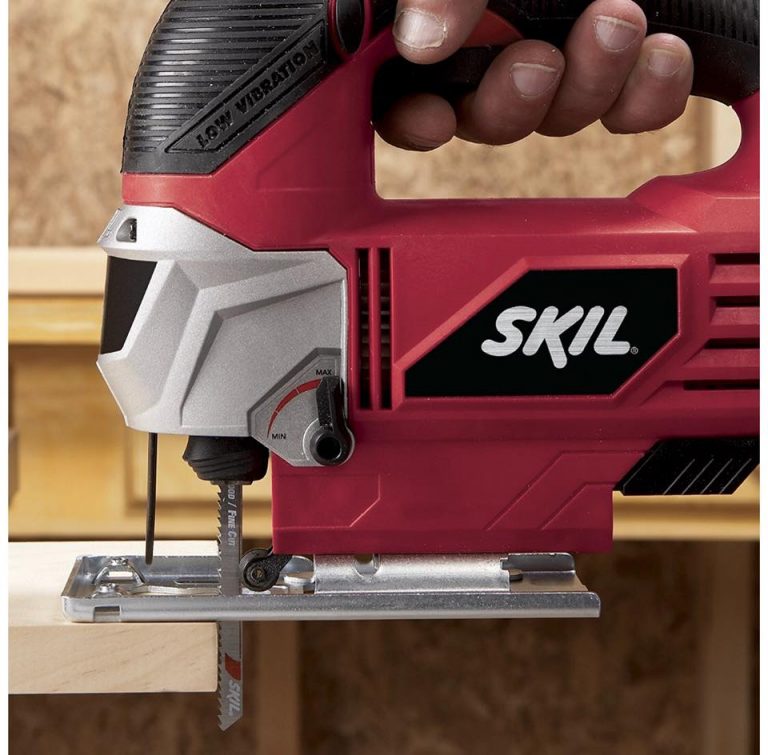
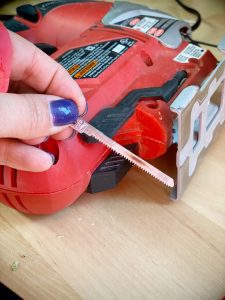
(Of course, you’ll also need a door hanger template to guide you as you cut your blank. You can pick yours out here!)
Yes, really, that’s it! You don’t need to go all out with the fanciest tools. Sometimes simple IS better.
But I do have to tell ya…if you’re using a jigsaw that belonged to your grandfather from 40 years ago, it’s time to purchase a newer model! Older jigsaws are much heavier, harder to manage, and will make your arm ache. It is quite the workout!
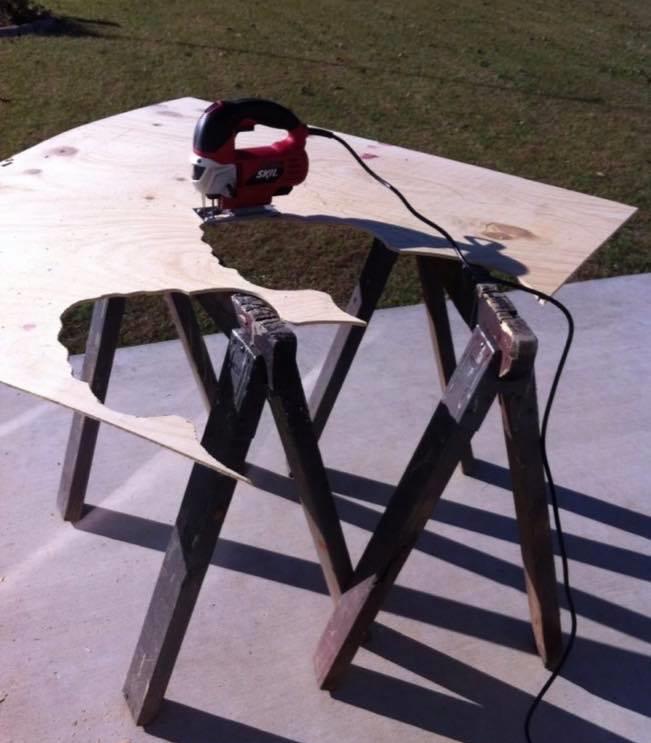
But the Skil jigsaw I use is lightweight and easy to use, so you won’t have to worry about any of that!
Wait! How do I know I have the right blades?
If you’ve ever been to the hardware store, you will notice that there are multiple types of blades. How do you know which ones are right for your project (especially when they all look pretty similar)?
There are two different kinds of blades: U Shank and T Shank. If you purchase the Skil Jigsaw I recommended, you’ll need to purchase U Shank blades.

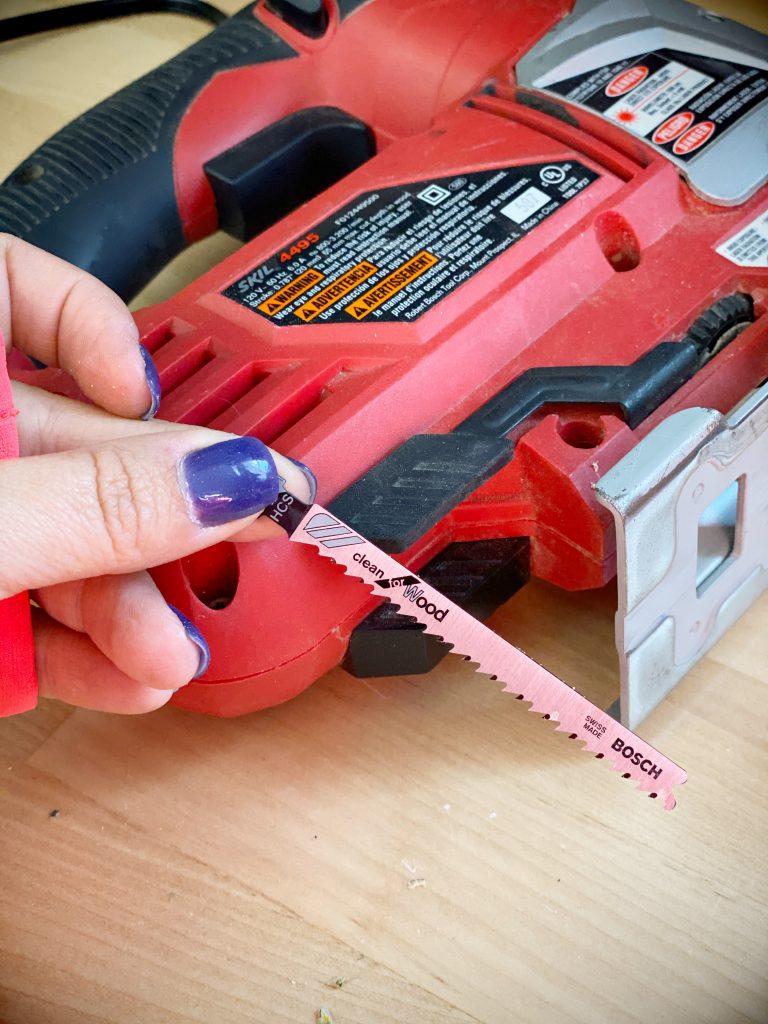
But even then, there are also different blades for different projects. Some are made for cutting metal, wood, or other types of materials. You’ll need one that’s made for cutting wood!
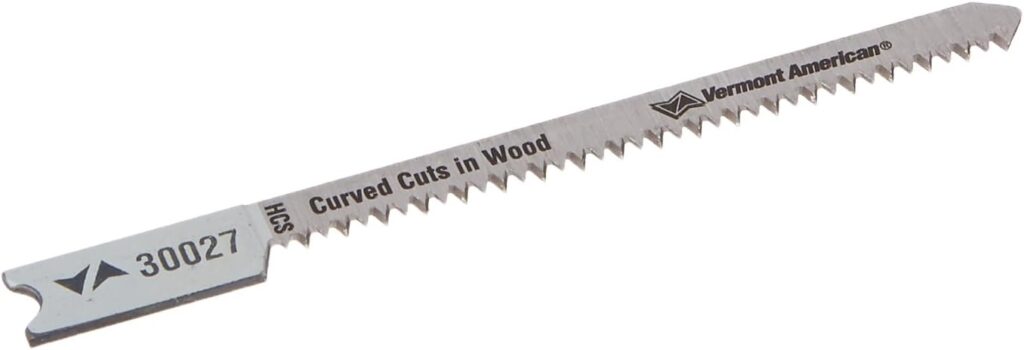
Now, for something as delicate as a door hanger with lots of intricate curves and small areas to cut, you will need a blade made for scroll cuts.
These blades are quite narrow and can be almost 3” long. They come with different TPI options (TPI means “teeth per inch” ). I recommend a scroll blade with 20 TPI for the smoothest cuts and getting into tight corners.
Using your jigsaw and blades together
If you’ve never cut a door hanger blank before, expect to go slow and make mistakes. It’s all part of the learning process! If you feel like you’re in a tight spot and can’t make the turn with the jigsaw, back up just a bit and then keep going.
Another tip? You can always practice with some wood scraps before working on your blanks. Try drawing different practice patterns and designs so you can get used to the feel of maneuvering the saw handles around the shape.
If you’re still having trouble cutting the wood, try placing your wood blank on top of two sawhorses. This will help you keep everything steady as you go!
Catch the whole process step-by-step!
Want to see this process in action? Check out the FREE Door Hangers for Beginners Mini Course! I have an entire section dedicated to cutting and sanding your own door hanger blanks. You’ll see how to do everything, step-by-step!
Of course, if you’re still uneasy about cutting out your own wood blanks, we have pre-cut blanks in our shop! You can find one for nearly any project you need. Each one even has a matching door hanger template to go with it!
We also sell them in bulk, so if you’re looking for something for your next paint party or craft fair, you can get them all shipped to you directly, all at once!


0 Comments