
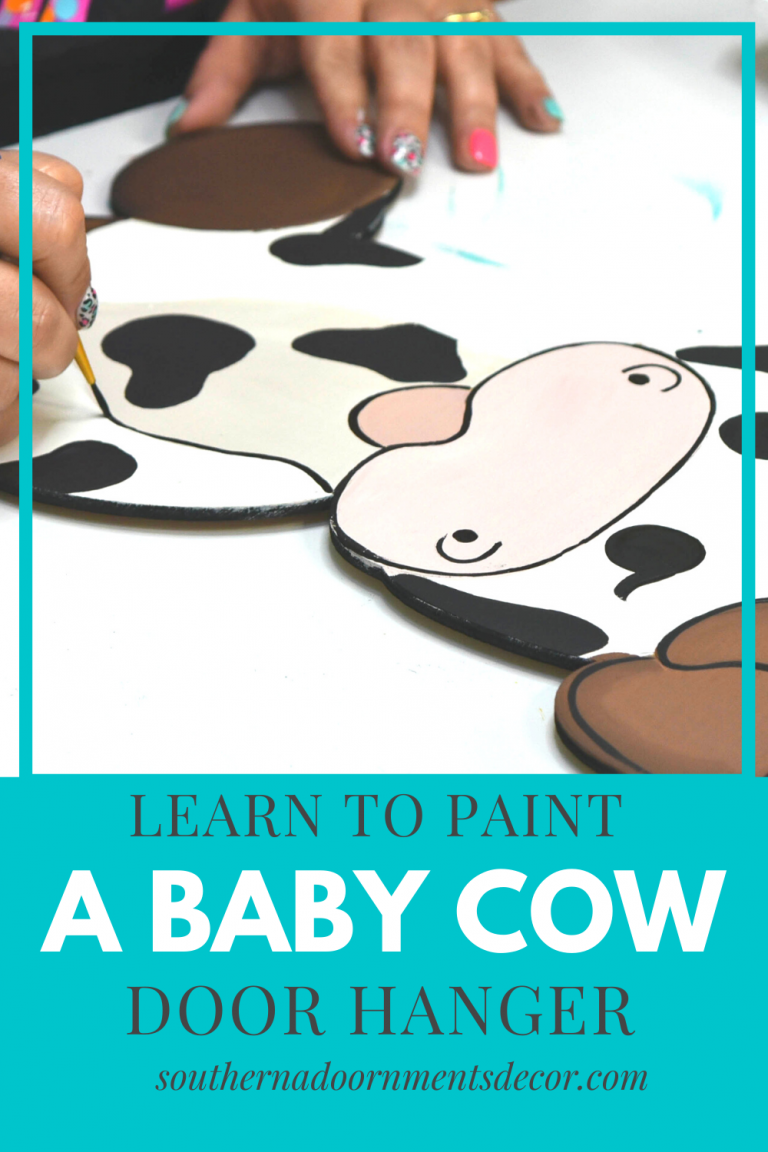
Hey ya’ll today we’re going to be painting this adorable baby cow door hanger! It reminds me of the times I used to show cows as a kid. In case you missed the Facebook Live Tutorial where I painted this baby cow, we decided to name her Gerty. Isn’t that the cutest name? This door hanger is available in my shop as either a 2D Blank or a 2D Blank with a 3D Bow, which is what we’ll be painting here today. Let’s get started!
Supply List:
- 1 Inch Flat Tip Brush
- Angle Brush
- Small Round Tip Brush
- Stick Fast Glue
- Baby Cow Blank OR Baby Cow Template OR Baby Cow Blank with 3D Bow
DecoArt Americana Paint Colors:
Note: Affiliate links included within this post for your convenience. As an Amazon Associate, I earn from qualifying purchases.
Paint Your Background Colors
To get started we’re going to use a 1 inch flat tip brush to paint the cow’s face and legs with a mixture of 1/2 white paint and 1/2 buttermilk. If you have an etched blank don’t be afraid to paint over the spots. Once the face and legs of the baby cow door hanger are painted, we’re going to paint the belly of the cow using Oyster Beige. Next mix the Blush Pink and Toffee to create a lighter shade of pink to paint the cow’s snout. After the snout is painted we’re going to paint the ear and hair on the cow’s head using Sable Brown. Finally, we’re going to paint the feet using the color Dark Chocolate.

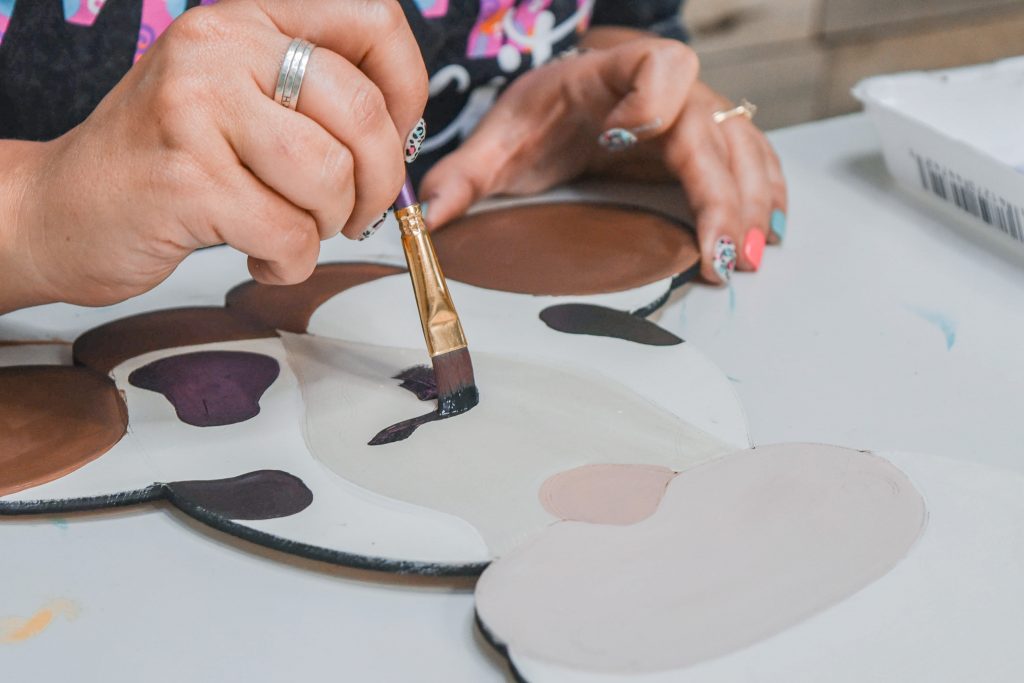
Adding Shading to the Baby Cow Door Hanger
Now that we have our background colors down it’s time to add some shading to our baby cow door hanger! Don’t let the shading intimidate you, I’m gonna walk you through exactly how to do it so it’s not too difficult. Go grab an angle brush and let’s get started. We’re going to start by shading the cow’s ear and the little bit of hair on her head. Dip your angle brush in Sable Brown, then dip the toe (or point) of the brush in Dark Chocolate then go around the outer edges of the cow’s ear and hair. Feel free to add more dark or light paint depending on how it looks on your door hanger. Next, we’re going to grab some black paint to shade the bottom edges of the cow’s feet. It’s crazy how much shading can change the whole look of our baby cow door hanger.
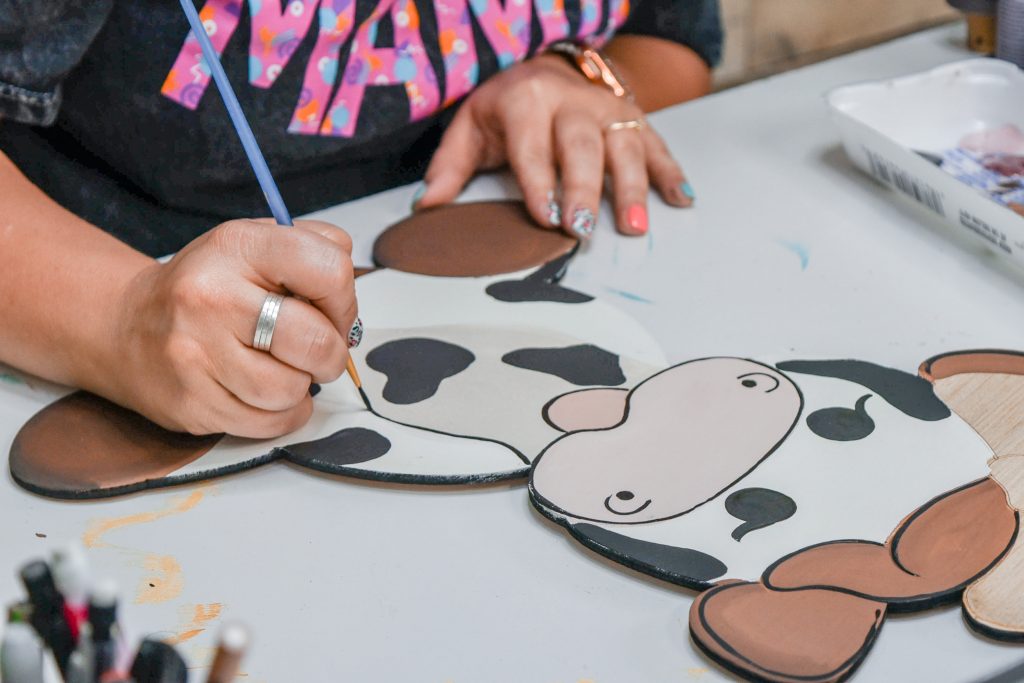
Giving Our Cow Some Character
Our baby cow door hanger is already looking so good, but let’s add some spots to her! Grab a one inch flat tip paint brush and some black paint so we can add them now. Once we’ve painted her spots, grab the 3D Bow attachment or start to paint the bow of your door hanger using the color Blush Pink. Once the bow is dry, paint a second coat using the Craft Twinkles Brush on Glitter in Sparkling Pink. I love how girly this sweet bow makes Gerty look!
Adding Some Final Details
It’s time to give Gerty some eyes and eyelashes. Using a small round tip brush, we’re going to paint her eyes and add eyelashes. Next we’ll add some nostrils to our cow. Finally, we’re going to water down our black paint to accent the edges of our door hanger with a small round tip brush. Using the small round tip brush, we’re going to switch to white paint and add dots to the cow’s eyes. While we have the white paint on our brush we are going to add some highlights to our baby cow door hanger.
It’s finally time to glue our bow down, but first we’ll want to add some black lines with the round tip brush to define the shape of the bow. Once our lines are added we’ll glue the bow down with the Stick Fast Glue and now she’s ready to hang on the front door!
Watch Me Paint
I hope that you’ve enjoyed this fun tutorial. In case you missed the live tutorial, you can catch the replay over on my YouTube channel. Be sure to checkout my other blog posts where we discuss different techniques and tutorials. I’d love to see what you paint too, head over to my Facebook page on Mondays and share with me on Made it Monday. Can’t wait to see you there!
Related Resources
- Are you new to painting door hangers? Start with this blog post.
- Like my Facebook page and show off your latest creations for Made It Monday!
- Watch more tutorials on my YouTube Channel.

0 Comments