Bunny Eating a Carrot Door Hanger
Hippity hoppity, Easter is on its way! In case you missed it, I recently painted a year-after-year spring favorite on my Facebook page – the Bunny Eating a Carrot Door Hanger.
It’s no shocker that this Bunny Eating a Carrot Door Hanger is a continued favorite. With its sweet little eyes and a bright carrot it just screams spring!
Supply List:
- 1/2 inch flat tip brush
- 1 inch flat tip brush
- Round Tip Brush
- Black Posca Paint Pen 5M
- White Posca Paint Pen 5M
- Bunny Eating Carrot Blank OR Bunny Eating Carrot Template to Cut Your Own
DecoArt Americana Paint Colors:
Note: Affiliate links included within this post for your convenience. As an Amazon Associate, I earn from qualifying purchases.
Getting Started

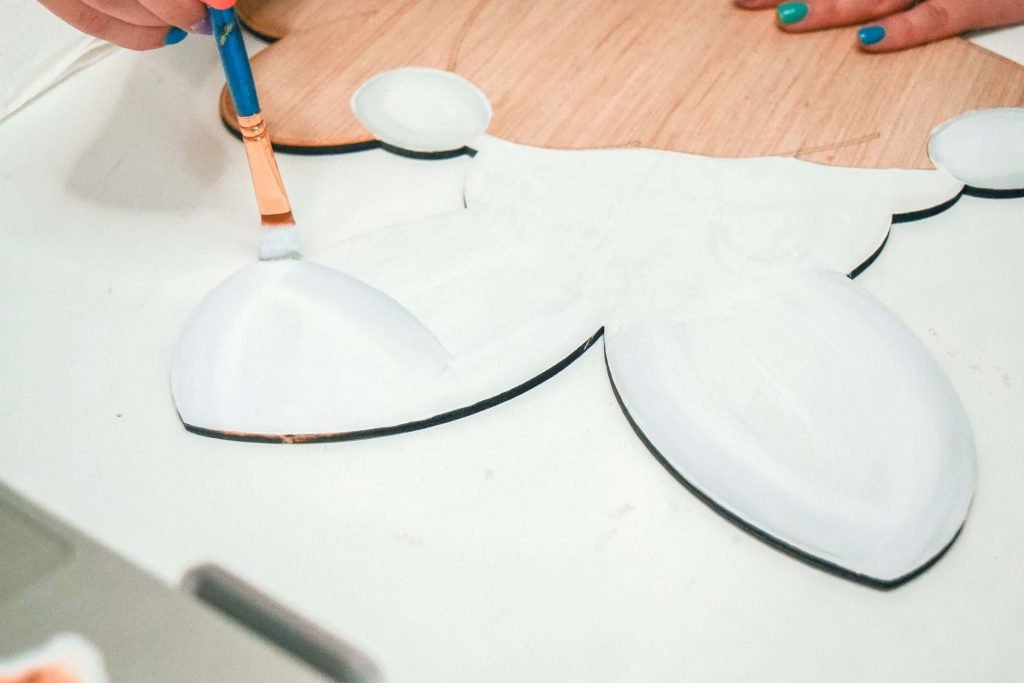
The first thing I did when painting the bunny eating a carrot door hanger was paint the bunny white. I used an etched door hanger which has lines etched into the wood to show you where your paint should go. Etched door hangers are available in my shop and are great for beginners! They are very similar to the paint by number kits you did as a kid.
Once the initial white coat was on the bunny, I decided to add some shading. I used the color Grey Skies to add shading to the outside of the bunny’s ears, paws, face, and cheek. This will give him a fluffy effect!
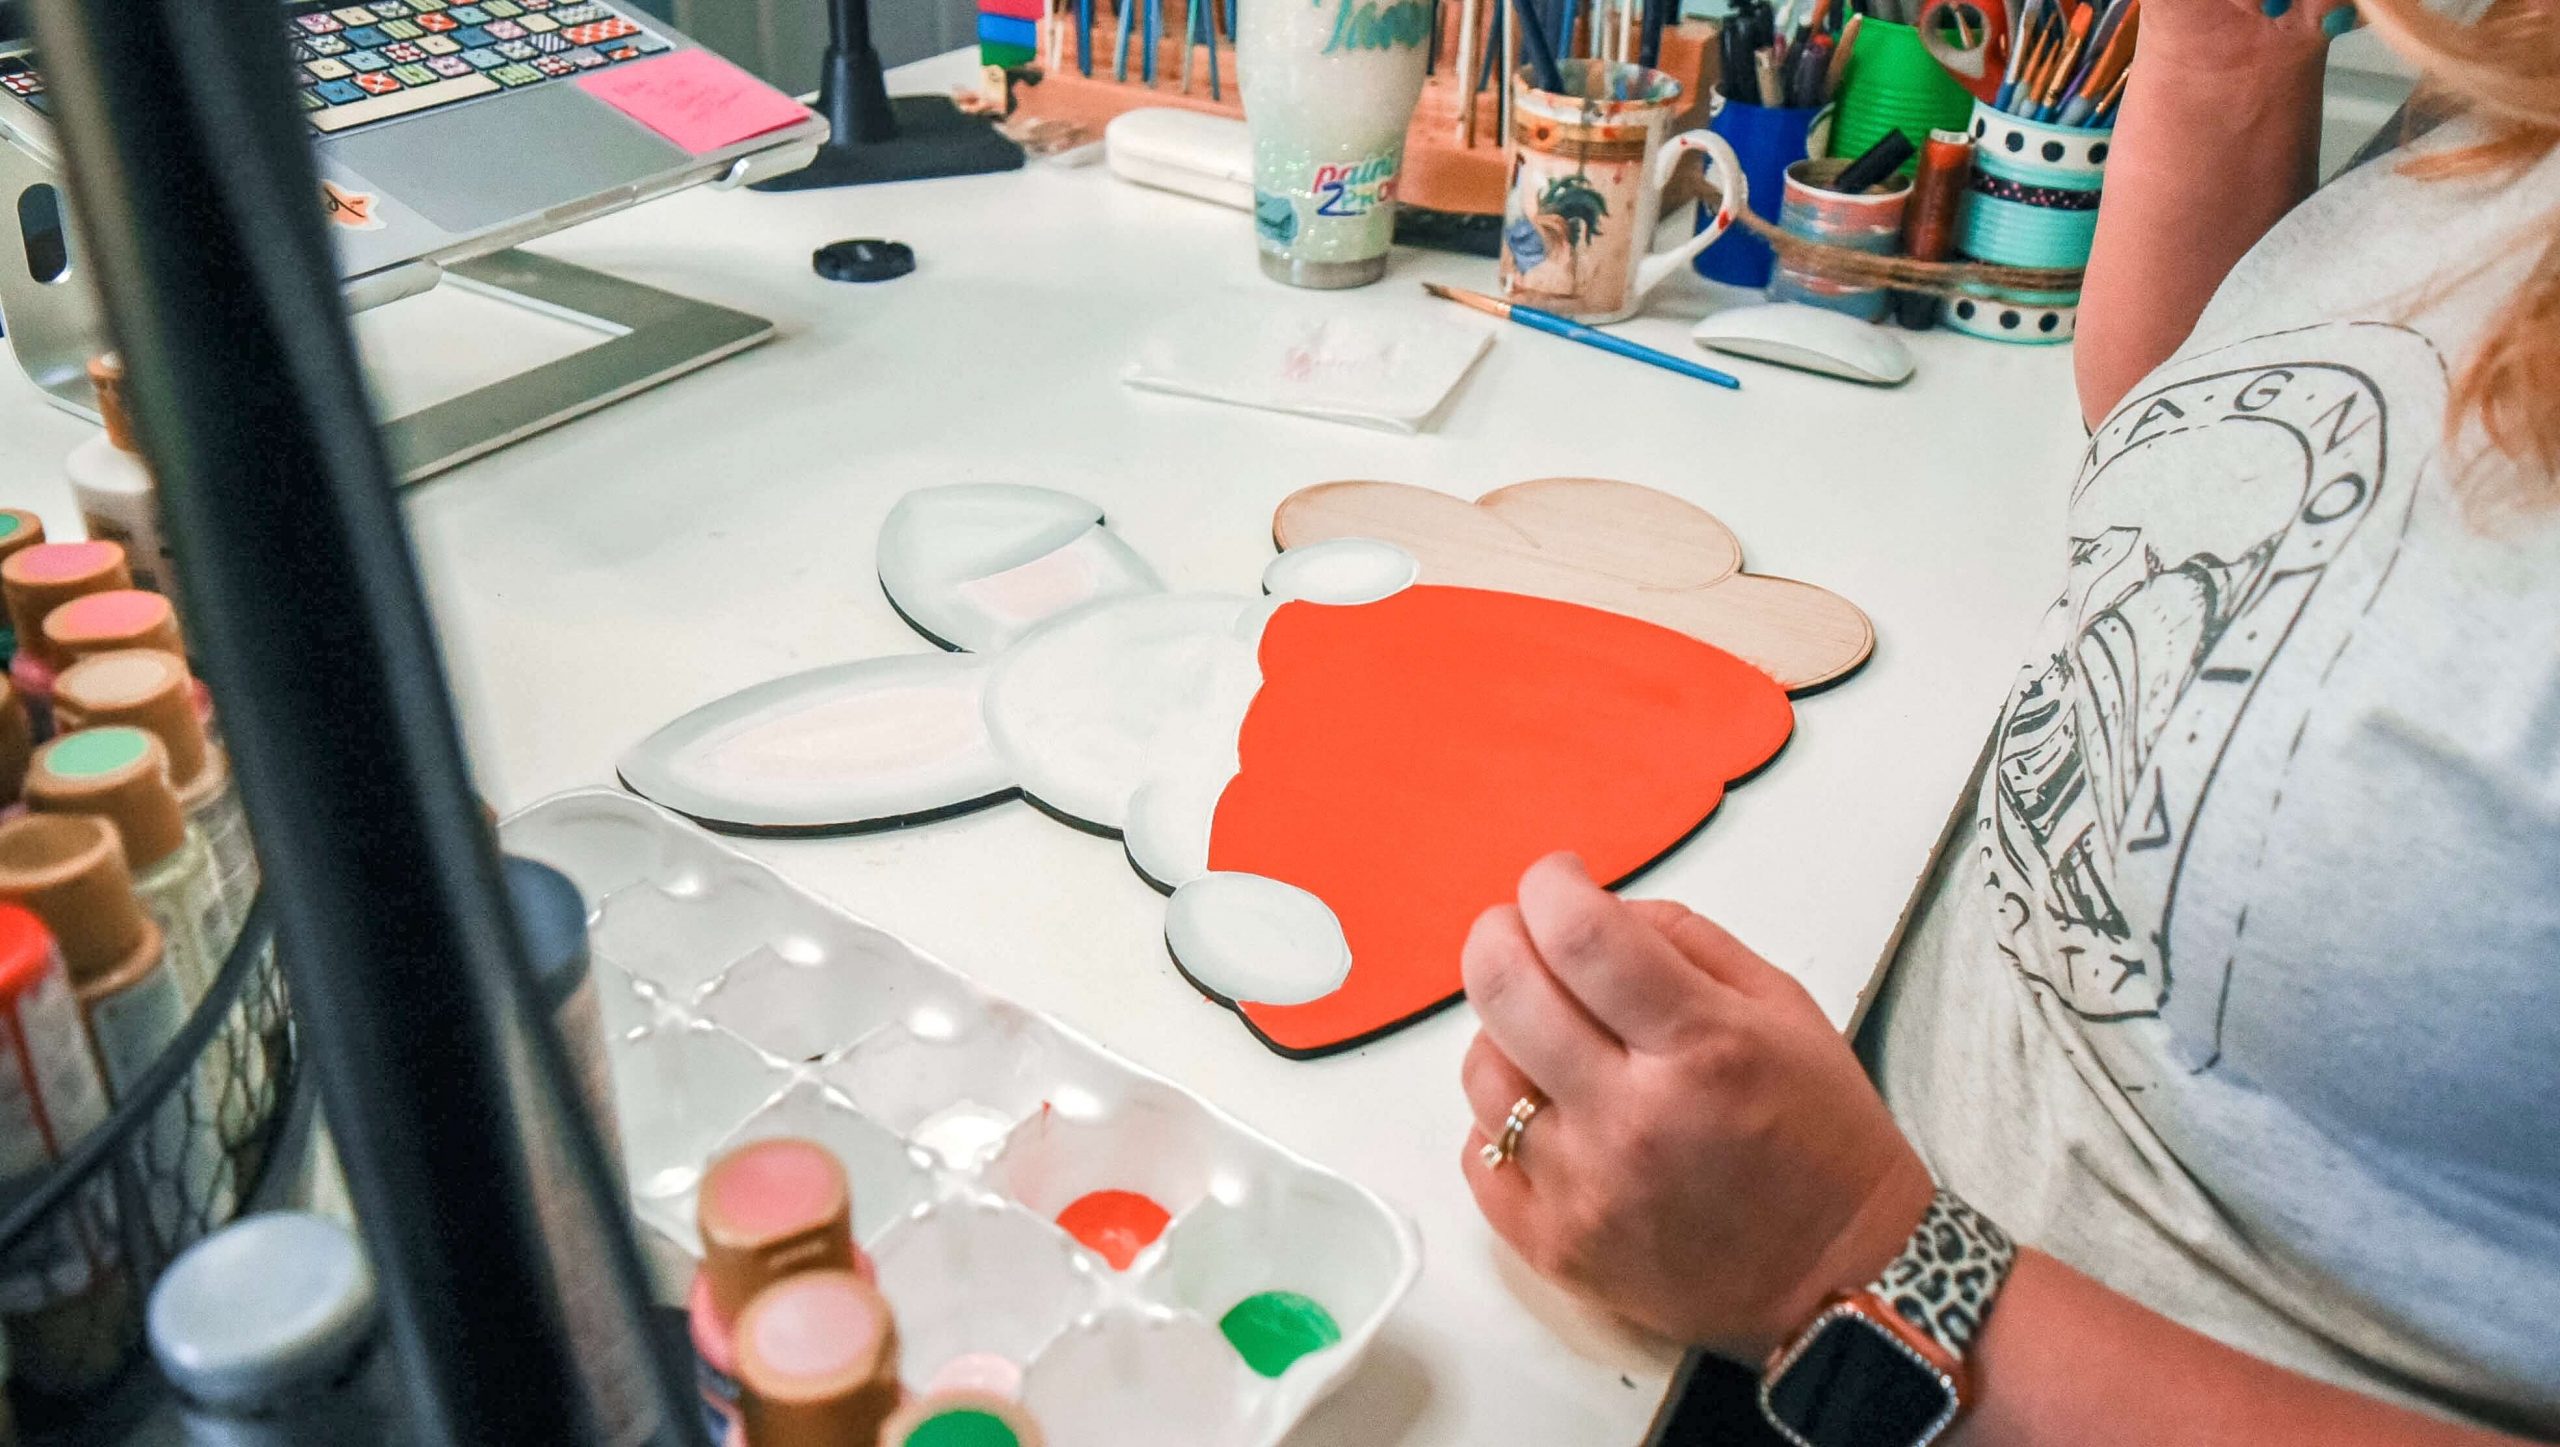
Next, I added a second coat of white inside his floppy ears. The white will help the pink on the inside of his ears to pop. Once the white paint was dry, I used Cotton Candy pink and lightly added it to the white inside the bunny’s ears then shaded the two colors together.
Let’s Paint the Carrot
Next, I painted the entire carrot using Canyon Orange and a 1 inch flat tip brush. While the orange carrot was drying, I painted the carrot tops with the color Festive Green. To add some highlighting to the carrot tops, I picked up a little bit of white on the corner of the 1 inch flat tip brush that has some green on it and distributed across the carrot tops and where they meet your carrot to highlight.
Now let’s add some stripes! Mix white paint with the Canyon Orange paint you used to paint your carrot. Use this lighter shade to paid vertical stripes on the carrot. Fill in every other stripe with the lighter shade of orange that you created.

Let’s Give Our Bunny a Face
Of course we have to add a heart nose to our bunny! I did this using the color Melon and a round tip brush. Next, I added the arches of the bunny’s eyes using the color Festive Green.
Using black paint and a flat tip brush create a line that looks like an eyelash on the bunny’s eyes. Paint the inside of the eyes black, then dip your round tip brush in white paint and add some sparkle details to the bunny’s eyes.
The Final Details
To add the finishing touches to our bunny eating a carrot door hanger, I reached for my Posca Paint Pens. You guys know how much I love them, I use them to finish off almost every door hanger.
I used the black 5M Posca Paint Pen to outline the entire edge of the door hanger. Using the white Posca Paint Pen, I added highlights and various squiggles in the carrot tops for details. Voila, our bunny is ready for Spring!
Watch Me Paint
As I mentioned earlier, I painted this live on my Facebook page. You can watch it below, but head to my Facebook and like my page so that you don’t miss any future live videos either!
I hope that you’ve enjoyed this bunny eating a carrot door hanger tutorial as much as I have. It definitely has me ready for spring! If you paint this door hanger, be sure to head to my Facebook page on Mondays to share it on my Made it Monday post. Can’t wait to see you there!
Related Resources
- Check out my blog post on a DIY Easter Garland.
- Like my Facebook page to follow along as I paint a door hanger live every Tuesday.
- Watch more tutorials on my YouTube Channel.


0 Comments