Supply List
- Puppy Love Template
- 1 inch flat tip brush
- Small round tip brush
- Liner Brush
- 1/2 inch angle tip brush
- Chip brush
- Artistro Pens
- Stick Fast Wood Glue
DecoArt Americana Paint Colors:
Note: Affiliate links included within this post for your convenience. As an Amazon Associate, I earn from qualifying purchases.

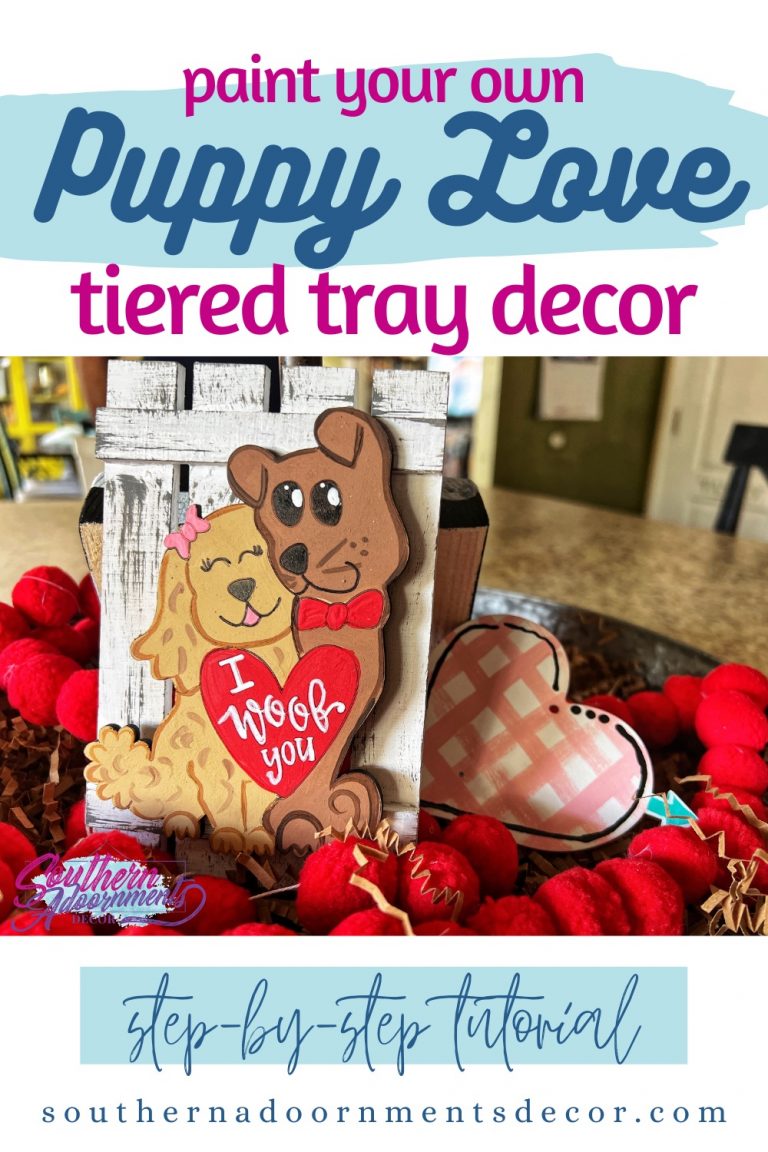
Using The Puppy Love Template for a Tiered Tray
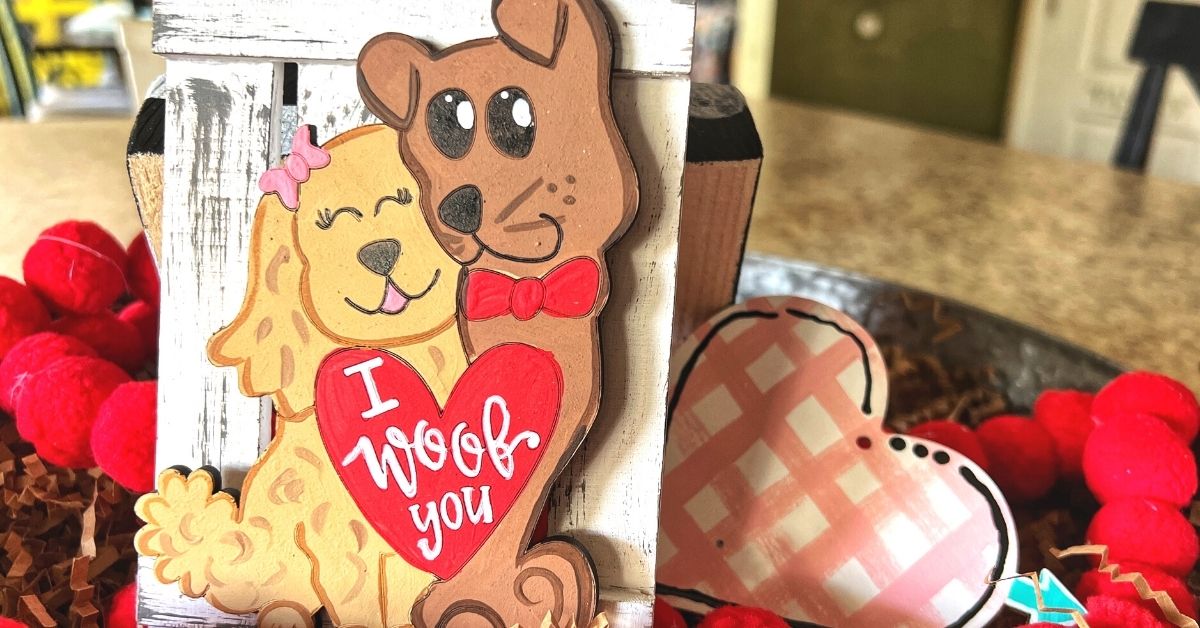
For this particular template called Puppy Love, I cut the design out at five inches so that it fits well on the tiered tray. While the smallest sized blank and template you can get in the shop is six inches, with the help of a Thunder Laser or a scroll saw, you can cut designs out that are very small.
To make the template work for a design so small, when you go to print the template you will need to reduce the scale. Typically, when you click print on a computer, a little window will pop up and give you the option to fill the page or scale, all you have to do is reduce the scale. I reduced the scale of this one to about 70%.
The Tiered Tray Decor Background
I picked up this mini pallet to use as the background for this design from the Dollar Tree and painted it white. Using a chip brush and a little bit of neutral grey, I streaked the paint on the background to give it a rustic look. I felt like the flat white was a little boring! I used grey, but you could also use brown or tan if that would fit your theme better. When I’m done painting my attachment, I’ll attach it with Stick Fast Wood Glue to this background. Let’s dive right in and get started painting the attachment now!
Painting the Puppies
I started by painting the boy puppy using the color, Sable Brown. It’s okay to paint over the edges on this attachment because you’ll still be able to see them. Next mix the color Desert Sand with two drops of Honey Brown and use this color to paint the girl dog on the left. Once your girl dog is painted, rinse your brush and use the color True Red to paint the heart and the puppy’s bow tie.
Switching to a smaller brush and the color, Cactus Flower, paint the inside of the girl puppy’s mouth and then the bow on top of her head. Rinse that brush out and using the color Honey Brown create some outlines around the girl puppy and to outline her features. I just got my paint right out of the lid because you don’t need too much paint on your brush for this part. Using the color, Asphaltum, outline the features on the boy puppy. I mixed a couple of the brown colors together and added some waves and curls to the girl puppy so that it looks like little curls.
Adding the Details
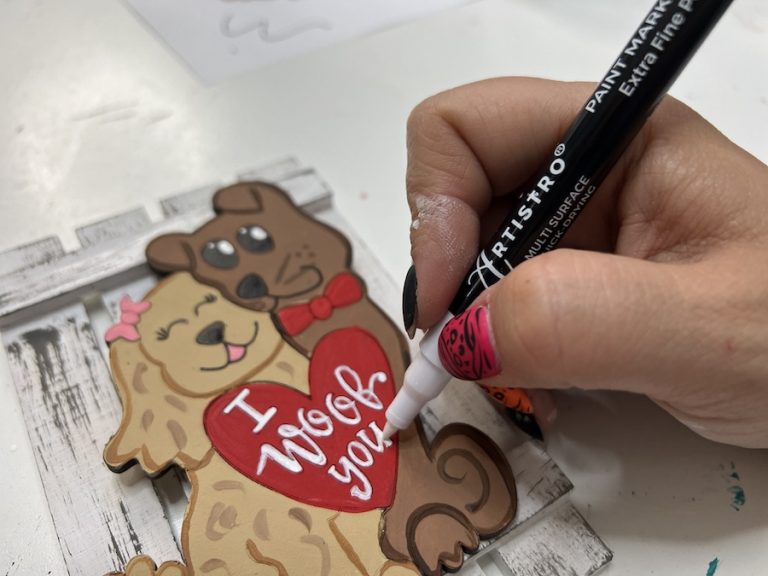
Now we’re going to switch to paint pens to do the little details on the eyes and the face. I used my Artistro paint pens which can be found on the Artistro website or in my Amazon favorites. I use the black one to trace the puppies’ mouths and fill in the nose. I reached for my white paint pen and used it to add the lettering to the heart and tada, it was done! Use the Stick Fast Wood Glue to attach the puppies to the background and you have your very own DIY tiered tray decor!

Catch the Replay
You can watch replays of my recent Facebook Lives either on my Facebook page or on YouTube! Catch this tutorial in the replay below. I’ve been sharing ways to use templates from my shop at www.shopdoorhangers.com and am really enjoying this series as a way to change up the typical door hangers that I paint. I hope you’ll join me, if you want a notification before I go live you can text “hey” to (270) 207-9091 and you will be added to my VIP list. It allows you to receive a text before I go live so that you don’t miss anything!
Related Resources
- Want to practice on free templates before you purchase some? Visit my FREE library and get access to free templates and tutorials!
- Join my Painter’s Clubhouse Membership and learn more techniques and tutorials for painting doorhangers and DIY projects.


0 Comments