If you live in Kentucky like me, you know that college basketball is everything! So I’m excited to share this set of Whoville-inspired, painted photo props that I made for a special holiday event at one of our local university’s basketball games. I made this quick photo tutorial below because it’s such a fun craft project. And, you could really use this idea for a family Christmas dinner, a birthday party, a school holiday bazaar, a church fundraiser, or even customize it with your own party theme!
This project all began because the Murray State Racer basketball team asked me to help them create a photo backdrop for them. My props would be used for all of the photos taken with Santa!
Supply List
- 4‘ x 8‘ sheets of plywood
- White primer
- Paint Roller
- Overhead Projector
- Printed Coloring Pages (on Transparency Sheets)
- Jigsaw & Blades
- Pencil
- Black Sharpie
- DecoArt Americana Matte acrylic paint
- Pine boards for Supports (2’x4′ & 2’x6′)
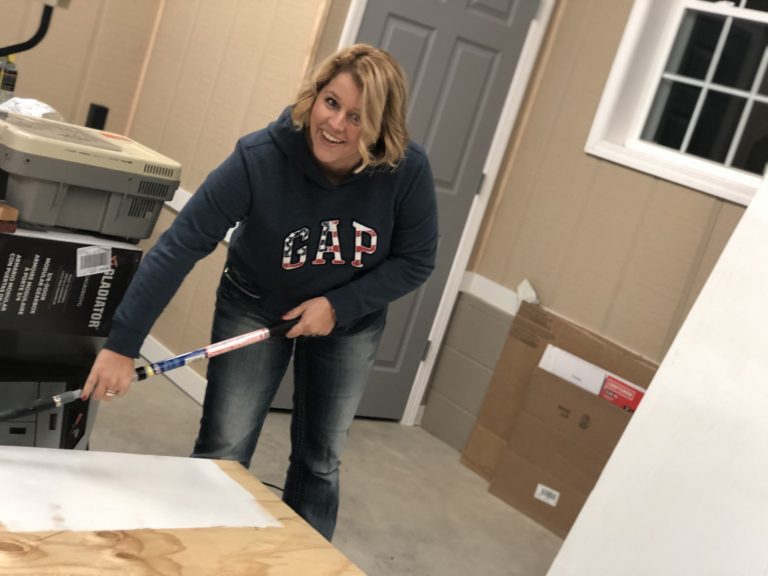
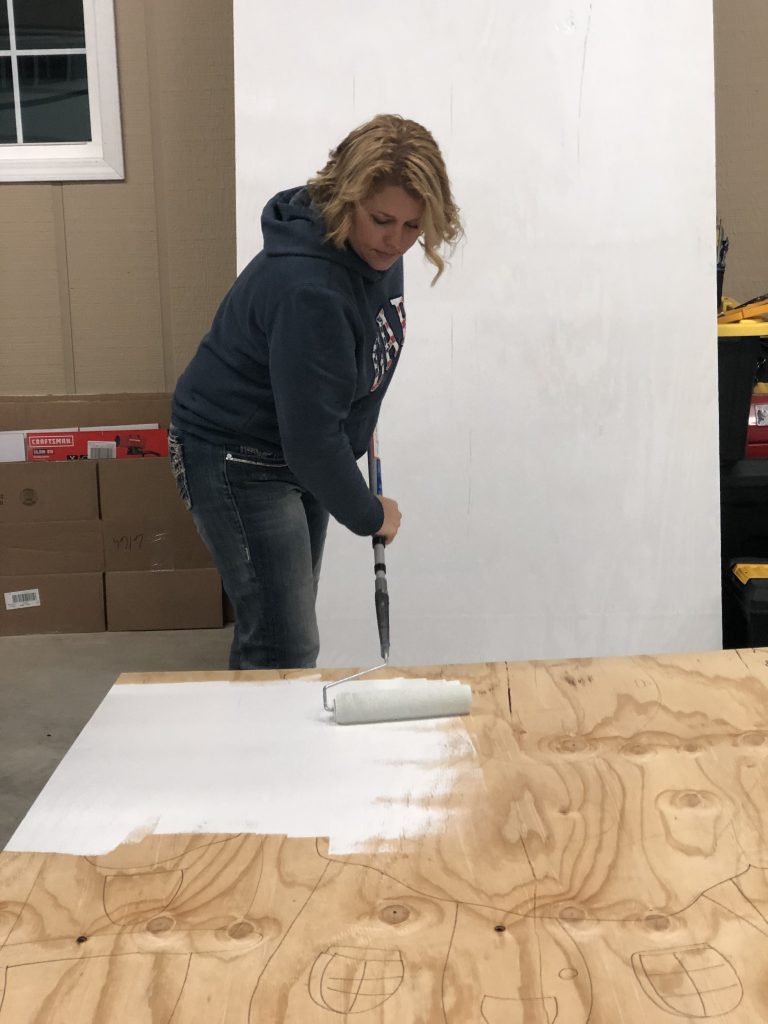
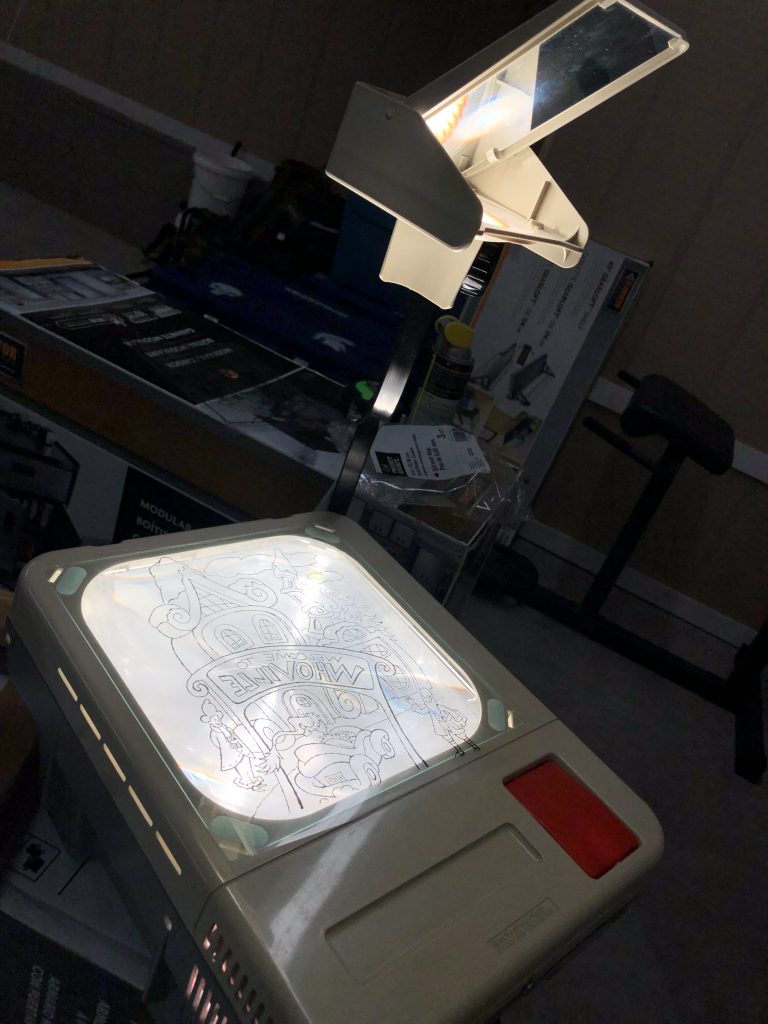
I built the photo props in my garage with my husband’s help. First, I started by buying 4‘ x 8‘ sheets of plywood and priming them white. Next I printed off some black and white coloring sheets (found on Google) that showed scenes of Whoville onto clear printer transparency sheets. I chose a few that would work together to create the impression of the town center. For this part, I borrowed an old overhead projector from our church to project the coloring page image onto the white painted plywood.
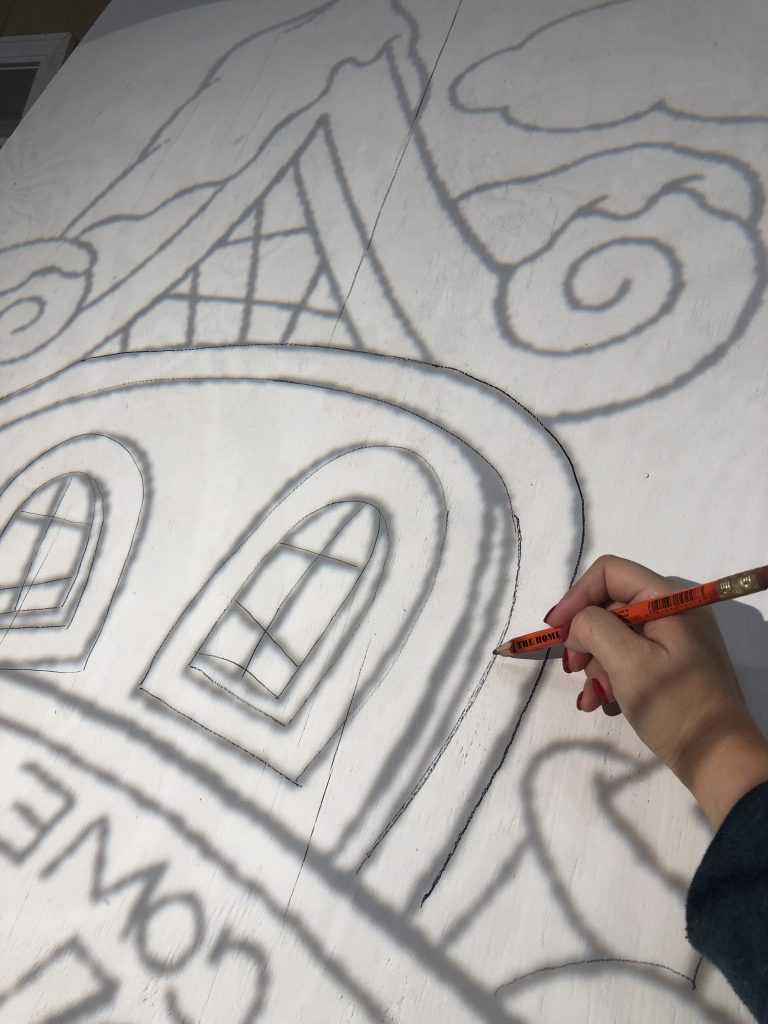
Then I used a pencil and a sharpie to trace the outline of the town from the projected image onto the white wood. I did have to freehand some of it to make it look exactly like I wanted. During this part, I did a facebook live video on my facebook page – watch it to see how all of these details went together when I was tracing!
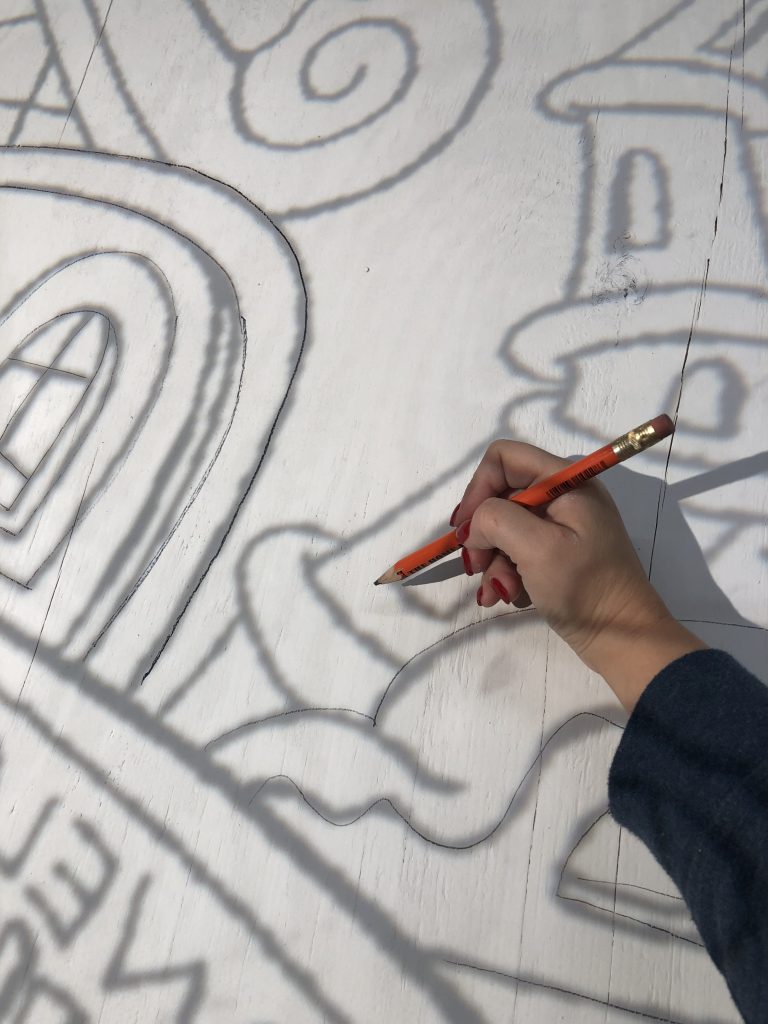
The Backdrop Takes Shape!
On the center piece of the town, we kept the plywood as one large sheet. However, on the two pieces that went on the sides of the town, we cut out around the trees and tops of the houses using the jigsaw. We sanded those edges to make sure that the sides were smooth.
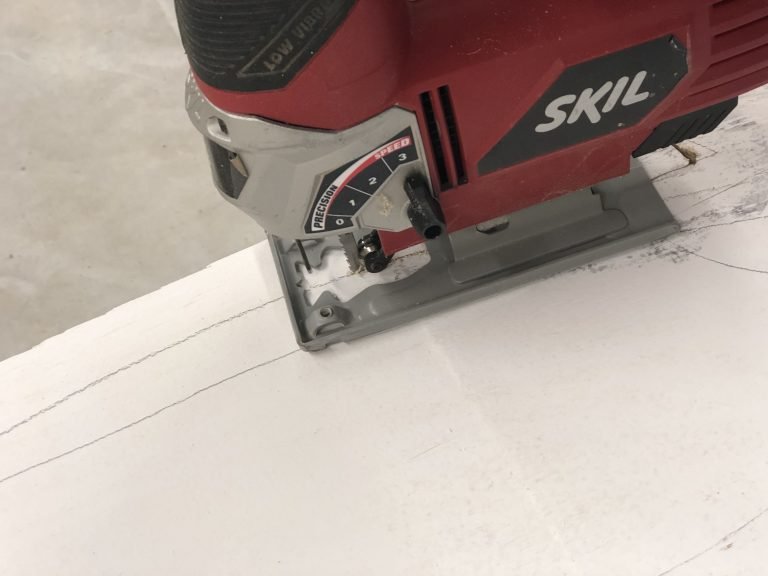
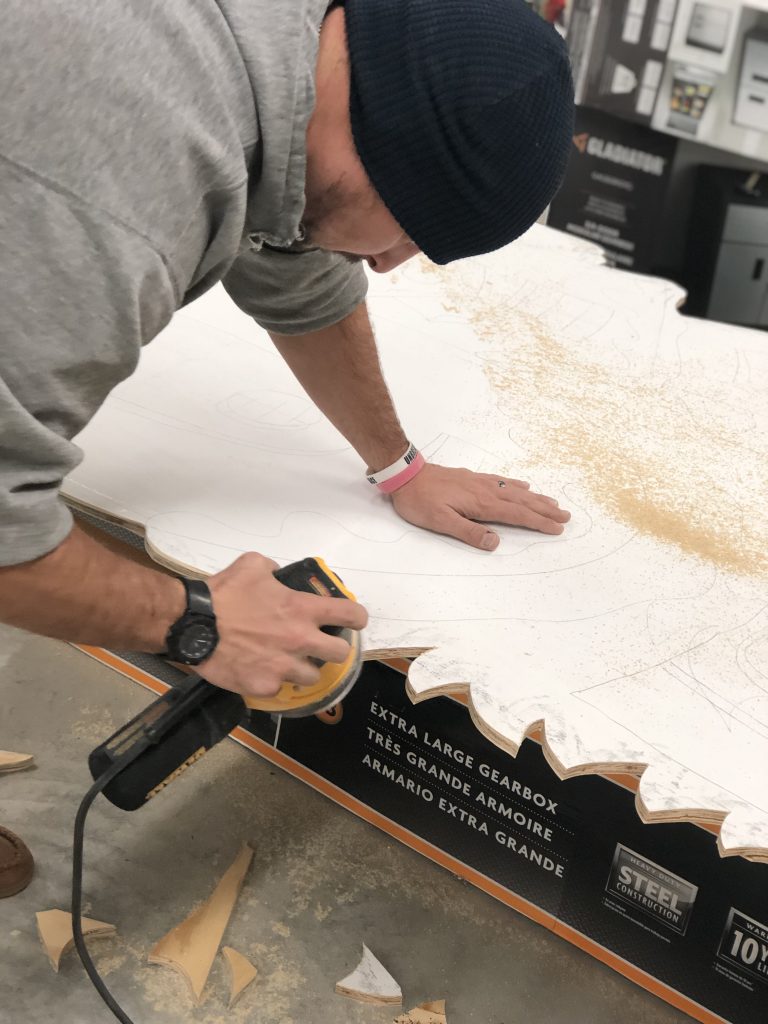
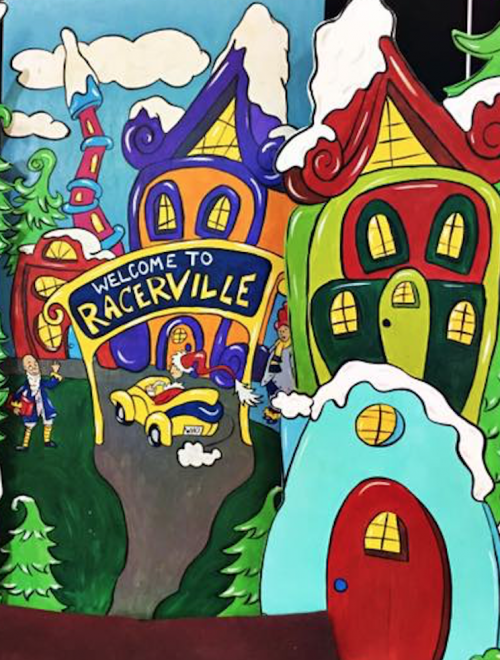
After all the lines were drawn, I got to work painting the Whoville town scene! I added my own little touches to the Christmas scene to make it look like Racer fans lived there. Since Murray’s colors are gold and navy, I incorporated those into the design. It would become Racerville.
Welcome To Racerville!
The paints I used were all DecoArt Americana Matte acrylics. When I was finished painting, I gave the entire thing two coats of clear polycrylic. You can watch me painting part of this one on facebook live, too!
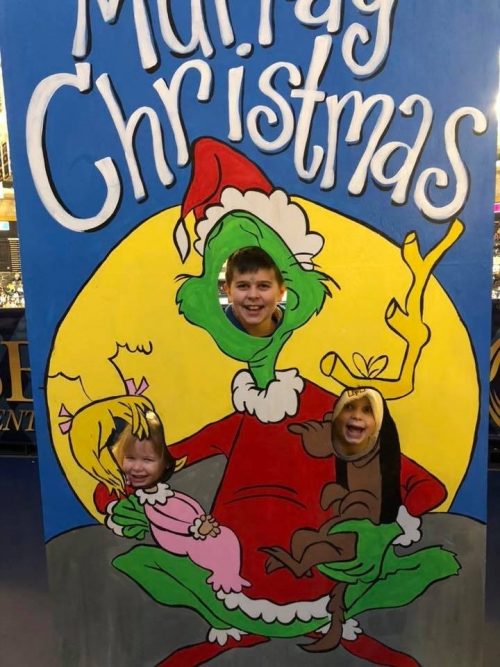
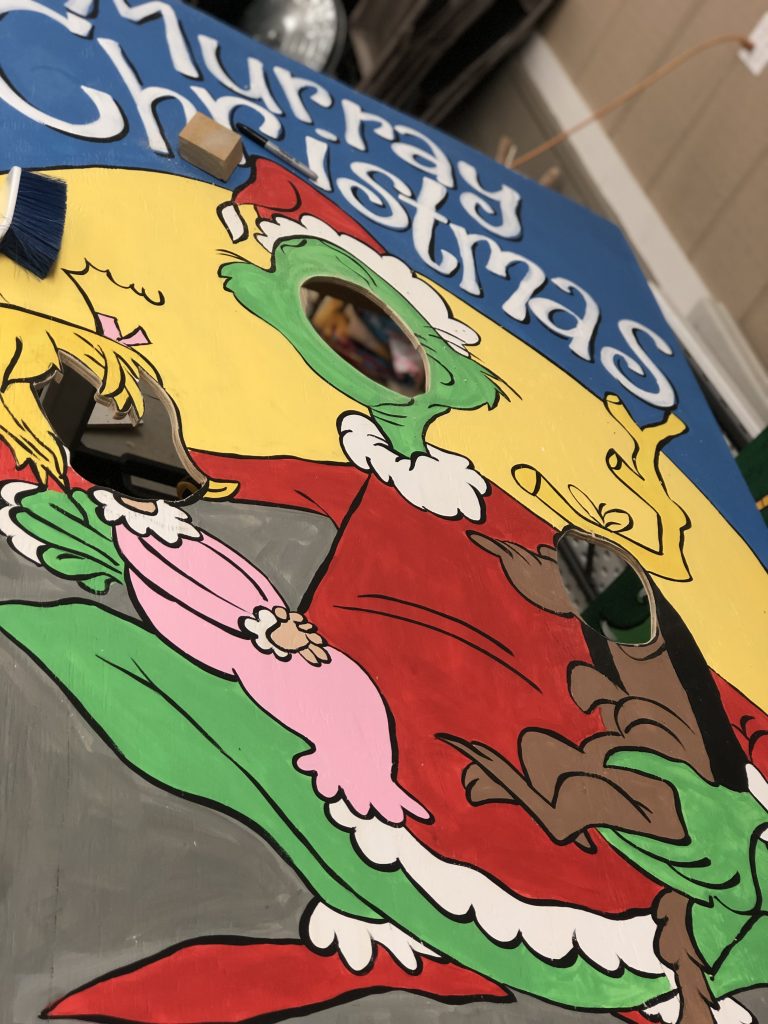
Once I finished those three pieces to make the backdrop for Santa’s area, I made one more photo prop. This piece was designed to be one of those “face in the hole” photo props. You know, the kind where kids can put their head inside the characters for a photo.
Anyway, I made this fourth piece from another coloring page image. I traced it on the plywood just as I did with the others. But this time, I cut out a face-sized oval where the character’s faces would go.
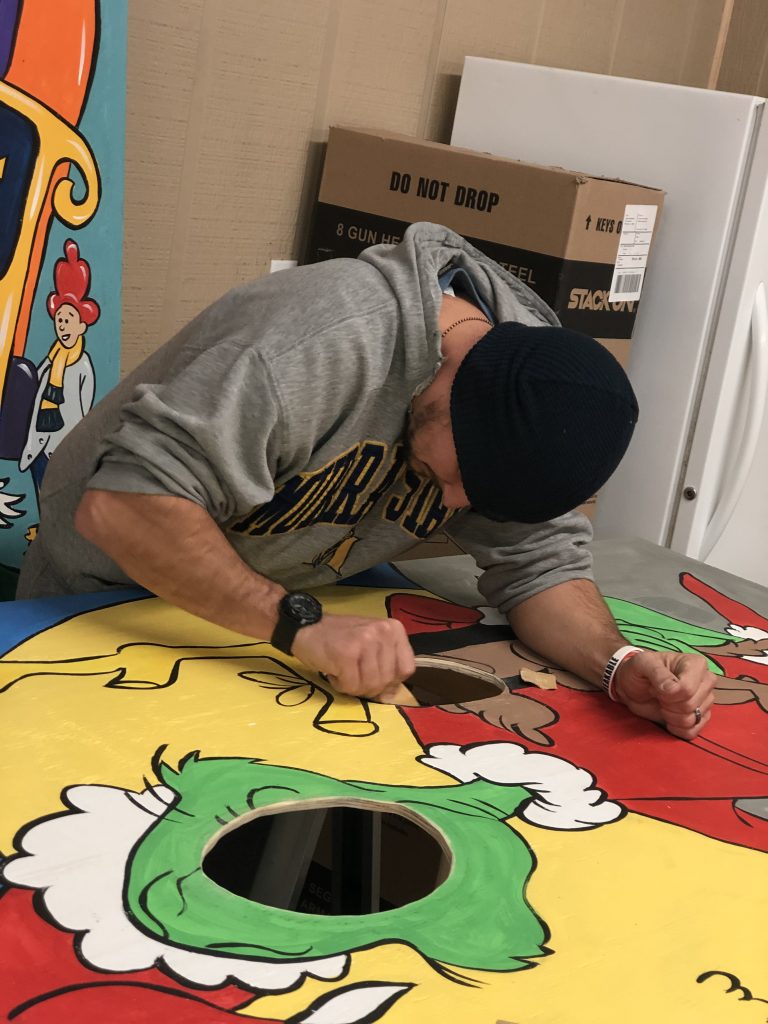
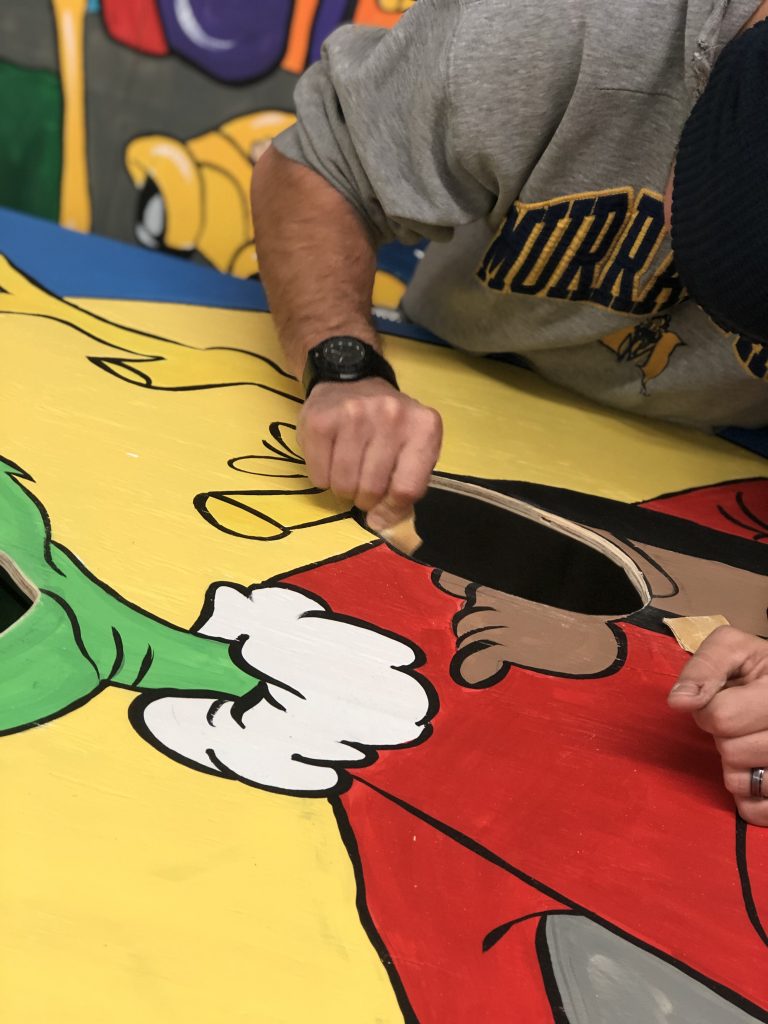
We were very careful to sand the inside of the holes with a fine sandpaper, so that kids could put their face right up against it. I didn’t want any splinters or scratches!
Finishing Up the Grinch Photo Props
Once the painting was finished, we began the task of building the stands that they would be attached to. I did not take measurements of these, but I have included a photo so that you can see how they were made. My husband made them for me and helped me screw the signs into them. We screwed from front to back and then painted over the screwheads.
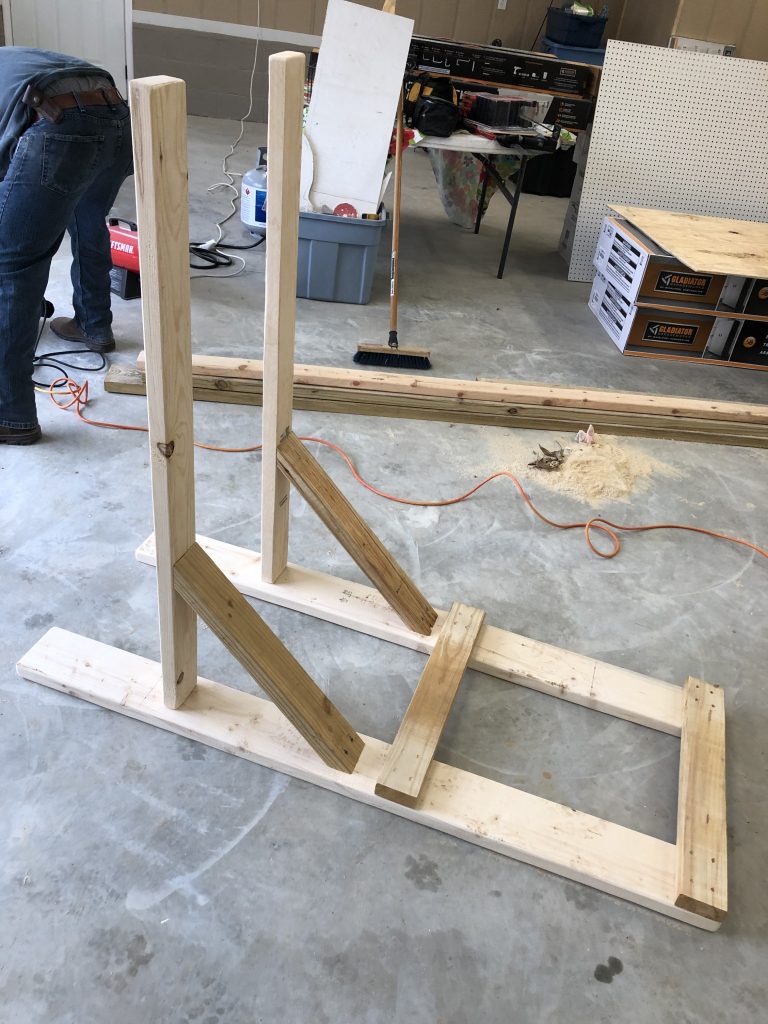
From the beginning, we knew that the finished photo props would be heavy so we wanted to make sure that they would be sturdy and stand straight.
With the Santa backdrop, we had plenty of room behind the props where the stand could sit. These are pretty big.
However, with the “head in the hole” photo prop, make sure you leave enough room with the stand so that kids can fit their bodies into the holes for photos.
The Photo Prop is Ready for Santa!
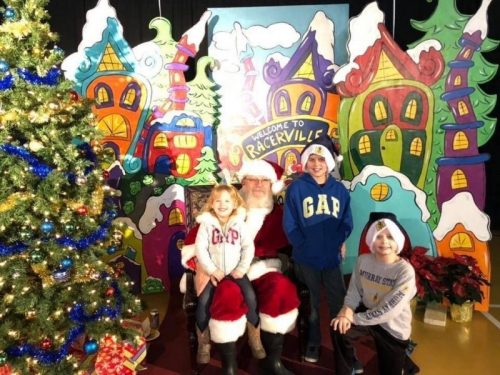
Here’s the completed backdrop, just waiting for Santa! You can see how all three pieces came together to create a whole Who-ville Christmas village scene.
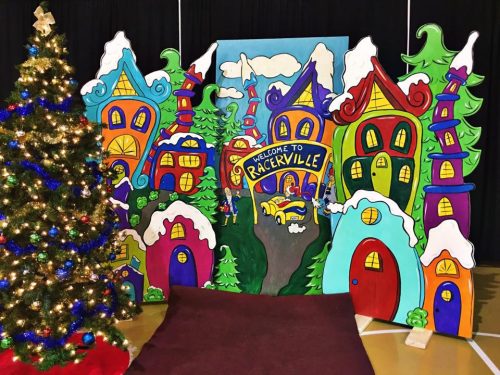
I was so excited to see everything set up and ready for the game. And, the Murray State Basketball Team graciously offered our whole family free tickets to the game that night!
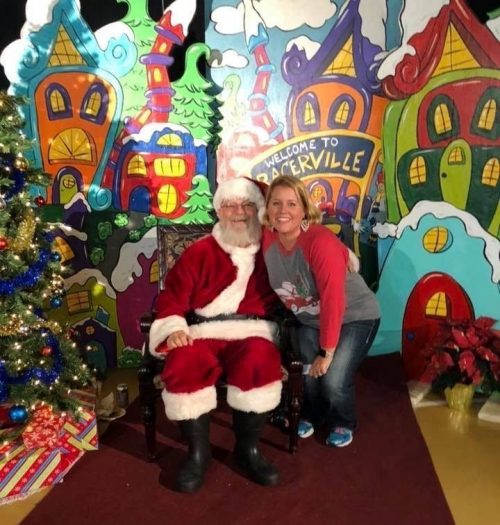
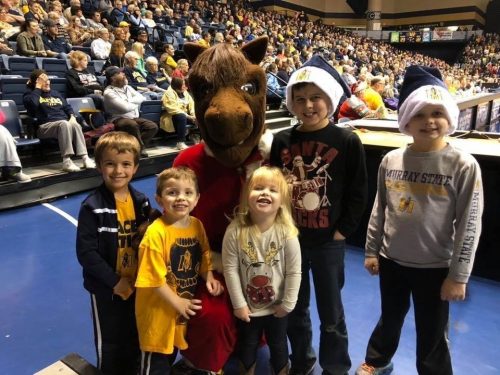
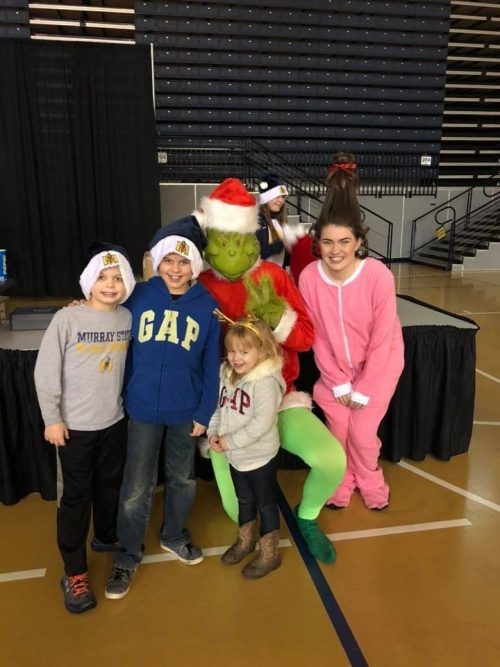
They gave us all Santa hats with the razor logo on them to wear! We got to hang out with the Murray State Racers’ mascot (Dunker), and of course, Santa! It was such a fun time and we made sure to take pictures with Santa in front of the backdrop!
I usually paint projects on a smaller scale. This was a big DIY project but it was so much fun. And like I mentioned, this technique is easy to use for so many special events when you need a large, custom backdrop for your photos. If you’re ready to tackle a large scale project yourself, make sure you check out my online shop and Amazon storefront for all of my favorite painting tools and supplies. I have everything that I recommend there from paint and paintbrushes to woodworking tools and blades.
And if you’re a Grinch fan and want more Seuss-inspired holiday crafts projects, take a look at my recent blog post with painted holiday door hangers! And make sure you’re following me on Facebook because I love to post new videos of my latest painting projects. And on Pinterest, where I pin my favorite creative ideas all year long!
Want to Paint With Me?
If you’re new to craft painting, or just want a place to hang out with some creative people and learn new ideas and techniques, take a look at my Painters’ Clubhouse! It’s a monthly membership club where we get to paint and craft together all month long. And it’s perfect for beginners who need to build confidence, or crafting pros who want some new inspiration for their creative projects. Get on my waitlist now so that you’re one of the first to know when it opens again to new members!



0 Comments