
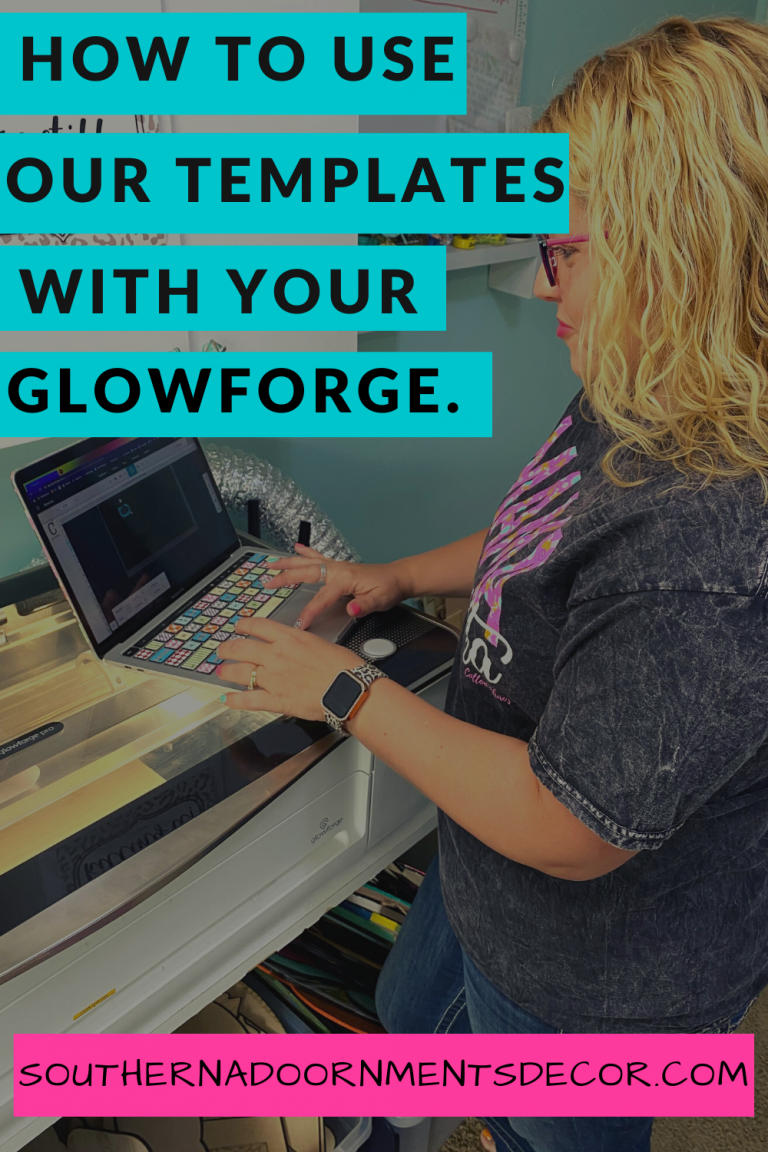
If you’ve been following along for a while now you know that I love using my Glowforge Pro to cut out my door hangers for the painting tutorials I do on Facebook Live every Tuesday. Today we’re going to be discussing in depth how I cut those door hangers out using my Glowforge.
I’ve been asked several times how to use the Glowforge and if it’s difficult to operate. While it took me a little bit to play with and figure out, I can now confidently tell you how to operate it on your own. These step-by-step instructions will have you cutting and creating your own door hanger soon. Just a reminder that I use the Glowforge Pro. If you’re using the Glowforge to cut door hangers the Pro is the only one that can accommodate the measurements you need. Let’s dive right in!
What You’ll Be Learning:
- Uploading our Templates to Cut in Your Glowforge
- How to Use the Glowforge to Cut Something Larger than 12 Inches
- Cutting Out the Door Hanger
- What to Do with a Door Hanger Cut with the Glowforge
Uploading our Templates to Cut in Your Glowforge
We have so many available templates in our shop at shopdoorhangers.com. If you’ve been around for a while you might already have some that you’ve use. We’re going to breakdown how to use our templates in your Glowforge Pro. Soon you will be cutting the designs and making your own door hangers!

To start, in the Glowforge software you will click the teal create button and hit upload from file. Next, you will open the template folder you downloaded. Click on the SVG file.
Once the file has uploaded, you’re going to want to downsize it to fit on your piece of wood. (You can cut up to 19 inches on the Glowforge Pro, but the cutting window only does 12 inches at a time). If it’s more than 12 inches, you’ll see that the cutting window is in black. This leaves your door hanger in two sections.

How to Use the Glowforge to Cut Something Larger than 12 Inches
In order to cut something larger than 12 inches on the Glowforge Pro, you’ll need to toggle on the Pro Passthrough. Click on the button that says “More” and toggle the Pro Passthrough to on. Next you’re going to go to “Settings” and choose the kind of wood you want. I select base wood/hard wood even though that’s not the technical term of what I’m using.
The Glowforge software will pop up engrave. I don’t want it to engrave. Go over to “Score” and I have it custom set for Revolution Plywood. I “score” the wood at 500 speed and 30 power, because the 30 power doesn’t cut all the way through the wood. (If you dialed the power to full then it would cut all the way through the wood, so don’t do that.)
Finally, you’re going to highlight everything in the design (Ctrl+A). You should click the button that says “create outline.” I adjust the outline to 0.05 to get it very close to the score line of the door hanger.
Cutting Out the Door Hanger
This part might seem kind of long, but the machine does most of the work! First you’re going to put your wood in the Glowforge. You can use wood up to 19 inches wide with the Glowforge Pro and as long as you’d like with the passthrough feature. Now close the Glowforge machine’s window and it will take a picture of the wood. This will show on your desktop where the design will go on that wood.
It’s important to note that the design broken up to the left of the screen in the Glowforge desktop software is the order in which the Glowforge cuts and etches. You want to be sure that it cuts last so just drag the parts of the design being cut to the bottom of that queue.
Next, click on the design being cut and adjust the wood to Revolution Ply setting (speed at 128 and power at full, one pass). Slide your design to the center of your wood and adjust height and width as needed to fit your wood. Click ready on the top right hand corner and it will prepare your print.
Once the button starts flashing on the Glowforge it means it’s ready to cut. Turn on your air filter or be sure that the Glowforge is vented out the window. Next, press the button on the Glowforge to start. Now watch the Glowforge work it’s magic!
Once the Glowforge is done with that cut and it takes a picture of the next part, it will have you open the lid to reposition your wood. Pull the wood through the slot at the base of your Glowforge until it matches up with your screen. I have some little pins I cut to hold my wood down on the Glowforge once I push the other part through the passthrough.
Next, go back to your desktop and click continue, the Glowforge will align everything and take some more pictures.Once it’s aligned you will click print and it will prepare to print. The button on the Glowforge will light up again and start flashing. Press it to start.
What to Do with a Door Hanger Cut with the Glowforge
Once it’s done cutting and your computer says you can open the Glowforge machine’s window, you can pull the wood out and just punch out your design. After that you can sand the edges to get rid of the burnt effect on the outer edge of the door hanger. Voila, you’re ready to paint!
A Video Tutorial
I hope you have a little more confidence when using your Glowforge now! If reading these steps really overwhelmed you, don’t worry. I did a Facebook live video with a step-by-step tutorial. You can catch that replay on my Facebook page. Give yourself some grace as you learn the new software, before long you will be cutting door hangers out like a pro on your Glowforge Pro.
Related Resources
- Buy a Glowforge Pro and save $500
- Facebook video of how to use templates on the Glowforge Pro
- How to vent your Glowforge Pro machine
- Not ready to purchase a Glowforge but need tips on cutting door hangers. Check out our blog post on cutting door hangers.

0 Comments