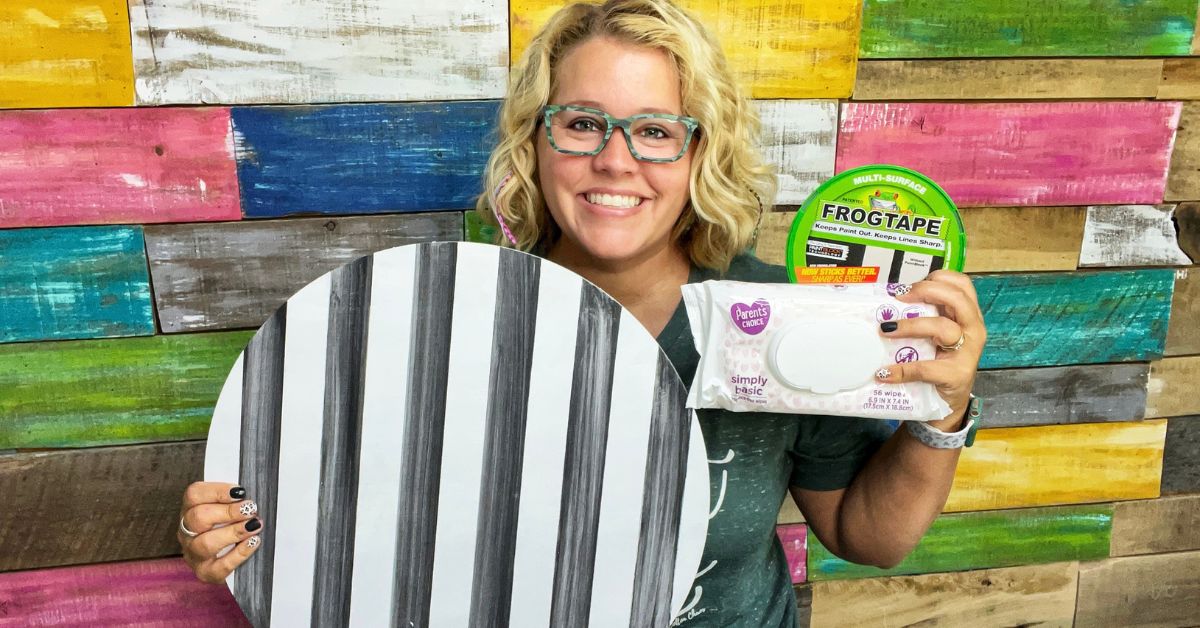
The thing I hear most often from beginner painters is “I can’t even draw a stick figure” or “I can’t even draw a straight line”! So it’s no wonder that painting stripes is so intimidating. Why even paint stripes? Because they are classic. Stripes will never go out of style and some designs just need stripes in order to achieve the right look, like on the American Flag for example. So let me share with you a quick little hack that once you try it, will have you wanting to paint stripes on everything!
Paint Your Base Coat
I’ll be demonstrating this on a basic wood round. Start by giving your piece a base coat of whatever the lighter color is. In my case, I’m doing black and white stripes, so I base coated with white using a chunky sponge. If you struggle to get a smooth base coat, check out this blog post that shares some helpful tips on how to do this!

Line Out Your Stripes
Once your base coat is dry, you’ll begin lining out your stripes with Frog Tape. This tape comes in an assortment of widths. I am using 1.41in. To get your stripes straight and symmetrical, I like to begin with the stripe in the middle. Once you have that stripe down, place a small piece (mine is about 4″ long) right beside the stripe you just laid down. This small piece will be used as a “spacer” for your stripes. Our stripes will be the tape width apart from one another. So for chunkier stripes, you’ll need to use wider Frog Tape. Lay your next long strip of tape next to the little piece. You can move the little piece each time you put down a new stripe.

Paint Your Stripes
Once all of your pieces are in place, smooth your hand over them once more to ensure that the tape is fully adhered to the board. To paint your stripes, you can use a sponge, a brush or my personal favorite- a baby wipe! I’m sure you’re wondering why I would choose a baby wipe. I love the texture it gives the paint when I swipe it along these stripes. The moisture in the baby wipe also helps the paint go on super smooth and dry really quickly. The trick to painting with baby wipes is to continually fold the baby wipe over to get a fresh piece to paint with after a few strokes. If you don’t fold it, the fibers in the wipe will begin to break down and make a mess on your project.

Remove the Tape
When all your stripes are painted you can begin pulling up the tape! No need to wait for the paint to dry, just pull them up! Ta da! Doesn’t that look amazing!!

Want to Paint Buffalo Plaid
Now that you have added stripes, you’re not far from painting buffalo plaid if you’d like to! Painting these stripes is actually among the first steps to paint buffalo plaid. Looking for a step-by-step tutorial for painting buffalo plaid? Be sure to check out my blog post for painting buffalo plaid!


0 Comments