What You’re Going to Need
There are several reasons why beginners struggle so much with painting a smooth surface. This can occur due to using too much or too little paint on the brush, making too short of brush strokes, or using the wrong size brush.
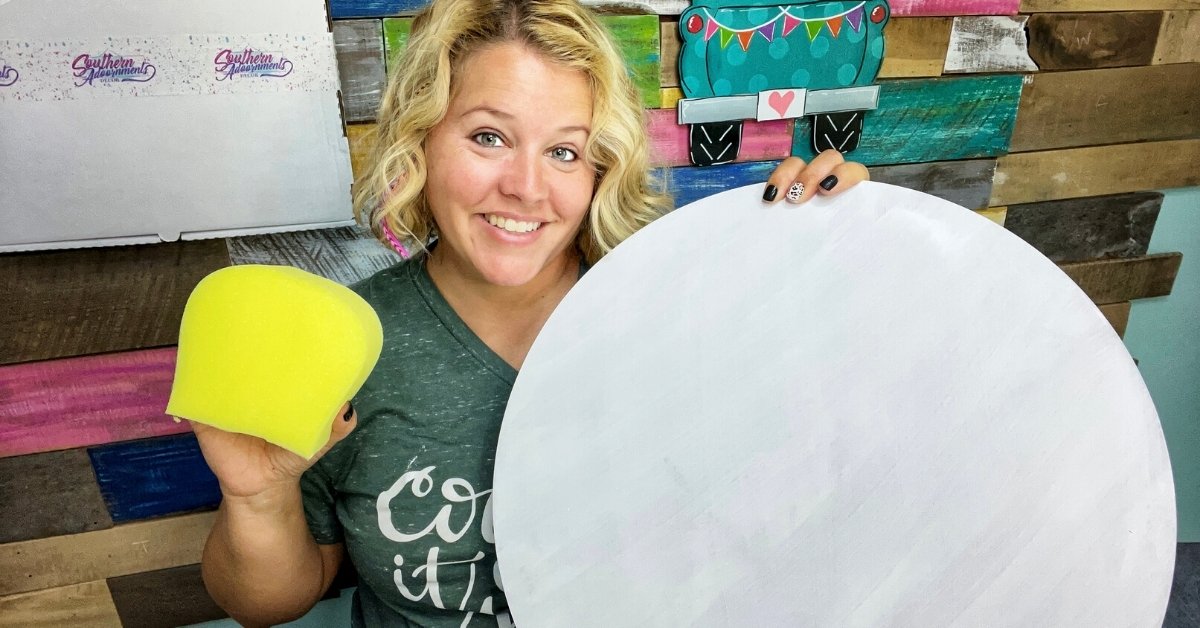
I’ve discovered a hack that will eliminate all of those problems! Not to mention it will speed things up! So this will really help if you’re planning to paint multiple pieces at a time. Keep in mind this will only work well if you are painting the entire piece one color. If you’re painting something that requires staying inside the lines, you’ll need to use a brush. I picked up a car washing sponge at the Dollar Tree. I cut it into 4 chunky pieces.

Painting the Background
The quickest way to get started is to squirt your paint directly on the surface of your board. If you’re not sure how much paint is needed, err on the side of caution and put down less that you think you’ll need. It’s always easier to add more. Now take a chunk of the car wash sponge and start spreading the paint all around over the wood.

Apply Thin Layers
I found that it was helpful to focus on getting the paint to the edges before filling in the middle. Also, don’t try to get a thick coat on your first application. You’ll get much better results if you do a thin layer, let it dry and coat it again. Certain colors will yield better coverage than others, so you may have to do two or even three coats to completely cover wood grain.

Don’t Forget to Rinse the Sponge
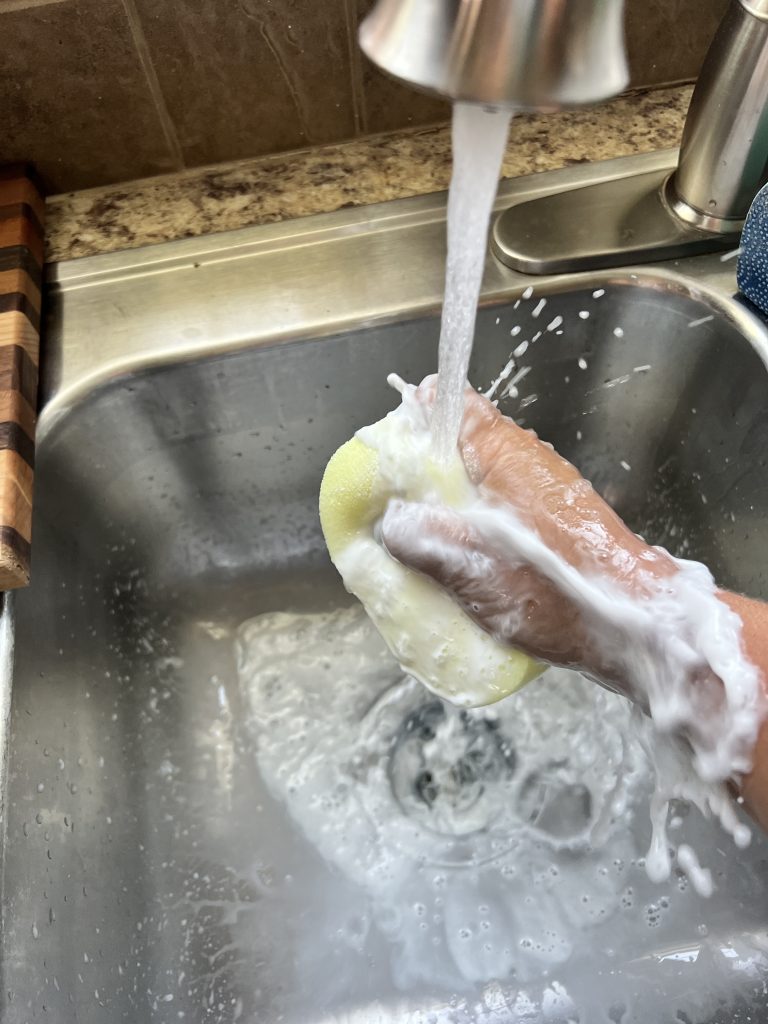
Once finished, you can rinse out the sponge with warm water. Squeeze repeatedly until you don’t see any more paint coming out. Then set aside to dry and you’ll be able to use it again and again!

Looking for More Beginner Tips?
If you’re looking for more helpful tips like this, be sure to check out my blog post, “Top Ten Beginner’s Tips for Painting Door Hangers.” From getting started, to painting, to adding the finishing touches, this door hanger blog post has everything you need to get started on painting door hangers!


0 Comments