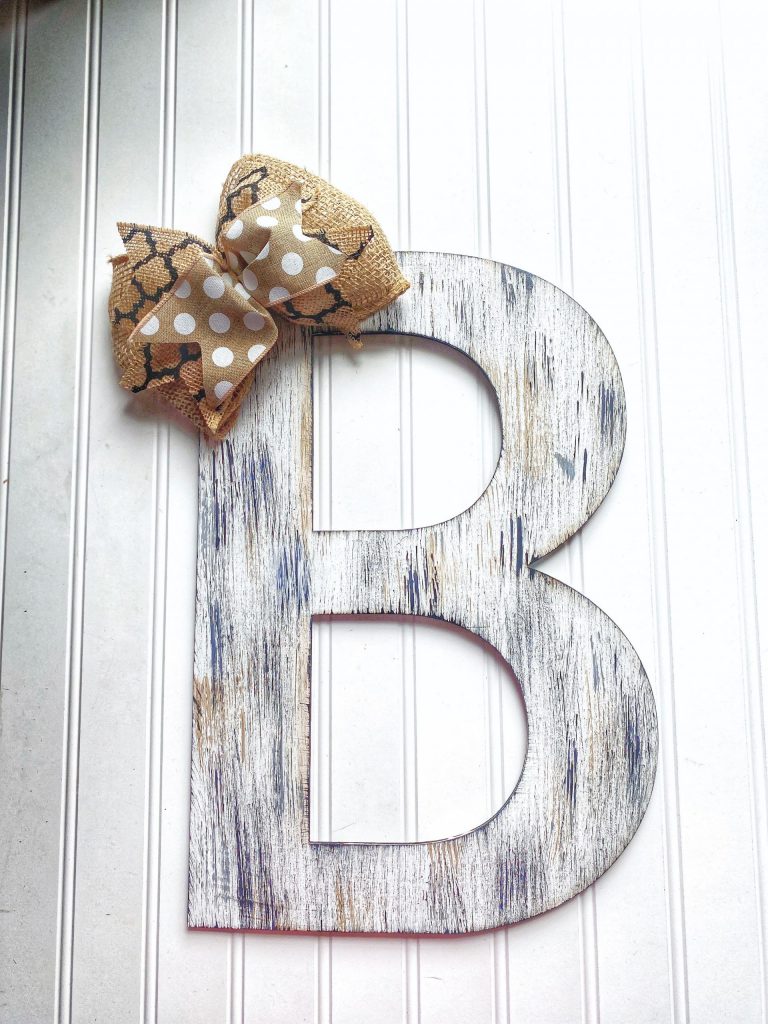
Hey y’all, today I’m going to teach you how to make a simple burlap bow. These simple bows are great to make and add to your door hangers. They’re small, they don’t take up much space on the door hanger, and they don’t require much ribbon so you can use extra ribbon you have laying around. Let’s make one together!
Supply List
- 6 Inch Wide Burlap Ribbon
- 2 Different Patterns of 2.5 Inch Wired Ribbon
- Jute String
- Scissors
Note: Affiliate links included within this post for your convenience. As an Amazon Associate, I earn from qualifying purchases.
Getting Started
As we start to make a simple bow, you’ll want to take your burlap ribbon and cut it into a 16 inch wide strip. Next, you’ll grab the 2.5 inch ribbon and cut two pieces of the first ribbon pattern 7.5 inches wide. For the second type of 2.5 inch ribbon you only need one piece cut 7.5 inches wide.
While you have your scissors out go ahead and cut the jute string to the same length of your ribbon, or at least long enough to tie a knot in it. Finally, moving back to your ribbon to give it a finished look, create a dove tail on your three strips of wired ribbon. You can create this effect by folding the ribbon ends in half horizontally and cutting a triangle out.

Now that our ribbon is all cut to the required length, we are going to start making our bow. First, grab the burlap ribbon and fold it over so that it overlaps in the middle. Place your finger in the middle of where it overlaps, then use your others fingers to scrunch the bow so that it looks like the shape of a bow tie. Hold on to the bow so that it keeps this shape!
Your Next Steps
Now that our burlap ribbon is correctly shaped, we’ll pick up the first piece of the two matching wired ribbons. Scrunch the ribbon in the middle and lay it diagonally across the burlap bow. Using the same technique with the other matching ribbon, create an X across the burlap bow.
Using the single patterned wired ribbon, repeat the previous technique scrunching the ribbon and then place it across the middle of the X. Next, replacing our fingers with the jute string, we’ll flip the bow over and press it into the table to hold it so we can tie our string. Finally, turn the bow over and fluff and tug on the bow to achieve the look you desire. Tada, you know how to make a simple bow!
You can use this tutorial to make a simple bow to add to door hangers or to teach paint party guests how to make their own. If you make this bow and use it on a project, let me know by posting a photo on my Made It Monday Post on Facebook!


0 Comments