Pick Your Colors and Paint the Background
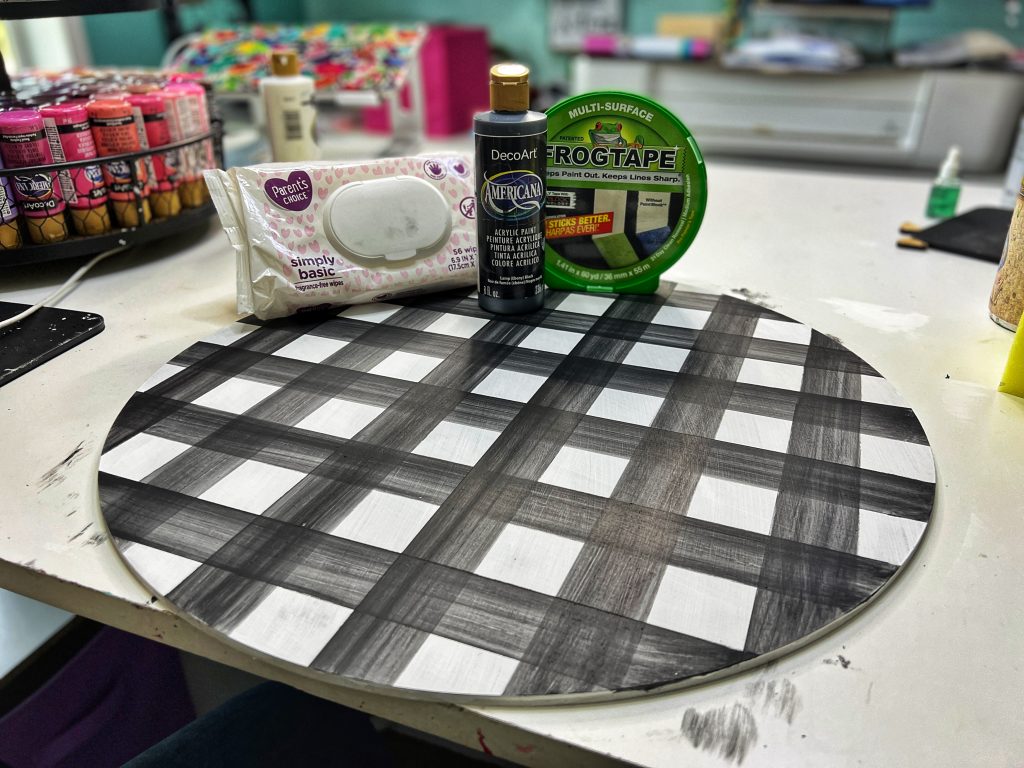
When starting to create a buffalo plaid pattern, it’s important to pick two paint colors that you like. In this example, I used black and white to create my buffalo plaid pattern. Let’s dive right in!
- Start by painting the entire background of the door hanger white.
Tape Off the Door Hanger to Create a Buffalo Plaid Pattern

Once your door hanger background is painted, it’s time to create the buffalo plaid pattern. This isn’t as hard as you would think, you just need some painter’s tape and a baby wipe. It may sound funny, but the baby wipe gives the buffalo plaid pattern the perfect texture. Here’s what you need to do:
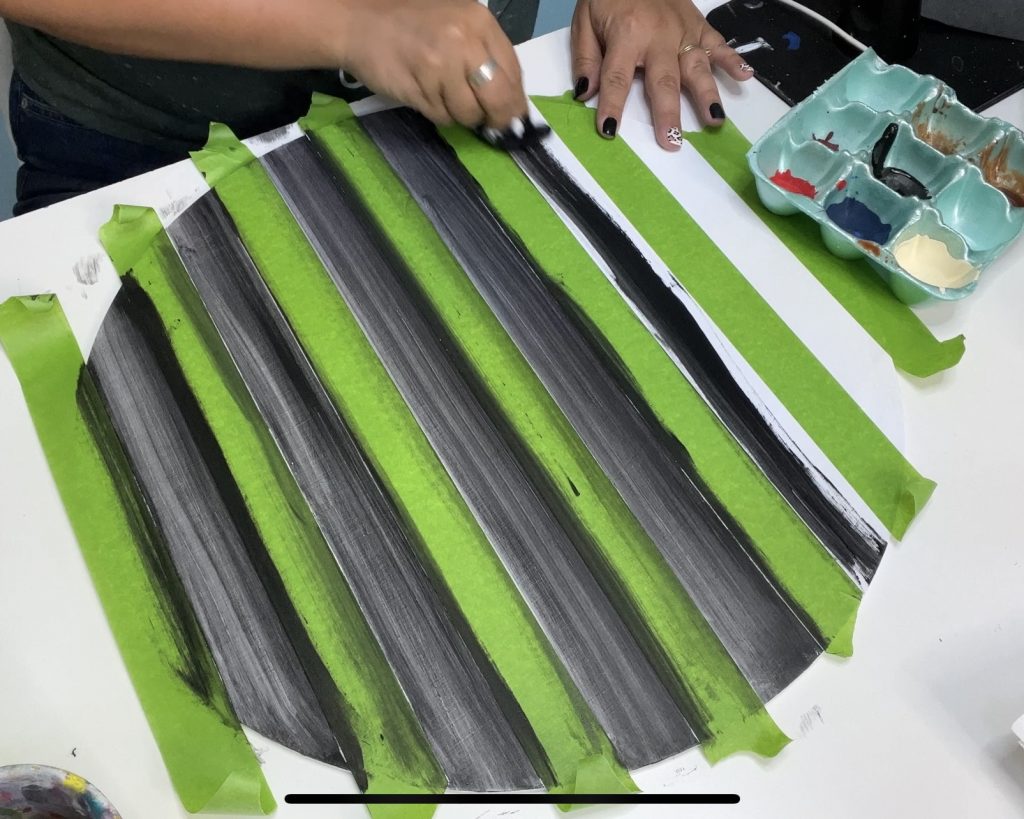
- Using 1 inch Painter’s Tape, place a piece of tape vertically every one inch across the door hanger. You can use the width of a piece of tape to be sure your lines are all the same distance apart.

- Use a baby wipe dipped in paint to paint between the painter’s tape stripes.

- Wait for paint to dry.
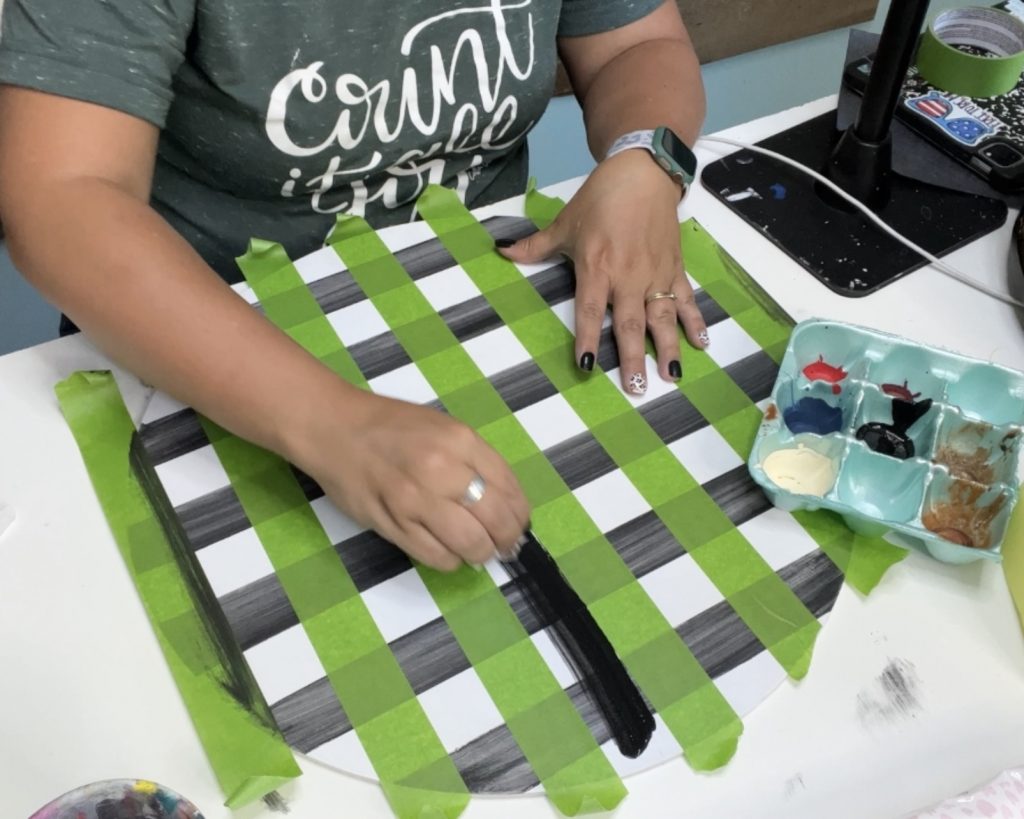
- Use painter’s tape to create horizontal lines, once again using the width of the painter’s tape to create a width guide between your lines.
- Using a baby wipe and even less paint than before, lightly paint through the lines to create a gingham effect. These should be lighter than the other lines.

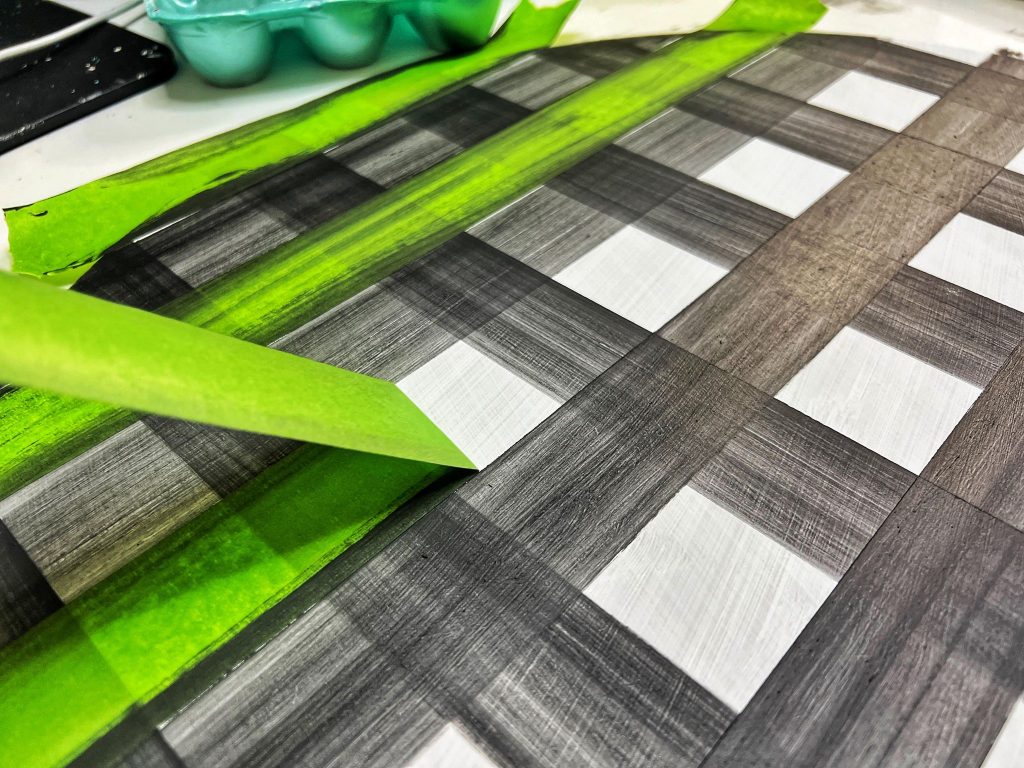
- Once that paint is dry, remove the tape and you’ll have your buffalo plaid pattern.

Do You Need to See How to Create a Buffalo Plaid Pattern?
If you’re more of a visual learner then it might be beneficial for you to catch this replay and see how I used buffalo plaid on the background of a door hanger. You’ll be able to see how easy it is to accomplish this look all on your own.
Learn More Techniques Like This One
Did you enjoy learning how to create a buffalo plaid pattern? If so, you would love to join us in the Painter’s Clubhouse. It’s a monthly membership where I teach a variety of painting tips and techniques so that you can transform from a beginner painter into a confident artist.


0 Comments