Finding the Design for the DIY Wooden Baby Milestone Circles
To get started I found SVG files on Etsy that I liked. If you’re going to be selling these products, be sure that the design allows for commercial use or states that products made with the design can be resold. Once I purchased and downloaded my files, I imported my design in Lightburn. Lightburn is the software used by the Thunder Laser to cut designs. You could also design the monthly milestone cards yourself using Procreate. This would allow you to create the layout exactly how you like. You could then export as a JPG and import into Lightburn to cut the design yourself. If using Procreate to create your own design seems intimidating, check out my Procreate for Makers course where I teach you how to use Procreate to make your very own designs.
Tracing the DIY Wooden Baby Milestone Circles in Lightburn
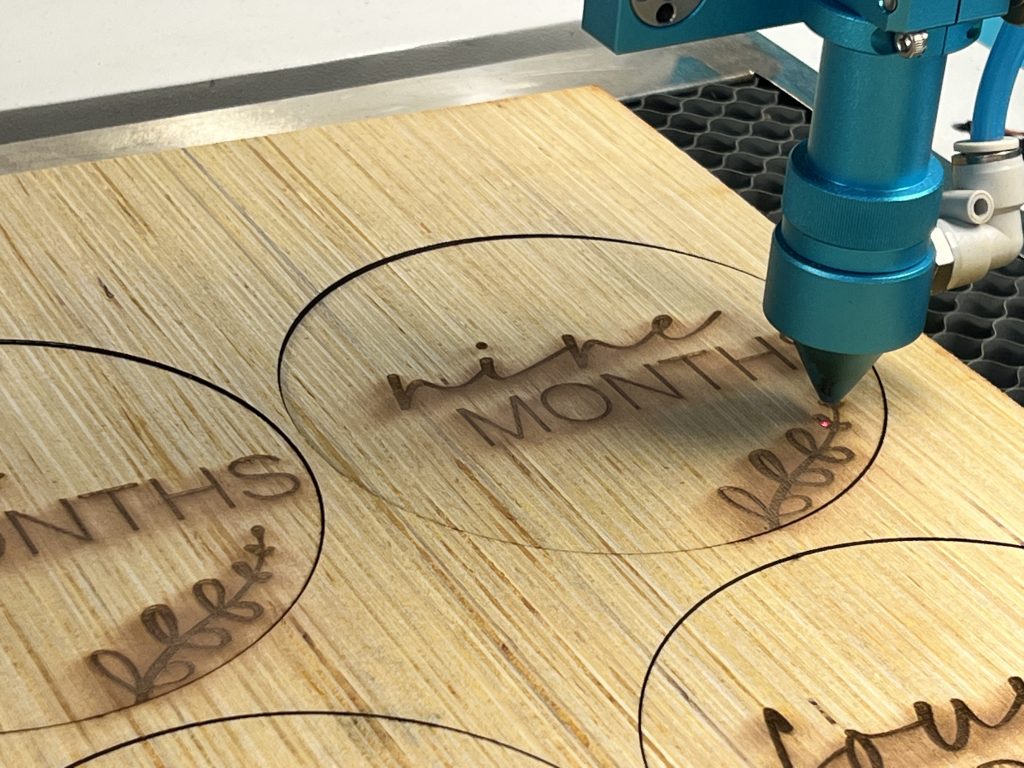
This project was nice because I didn’t have to go out and purchase wood. I was able to do it all with scrap pieces I had on hand. Once my design was in Lightburn, I was able to position the design on my piece of wood and use the Thunder Laser’s camera to trace where the circles and design would be. Using the “trace outline” function in Lightburn, I was able to create perfect placement on the wooden pieces. If while using this function, the beam goes off the edge of the wood, you can reposition and trace again. This feature is a game changer in being sure that you get the best use out of the wood piece you’re working with.
Cutting and Etching the DIY Wooden Baby Milestone Circles
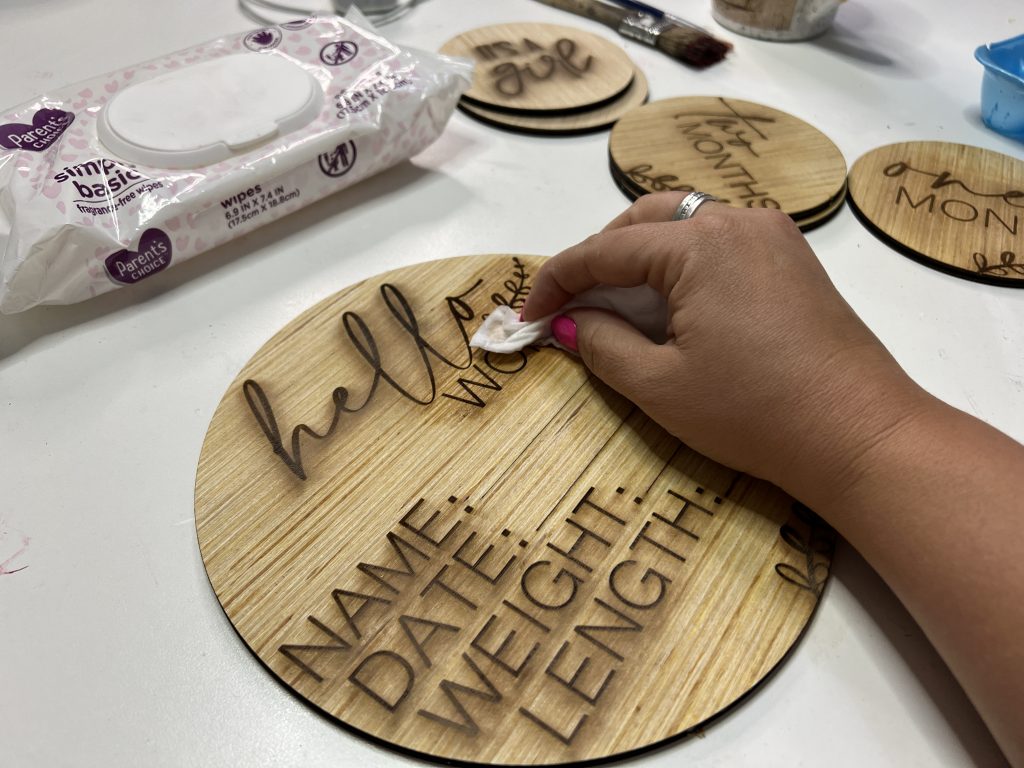
Once everything was tracing perfectly, I set the design to engrave at 450 speed and 60 power. I was able to do the twelve months, the two gender reveal circles, and a “Hello World” circle in no time! Once it was complete, I wiped the soot off with a baby wipe and my wooden circles were ready to go. I opted for the natural wood tone, however at this point you could stain or paint your wooden baby milestone circles however you’d like!
The Finished Product
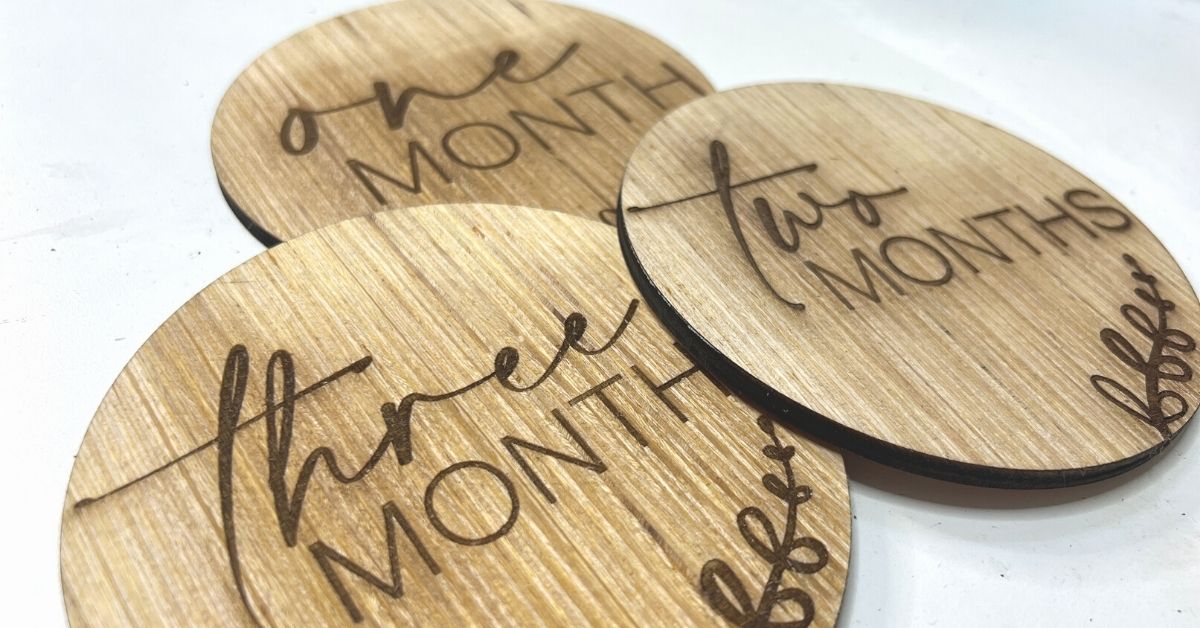
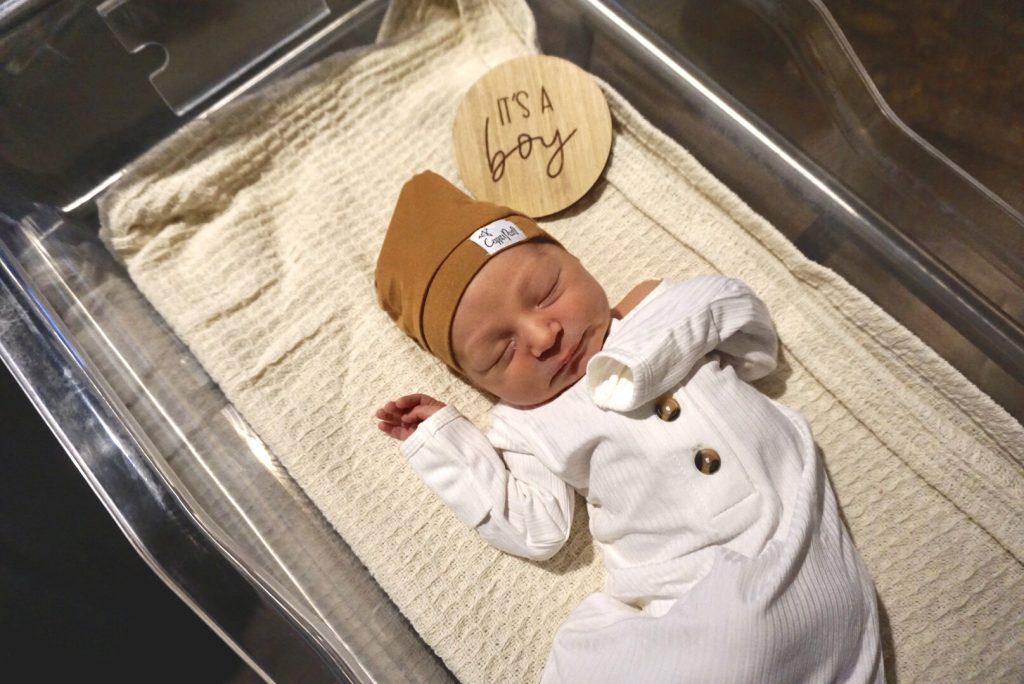
These wooden circles open up so many ideas for how to use my Thunder Laser. Check out the adorable “It’s a Boy” disc I created for this gender reveal at the hospital. You could also use the Thunder Laser to create coasters or even etch in wooden decorative pieces you pick up at the store. The options really are endless! Have you taken the plunge and purchased a Thunder Laser? If not you can purchase here using my affiliate link. I absolutely love using my Thunder Laser and I know that you will too if you choose to purchase for your business or hobby crafting!

0 Comments