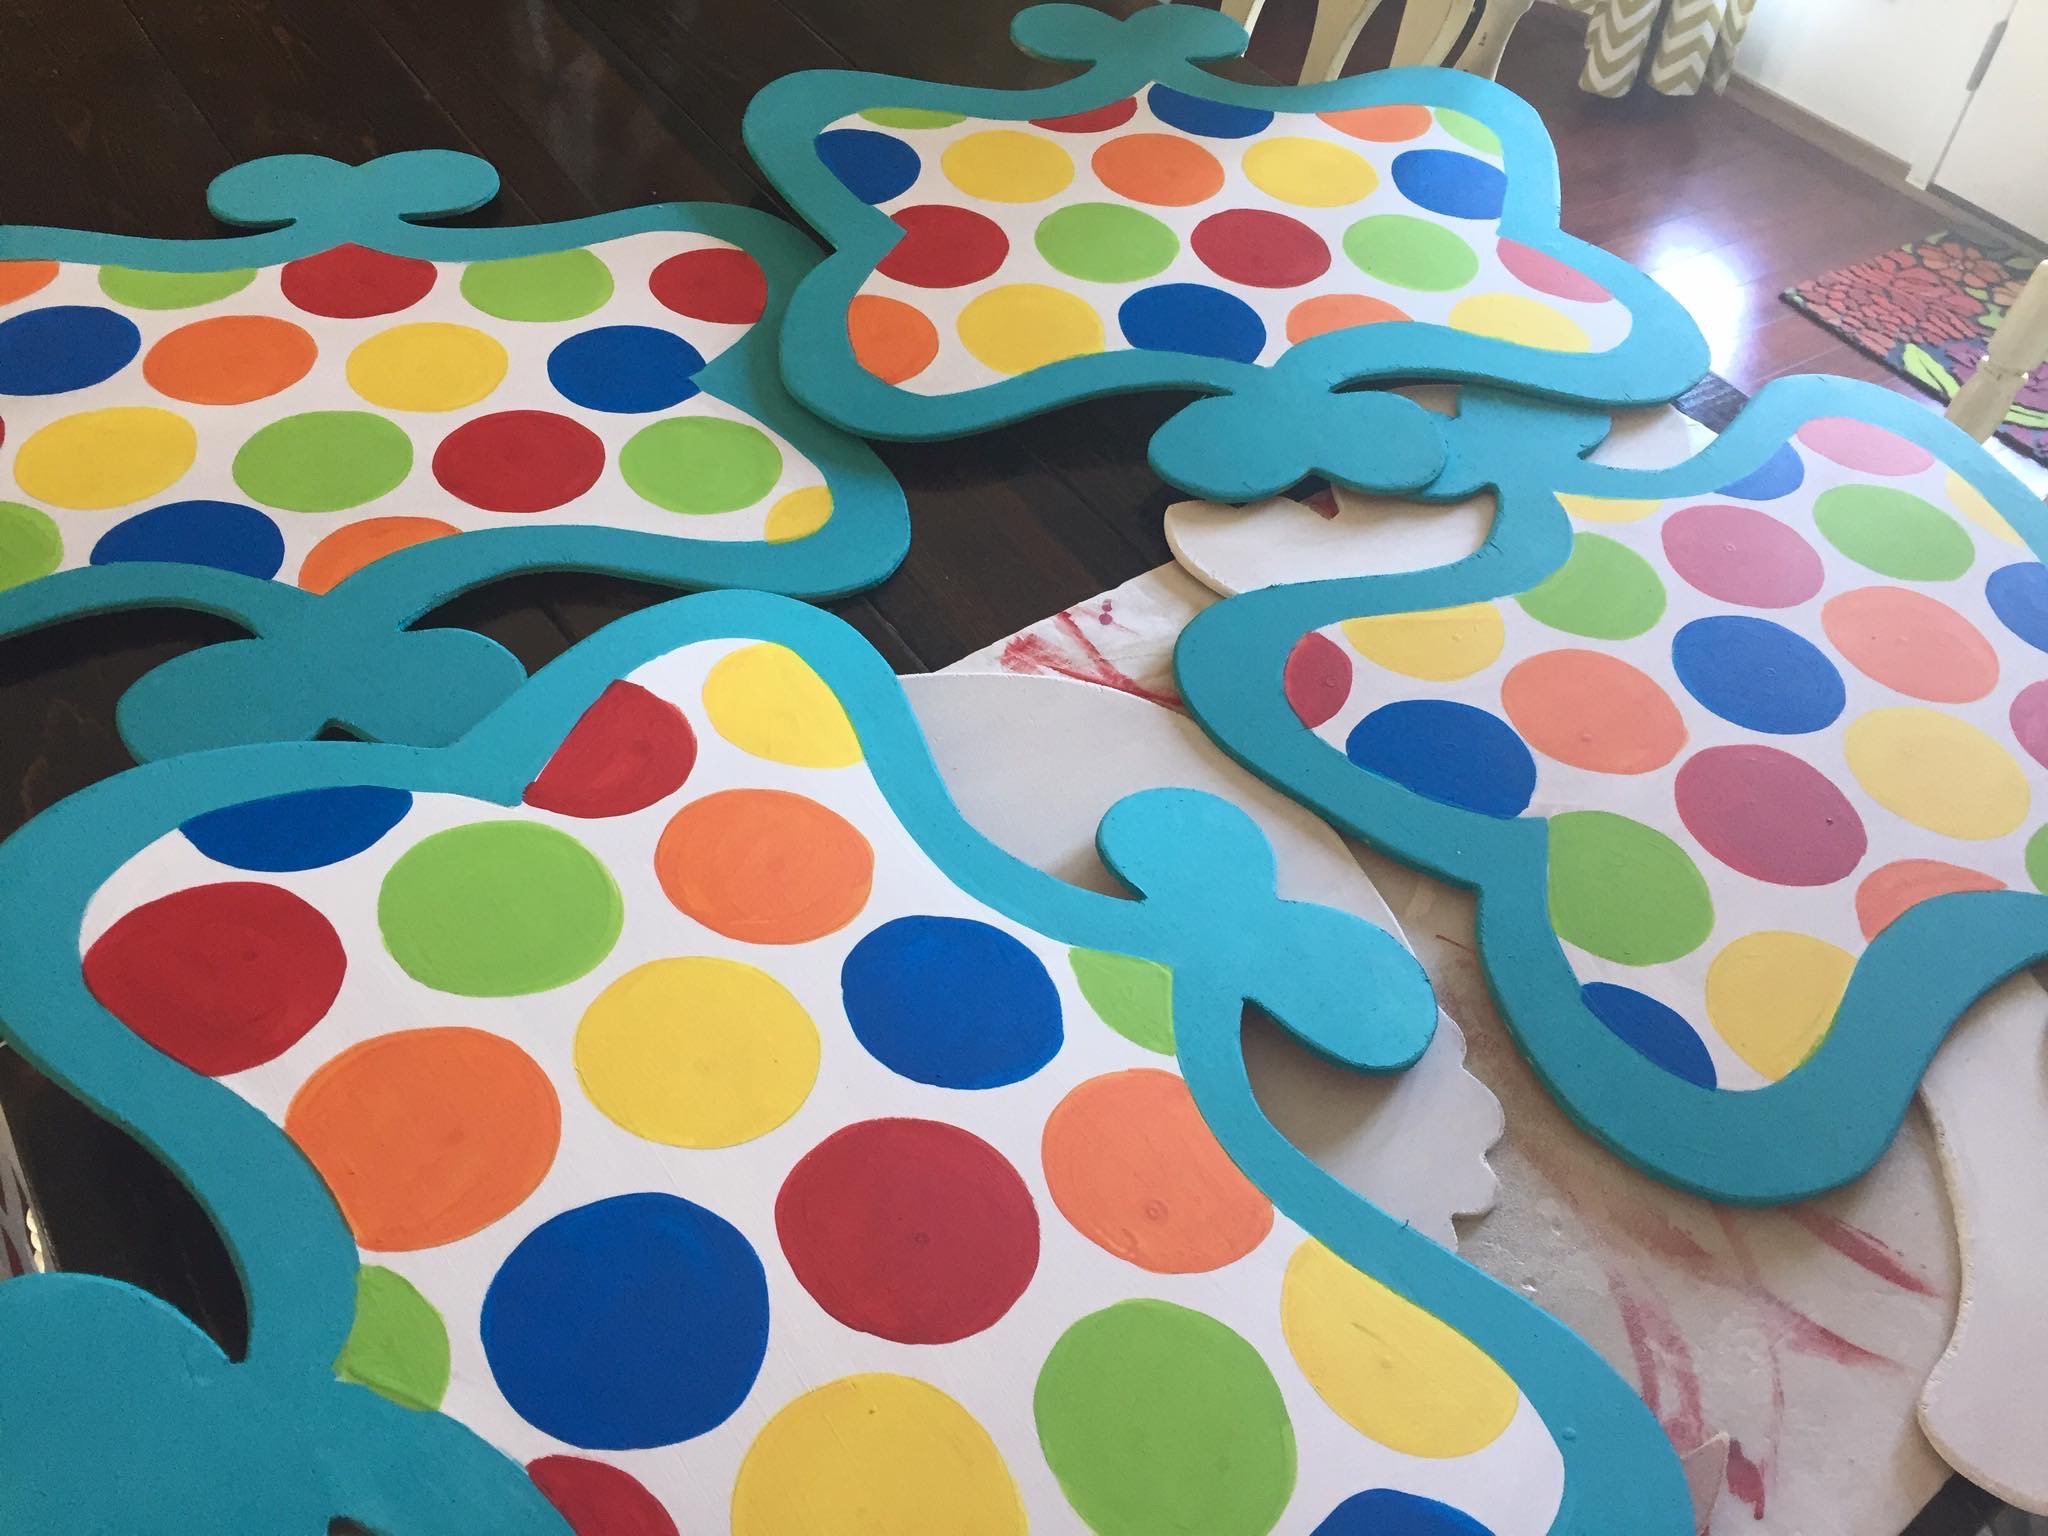
Painting a single door hanger can be relaxing and therapeutic. But if you try to do several duplicates all at once, it can feel overwhelming! So do you need to know how to create a big stack of them all at once? Here are my best tips and tricks for how to batch create door hangers!
Note: Affiliate links included within this post for your convenience. As an Amazon Associate, I earn from qualifying purchases.
Why Would You Want to Batch Create Your Door Hangers Anyway?
You all know I love painting door hangers, obviously! But I’ve learned that I also love helping other people learn to paint them. It’s the biggest reason I’ve started this blog and go live on my facebook page several times each week. Seeing everyone’s skills and confidence grow is so exciting!
And eventually, once you’ve been painting a little while, you realize that you might actually be able to paint AND make a little money by selling your finished projects.
Selling painted door hangers means that you have a great excuse to spend your weekends painting new projects, and stocking up on supplies at Hobby Lobby or Walmart. But it can also be a little intimidating to go from painting one door hanger at a time, to creating a whole bunch all at once.
So here is one of my favorite strategies – create your door hangers in a batch! This is the best way I’ve learned to make the process much more organized and efficient. Batch creating door hangers may not seem like something that would save much time. But the truth is, it really is the most efficient way to paint multiples of the same design.
First, you need to decide on your colors and overall design. If you need to, create your first one and make sure that you really love it. You might even go ahead and post it for sale.
Then, announce that you are going to be taking pre-orders for this particular design. And let’s say you have 7 customers make a pre-order purchase. You could go ahead and batch create 10 of these at one time (the 7 that you’ve already sold, plus a few extras to have on hand for future sales).
Now it’s time to get to work! Make sure that you have enough supplies for all ten door hangers. You don’t want to have to stop in the middle to run out for more paint!
Cut out all of your door hangers, and get them all ready for painting. Gather up your supplies and then you’re ready to begin!
The Batch Painting System:
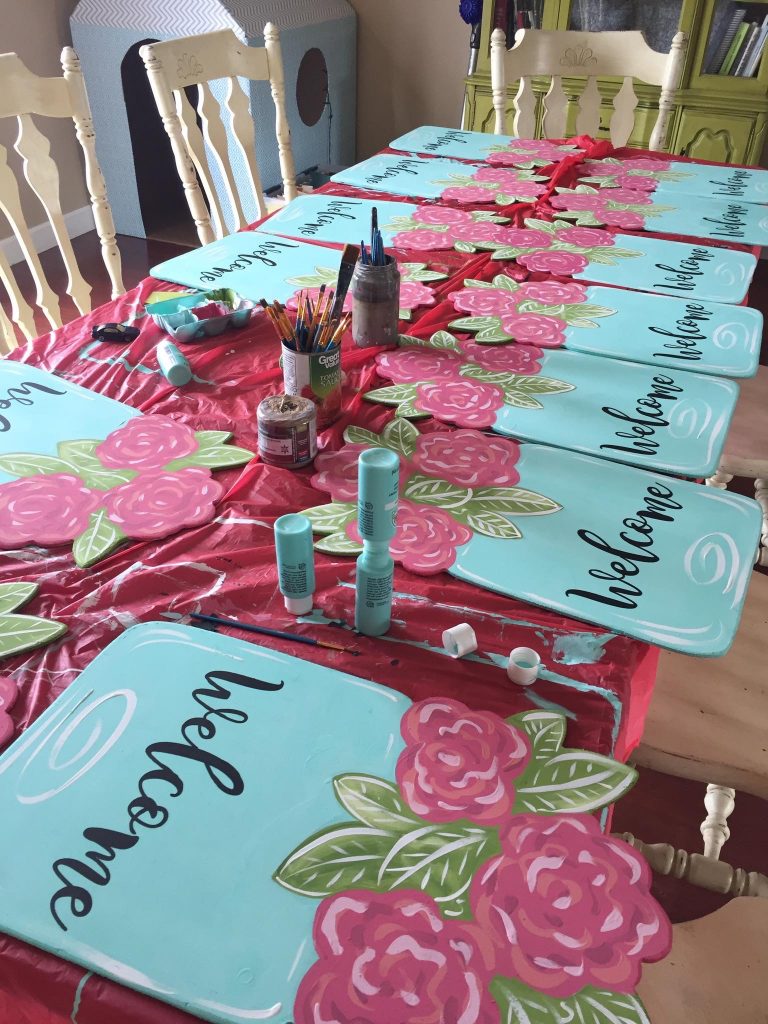
You can set your painting area up like mine in these photos, laying out a disposable tablecloth on a long dining room table. Start with a background color, and go down the line and paint each door hanger with the same color. Then rinse your brush, get the next color and go down the line painting the next part. Repeat on every one. You save time by not having to choose a brush, choose a paint color, rinse your brush and think about what to paint on each one. The whole process is streamlined by repeating what you did on the previous door hanger again and again.
Once you have all the background colors completed, move on to any further details that you need to do. But don’t change brushes or paint colors in between door hangers. Just keep repeating the same color and area until the door hangers are complete.
Of course if your door hangers have lettering, you could leave that part off so that they could be personalized for each customer.
Quick Tip:


TIP: If you don’t have a long table to work on and you have a very small workspace, you could get one of these pizza cooling racks to stack them. This allows you to continue working one at a time. Meanwhile, the door hangers can dry without touching one another.
Selling All Your New Door Hangers!
Congratulations – you’ve painted them all! And now you’re ready to sell. (Take a look at my recent post about how to price your door hangers for more help with this step!)
Once they are all finished, you can line them up in a nice neat little row and take a photo. Then post that photo online showcasing your work again. This time, because there are so many of them, it will catch the viewers’ attention. You’ve also created the illusion that you have a lot of orders coming in!
This makes people take notice. And makes them once again consider if they would like to make a purchase. They don’t want to miss out on something that lots of others are buying!
And of course you know you have three extra. But they don’t know that! And the fact that they are already painted makes it a quick and easy sale. They can pick up or have it shipped the same day. This is great if people are buying them as gifts and need something last minute!
If you haven’t tried batch painting your door hangers, give it a try! You’ll be able to paint much faster and with much less stress. I’ve been doing it this way for years and it has helped my painting business so much.
And I hope these tips help you with your own door hanger business! There’s nothing like taking a hobby that you love and turning it into some extra cash!
Get the Help and Inspiration You Need!
Make sure you follow me on Facebook, Pinterest, and Instagram to get even more ideas, video tutorials, links to my favorite products, and lots of other fun stuff!
Have you signed up for access to my FREE template gallery? Sign up and you’ll get access to download some of my favorite door hanger templates – for free! Ready for more? Join my new Template Club and get first access to all of my new releases every month, for one low price!
And don’t forget about our Painters’ Clubhouse! Once you join, you’ll become part of a monthly membership group where we paint and learn together! From new techniques and painting tips, to getting access to exclusive content all month long, it’s the best place to grow your painting hobby together with us! Make sure you get on the waiting list so that you’ll be one of the first to have an opportunity to grab a spot when membership opens again.other


0 Comments