Some of the links shared in this blog post are affiliate links. This means I make a small commission when you purchase through these links at no extra cost to you. All opinions and reviews shown are honest and my own. Thank you for supporting my small business!
When you’re just starting out with making your own door hangers, chances are you don’t have a giant library of colors lying around. And that’s okay because you actually don’t need that many!
It’s easy to get swept up into thinking you need all the things for creating beautiful door hangers, but the truth is, you can make do with what you have, whether you’re on a budget or just want to take things slow.
So today, I’m going to show you how you can turn a little, into a lot, with just a handful of colors. Take a look at the video tutorial below, or catch the notes on how to mix acrylic paint in this post!
My recommendation for acrylic paint
Mixing paint colors all depends on the type of paint you’re using, and of course, your color selection. I recommend sticking to acrylic paint because it’s the easiest to use on door hangers. However, with the tips you find here, you can apply to any type of paint you use!
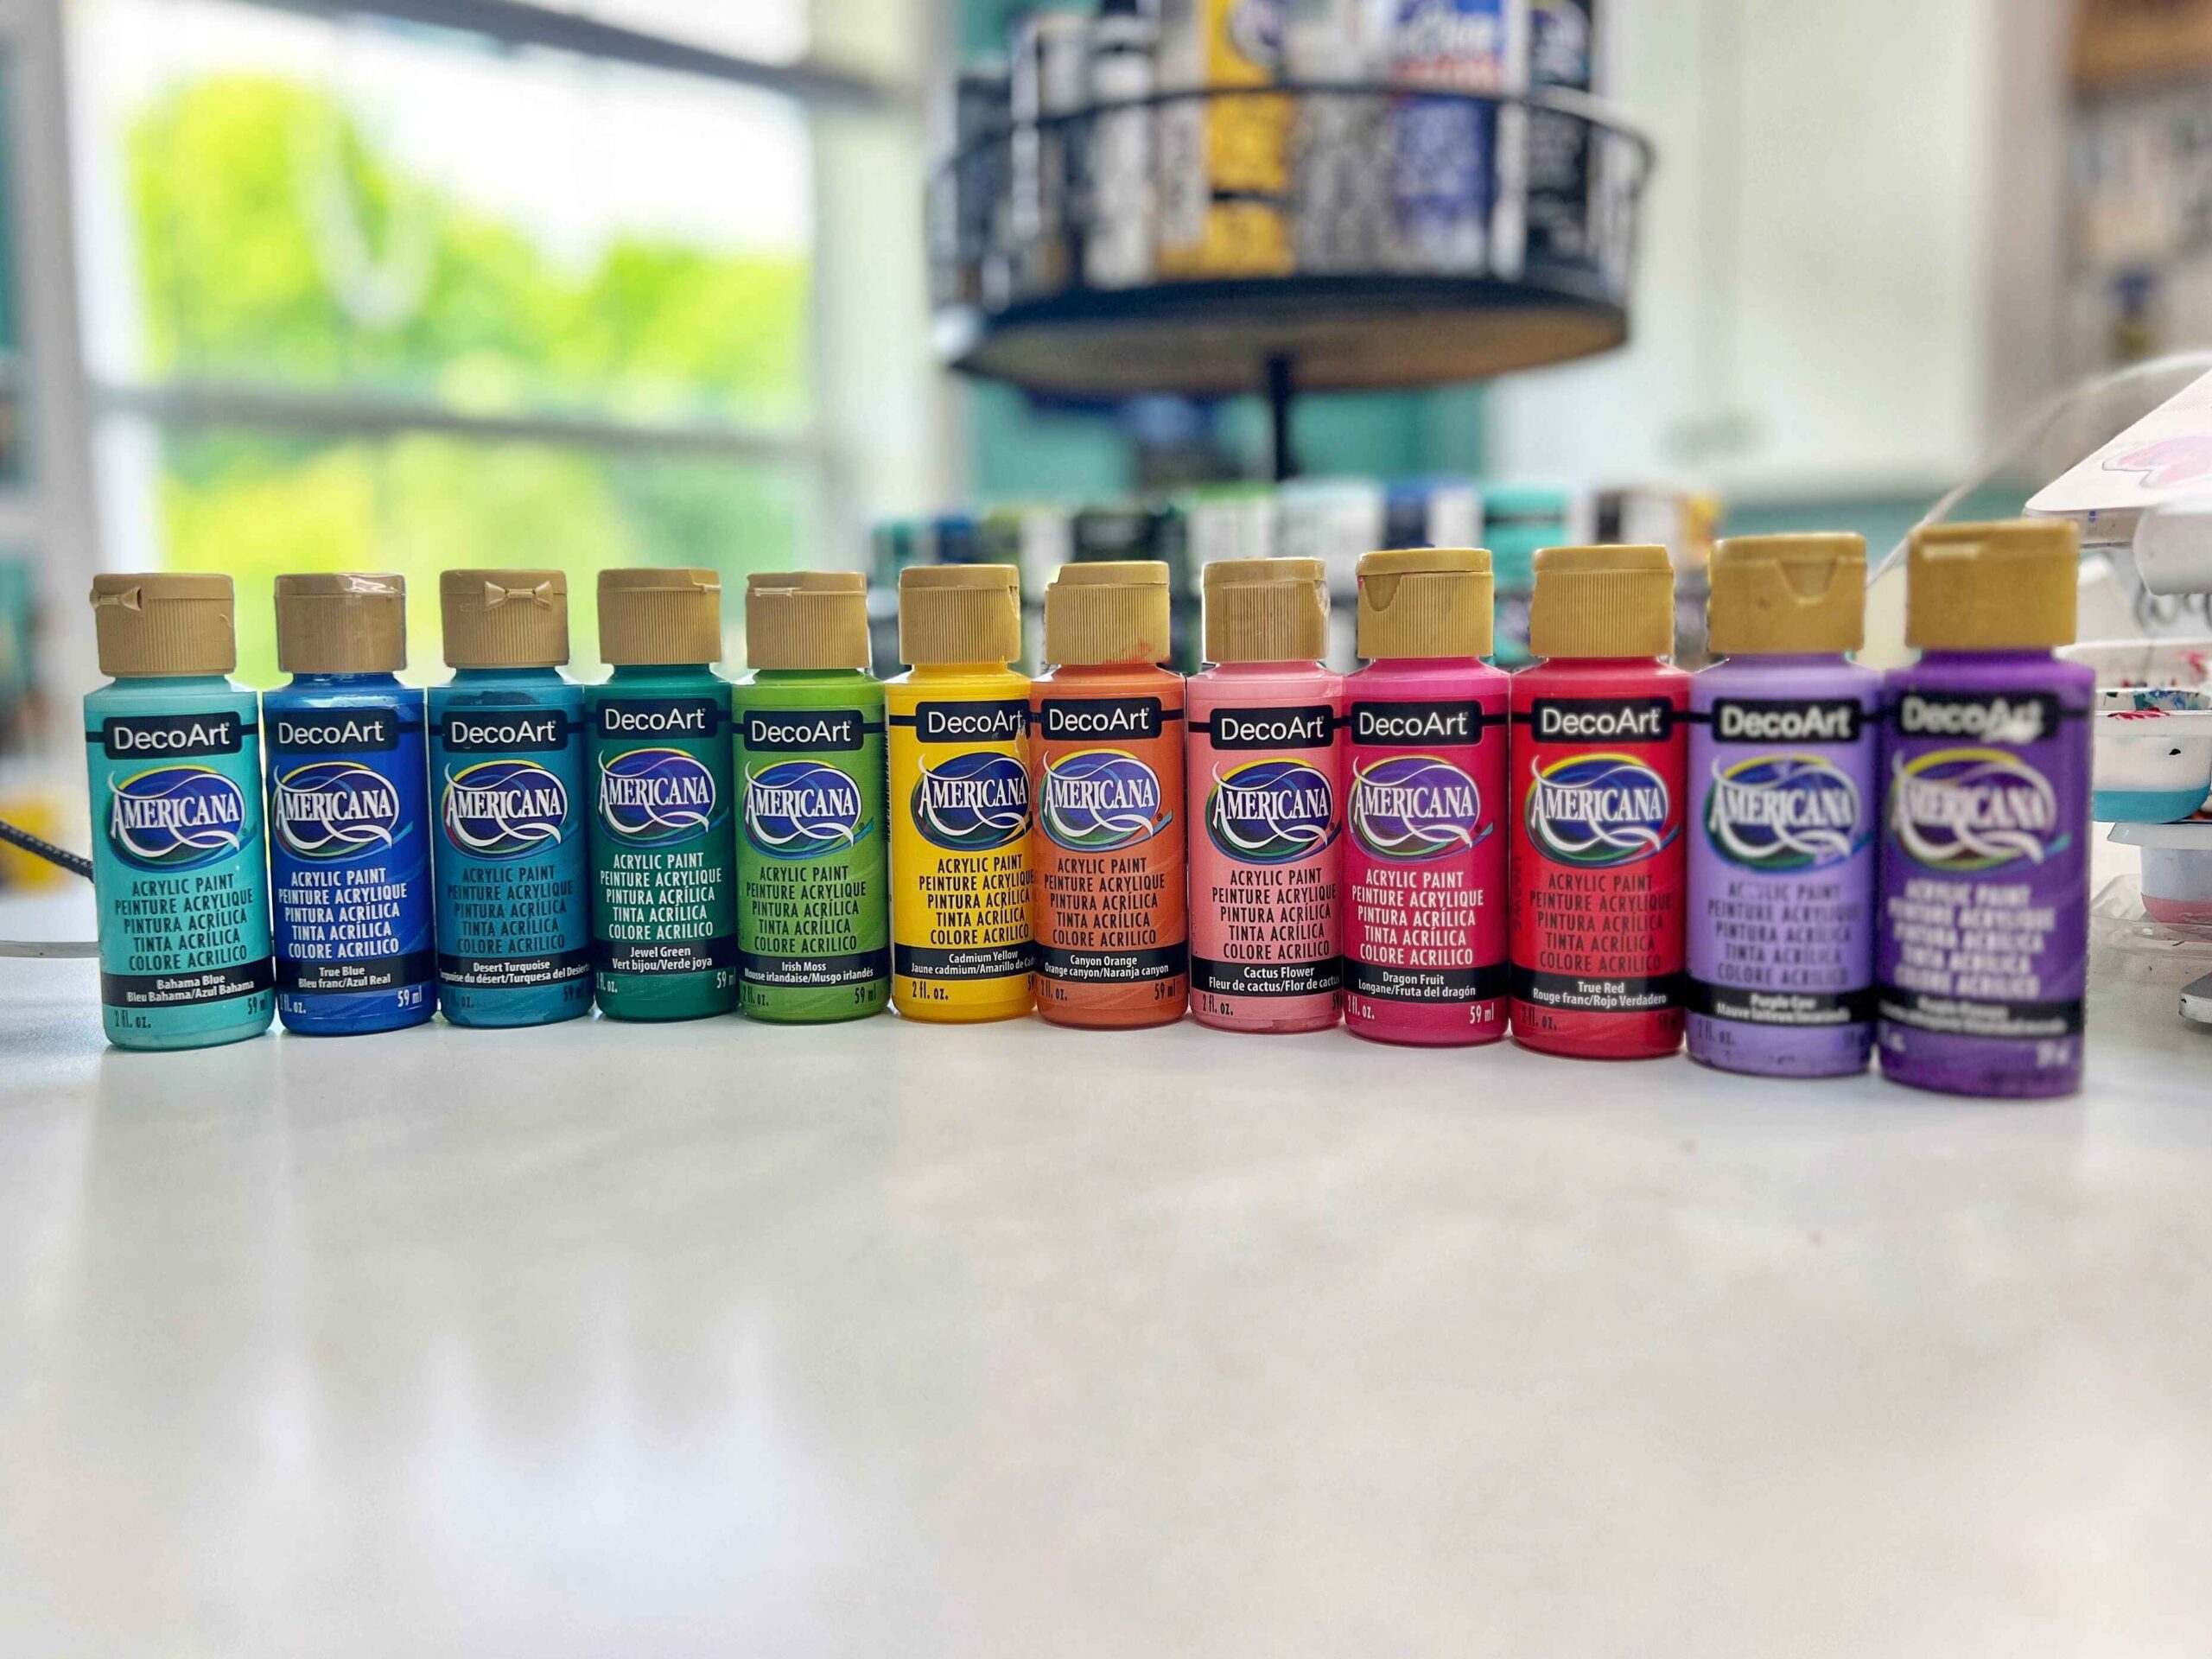
As for a specific brand, I love DecoArt Americana paints, specifically in the matte rainbow variety.
For one, it’s a great price for the quality. Two, matte paint is the best type for door hangers because it does leave any shine, and makes getting those fine lines and details pop more.
And the color selection of the rainbow pack has everything you need to get started!
So now that you know what kind of paint to get, it’s time to get into how to mix them together for a variety of colors!
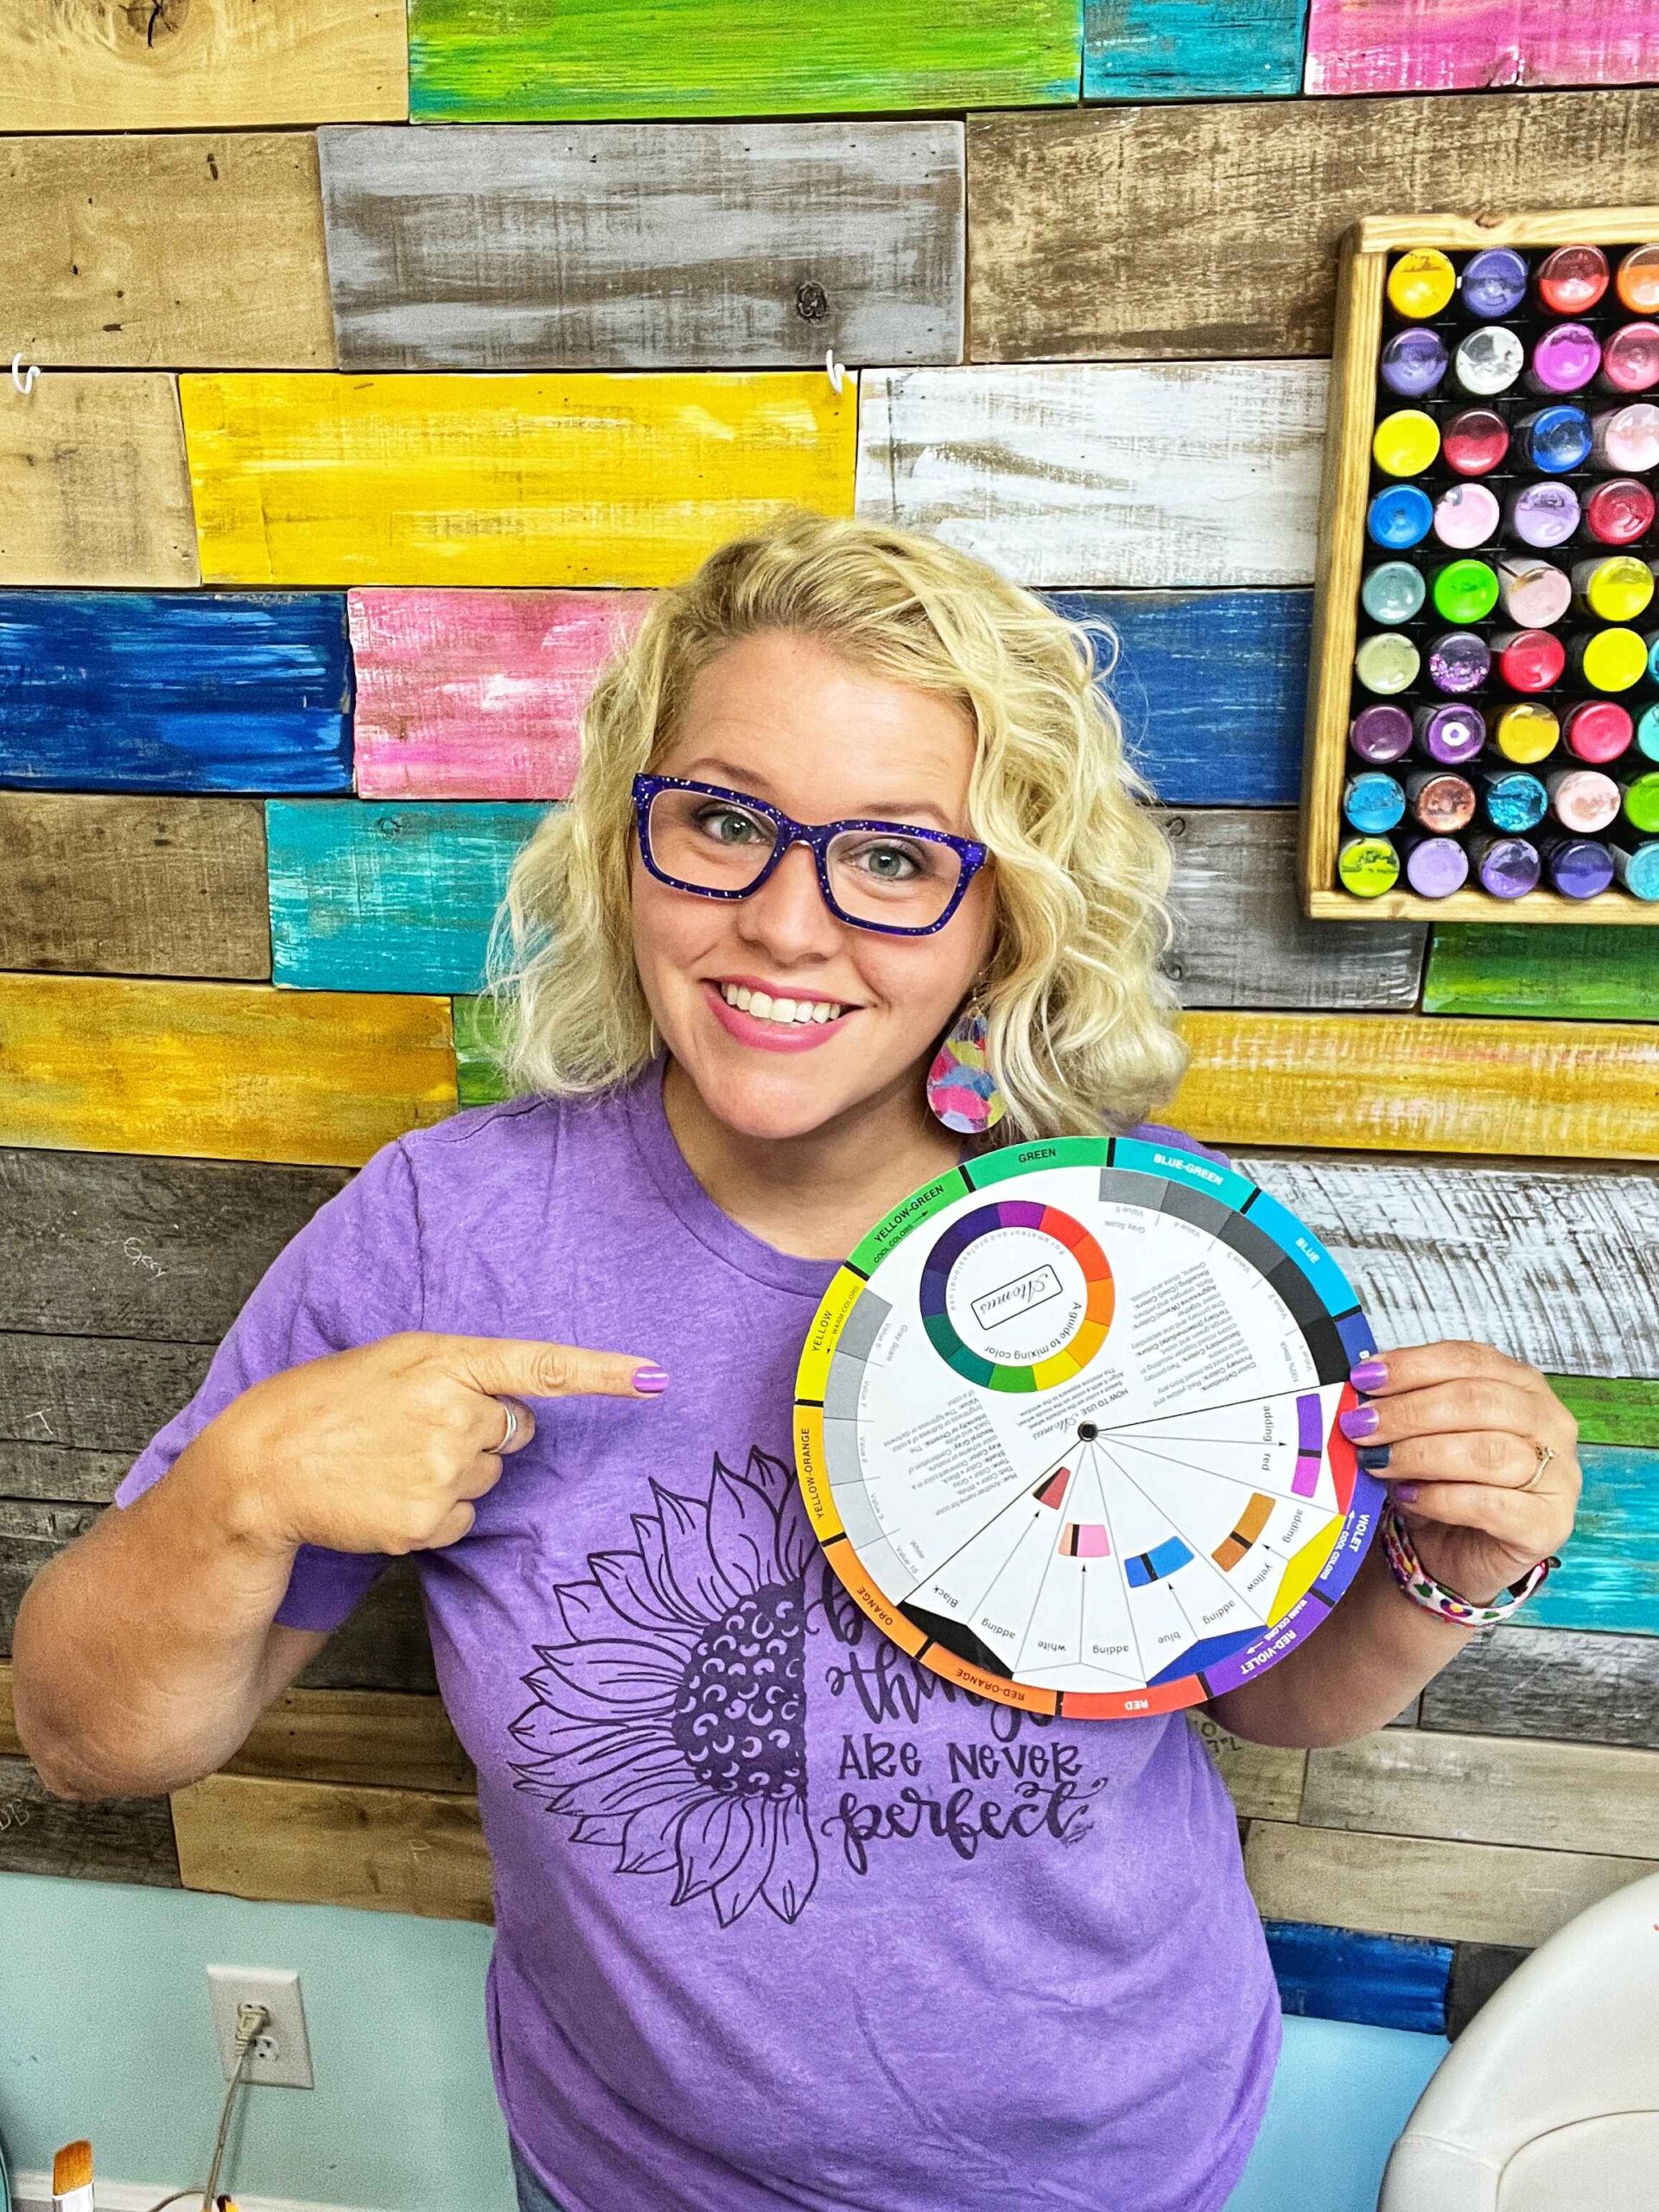
Using the color wheel to mix your acrylic paint
Anyone else remember learning about the color wheel in elementary school art class? That’s what we’re going to apply here!
But don’t worry, we aren’t going to be getting into the nitty gritty details of it. Instead, we’re just going to take a look at the basic principles so you can mix your acrylic paint in a snap, whenever you need!
Understanding the color wheel
A color wheel is there to show you how certain colors may or may not compliment each other, or mix to create a new color. Most wheels have the same standard colors, but some are a little more extensive and actually show you what you’ll get when mixing colors.
On a color wheel, you can find these colors, and what happens when you mix them together:
- Yellow
- Yellow-green
- Green
- Blue-green
- Blue
- Blue-violet
- Violet
- Red violet
- Red
- Red-orange
- Orange
- Yellow-orange
Some color wheels may not run the full spectrum like the one I’ve shown you here, but they all have those basic, core colors.
Tint, tone, and shade
Of course, you’re probably wondering how to mix things together to get the color you’re looking for. For the most part, it all comes down to tint, tone, and shade.
- Tint is any color plus white (so it makes the color lighter)
- Tone is any color plus grey (mellows out the bring colors a bit)
- Shade is any color plus black (making the colors darker)
Once you know this, you know pretty much everything you need to know about the color wheel! Adding darker tones like blue or violet can bring down the shade of your base color. Or adding yellow can brighten up that green you love.
It’s the basic principal to keep in mind with your paint here!
Acrylic color combinations
So, what can you create with your basic colors? Here’s a list detailing the most common combinations. Keep it handy for the next time you decide to stop by the craft store!
- Red + white = pink
- Red + grey = mauve
- Red + black = burgundy
- Violet + red = magenta
- Red + yellow = orange
- Red + blue = purple
- Green + blue = teal
- Yellow + pink = coral
- Adding white can make colors more pastel
- Addin black makes darker, earthy tones
There are SO MANY combinations, y’all. For the most part, it’s about playing around and seeing what you get, so don’t be afraid to get messy and experiment!
Pro tips for mixing acrylic paint colors
That’s pretty much the gist of it, but I’ll leave you with a few more tips so you can get started mixing your colors ASAP!
- Use a palette knife to mix things together. It ensures you get everything mixed evenly without making a mess!
- Don’t add too much of your second, or even third, color. Go little by little until you get the exact color you want.
- Adding more of a color changes the color. For example, if green and blue make teal, then more green would mean a deeper teal, whereas more blue would mean a more ocean teal.
- If you make too much paint after mixing them together, don’t toss it! Get a sealed jar or paint tray to can store it in. You’ll be able to use it again in the future without worrying about it drying up!
Pretty simple, right? Now who’s ready to paint?!
Use these tips on your next wood blank
If you want to put your newfound painting skills to the test, it’s time to sign up for that Big Box of Blanks subscription!
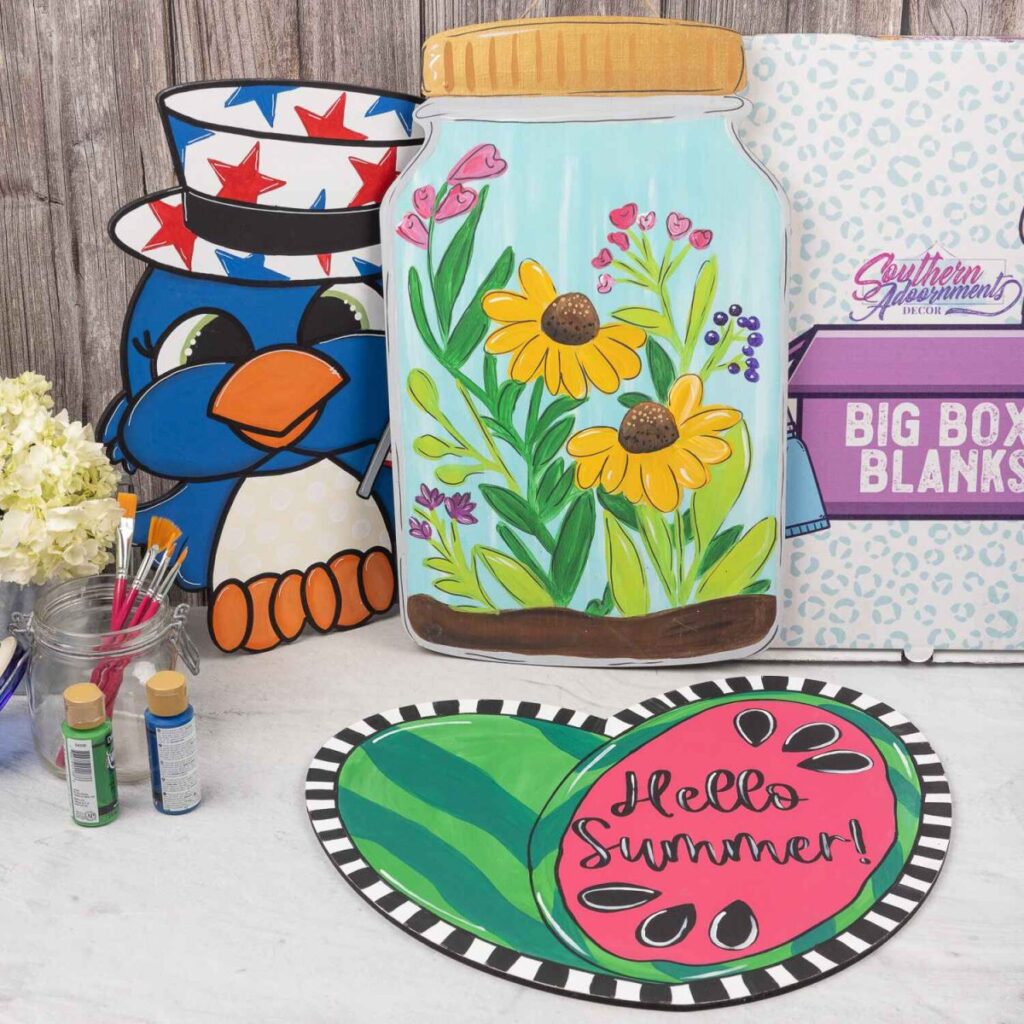
With a subscription, you get three new projects and wood blanks to work on every three months, each complete with a door hanger template and supply list, delivered right to your front door. There’s no need to worry about cutting blanks out on your own — we’ll do it for you!
You just worry about mixing those acrylic paints, we’ll take care of the rest!
Sign up now to get your blanks by mid-July and see what all the fun Q3’s box has in store for you here.

0 Comments