
Some of the links shared in this blog post are affiliate links. This means I make a small commission when you purchase through these links at no extra cost to you. All opinions and reviews shown are honest and my own. Thank you for supporting my small business!
Have you ever wondered what really goes into teaching a live door hanger painting tutorial?
I wish I could tell you it starts with a perfectly clean craft room, neatly organized supplies, and every single brush lined up exactly where it belongs. But most of the time, it starts with me clearing off my craft desk, untangling a few cords, gathering more paintbrushes than any one person could possibly need, and making sure my laptop is plugged in because I have absolutely had it die during a live tutorial before.
Painting doesn’t have to happen in a picture-perfect studio. You don’t need the fanciest setup or the biggest craft room to create something you’re proud of.
You just need a place to paint and a willingness to begin!
What I Use to Teach a Live Door Hanger Painting Class
My setup has changed quite a bit over the years, but these days I use two cameras when I teach inside the Painter’s Clubhouse.


One camera faces me so we can talk and visit while we paint. The second is mounted overhead so everyone can get a clear, top-down view of exactly what I’m doing on the door hanger.
Before I go live, I also gather my paint colors, brushes, water, paper towels, and wood blank. My team keeps our tutorial information organized in Asana, including the colors we’ve chosen ahead of time — which is a very good thing because there is no guarantee I’ll remember all of them on tutorial day.
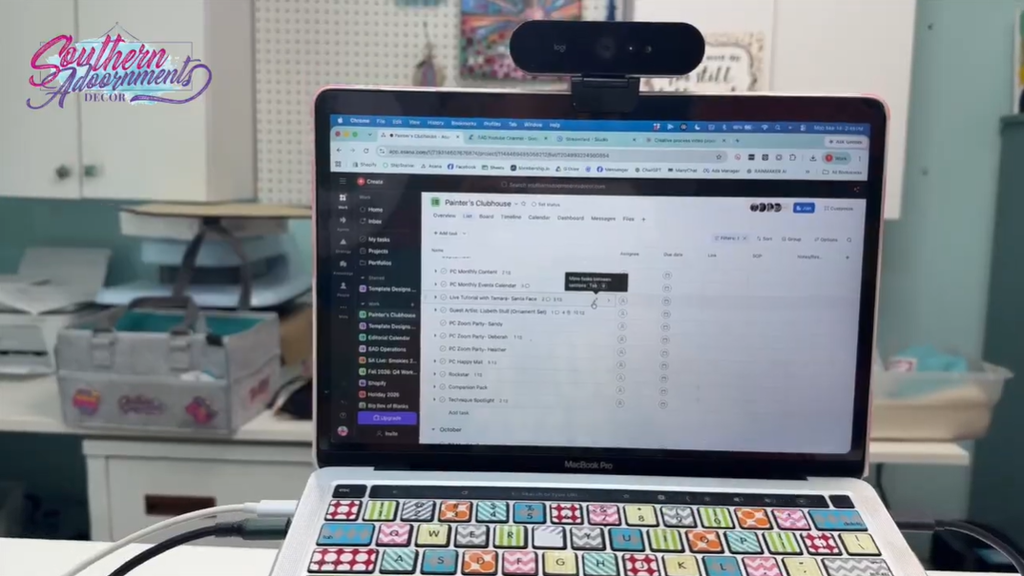
For our Santa door hanger, that meant everything from True Red and Tuscan Red for his hat to softer neutrals and grays for his beard, plus the colors needed to bring his face and those bright blue eyes to life.

But having the right supplies is only part of preparing to paint.
I Don’t Plan Everything on Purpose
Here’s something that might surprise you…
Even after years of teaching painting, I usually don’t sit down with every step of a tutorial completely mapped out. I’m much more of an intuitive painter.
I’ll look at a project and decide where it makes sense to start. Maybe I know I want to base coat the light areas first or work on one section while another dries. I have a general direction in my head, but I leave plenty of room to figure things out as I paint.
And sometimes I get a few steps in and realize, “Well…we probably shouldn’t have done that.”
But those moments can actually be some of the best teaching moments. When you see someone correct a mistake, change a color, repaint an area, or simply decide something isn’t working, you learn something incredibly important:
Painting does not have to go perfectly for the finished project to turn out beautifully.
That lesson matters just as much as learning which brush to use.
Every Painter Goes Through the “Messy Middle”
There’s a stage of painting that I lovingly call the messy middle. You know the one.
You’ve painted enough that you can see the project taking shape…but it definitely does NOT look finished yet.
Suddenly you’re questioning the colors. You’re wondering if that eye looks funny. You’re thinking maybe the whole thing looked better before you touched it.
I still have those thoughts too. Even after years of painting and teaching, there are projects where I look at something halfway through and think, “Uh oh.”
For this Santa door hanger, I knew his face could be one of those moments. His eyes, cheeks, beard, and expression all had to come together to create that sweet, whimsical Santa I had pictured.
And that’s exactly why I decided to tackle his eyes earlier instead of saving them for last.
Sometimes the part you’re most nervous about is the part you should do sooner.
Once the eyes were finished and I could see his personality starting to come through, the rest of the project felt so much easier.
Creative Confidence Doesn’t Mean You Never Doubt Yourself
One thing I really want women learning to paint to understand is that creative confidence doesn’t mean you never question what you’re doing. I’ve taught inside the Painter’s Clubhouse for years, and I still have moments during a live tutorial where I wonder…
Do they like this color?
Was that the right brushstroke?
Why are the comments so quiet?
Meanwhile, everybody is probably just busy painting and doesn’t want to put down their paintbrush long enough to type!
Creating something is vulnerable because you’re putting a little bit of yourself into it.
There may always be moments when you wonder whether someone else will love what you created as much as you do. But the goal isn’t to eliminate that feeling completely — it’s to keep painting anyway!
Why I Love Painting Together in the Painter’s Clubhouse
The technology makes live painting possible, but the community is what makes it special. When I teach inside the Painter’s Clubhouse, I’m not just demonstrating how to paint a door hanger. I’m answering questions. I’m hearing about everyone’s day.
We’re laughing when something doesn’t go exactly according to plan. We’re figuring things out together. And I get to watch women who once believed they “weren’t artistic enough” become more comfortable picking up a brush and trusting themselves.
That connection is one of my favorite parts of what we’ve built at Southern Adoornments. I may be the one teaching the tutorial, but by the time we finish, my cup feels just as full.
Your Painting Doesn’t Have to Look Exactly Like Mine
The finished Santa ended up soft, sweet, and whimsical, which is exactly the direction I wanted him to go. I even considered adding the black outlining I use on many of my designs, but ultimately decided he didn’t need it.
And that’s another lesson worth remembering. You’re allowed to change your mind or make your project different from the example. Sometimes knowing when to put down the paintbrush is part of the process too.
Your project doesn’t have to look exactly like mine — or anyone else’s — to become something you’re proud of!
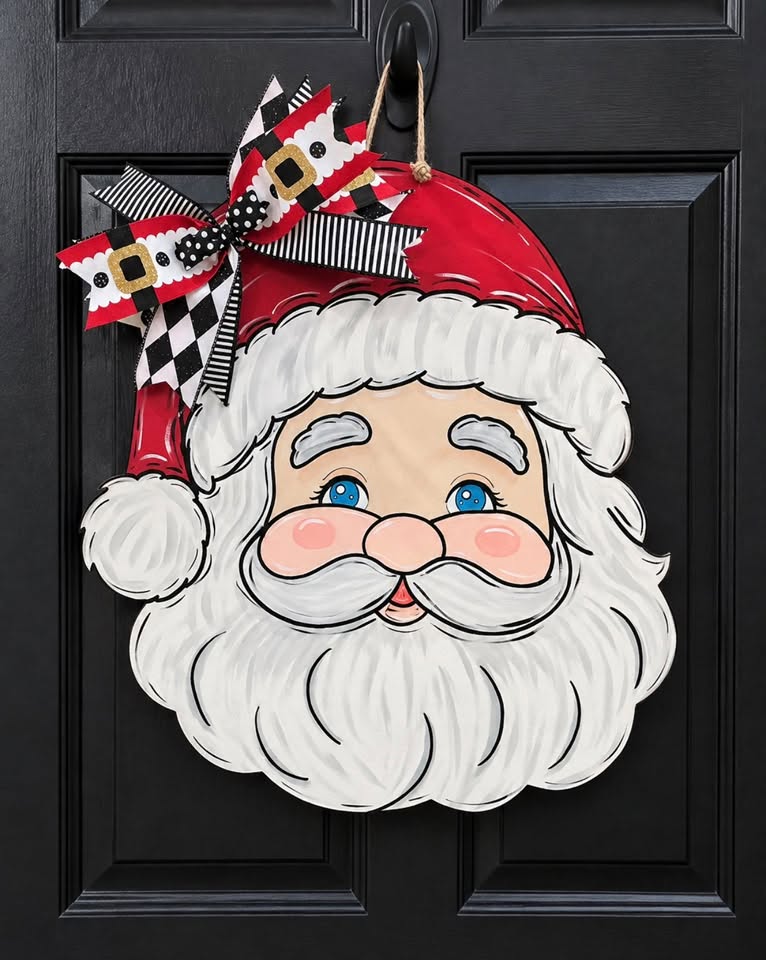


All made by members inside the Painter’s Clubhouse!
Frequently Asked Questions About Learning to Paint Door Hangers
Do I need painting experience to paint a door hanger?
Absolutely not! Many women in our Southern Adoornments community begin with little or no painting experience. Learning techniques one at a time and practicing them through guided projects can help you become more comfortable with a paintbrush.
What supplies do I need for door hanger painting?
For most projects, you’ll want acrylic paint, several basic paintbrushes, a water cup, paper towels, and your wood door hanger blank. Specific projects may call for additional colors, brushes, ribbon, or embellishments.
See more of the supplies I recommend here!
What should I do if my painting looks bad halfway through?
Keep going! You may simply be in the messy middle. Layers, shading, highlights, outlines, and final details can completely change the way a project looks. Try not to judge the finished piece before it’s actually finished.
Learn more about fighting through the messy middle with this video!
What if I make a mistake while painting?
Mistakes are part of painting — even for experienced painters. Many can be painted over, blended, covered with another detail, or turned into something completely different. Learning how to fix those little surprises is one of the ways you become a more confident painter.
Get More Door Hanger Tips With Our Weekly Lives
I teach live door hanger painting tutorials inside the Painter’s Clubhouse every month. We paint together, learn new techniques, ask questions, and enjoy the process as a community.
You’ll see how the process I outlined above plays out in real time, and get a taste for what it’s like to paint with community and guidance.
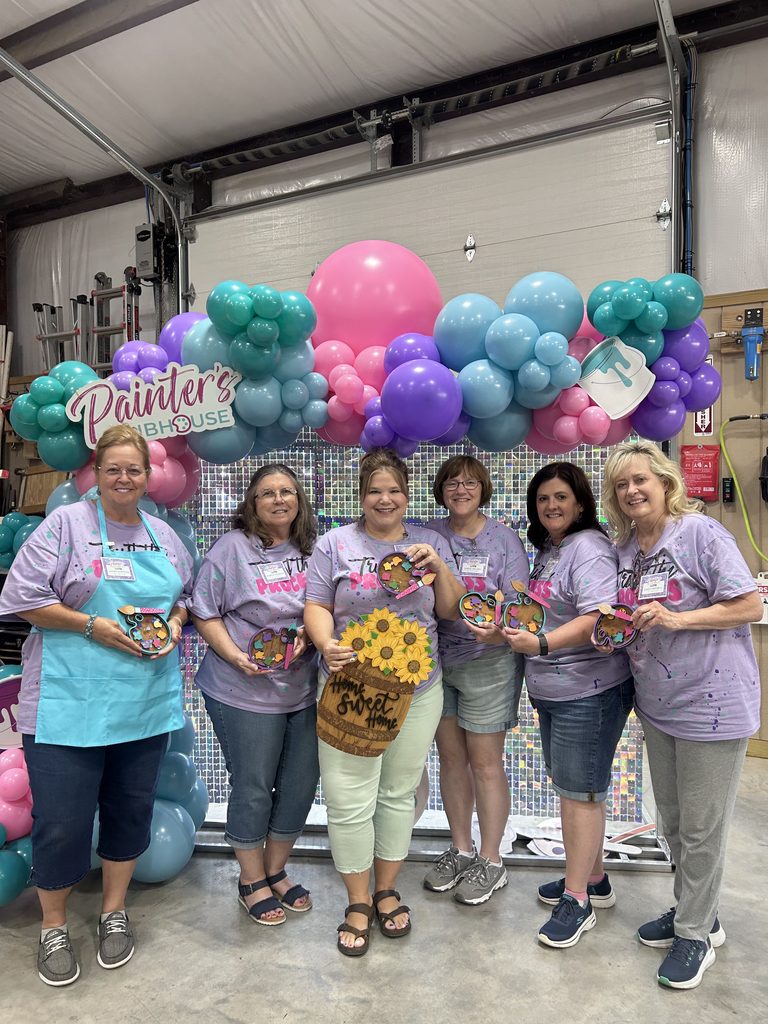
Because around here, you don’t have to already be an artist. You just have to be willing to pick up the brush and try.
0 Comments