Some of the links shared in this blog post are affiliate links. This means I make a small commission when you purchase through these links at no extra cost to you. All opinions and reviews shown are honest and my own. Thank you for supporting my small business!
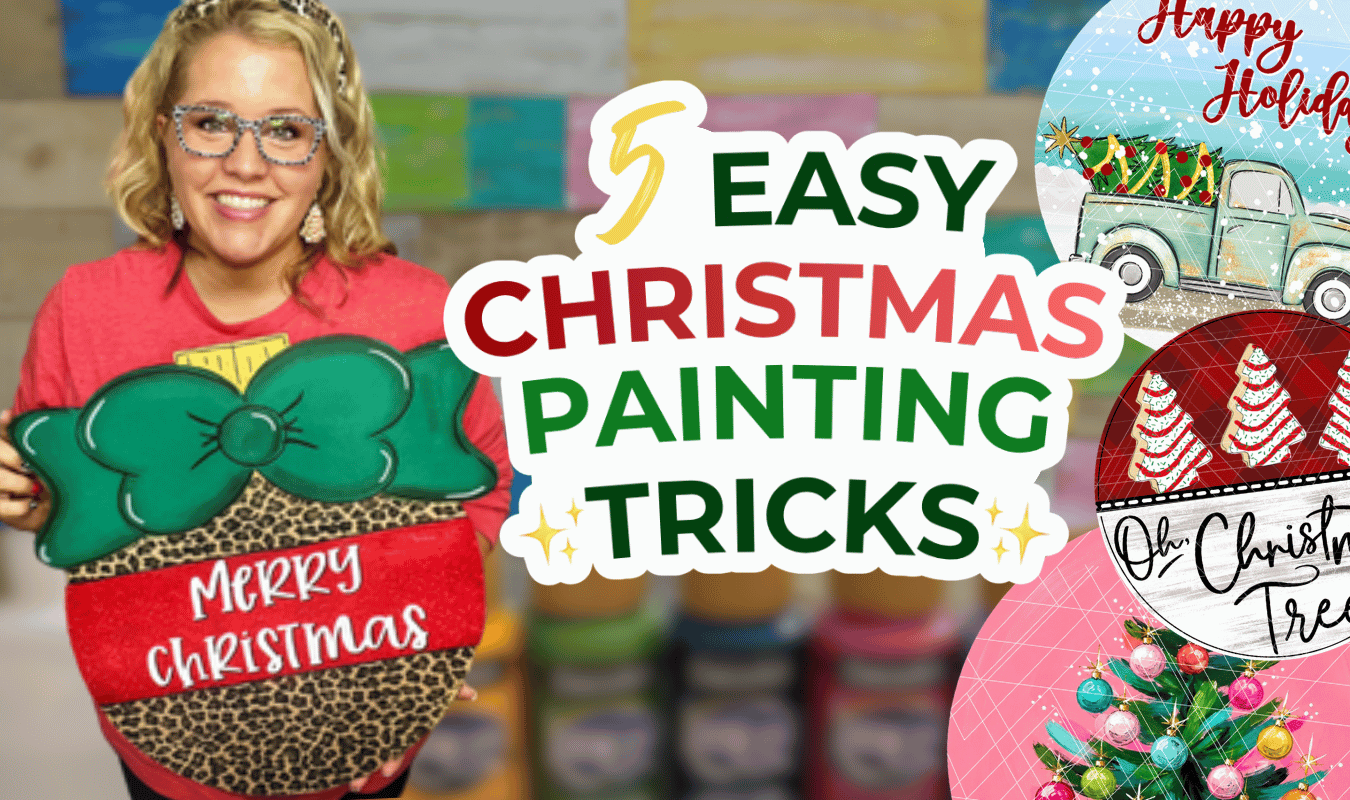
If you’re a beginner, you’ll be happy to know that sometimes, it’s the simplest little painting tricks that make the biggest difference. A little snowy texture, some sparkle, or a fun pattern can turn an ordinary wooden Christmas craft into something you’re proud to display.
But these easy Christmas painting techniques aren’t just for door hangers. You can use them on wooden ornaments, Christmas signs, painted banners, and all kinds of DIY holiday decorations.
I’ve rounded up five of my favorite techniques, along with a few extra tips, supply recommendations, and Christmas painting ideas to help you get creative this holiday season!
#1: Add a Snowy Finish to Your Christmas Crafts
One of my favorite ways to create that snowy look is with white acrylic paint and a fan brush. An old toothbrush works great, too.
What I love about this technique is that the snow doesn’t have to be perfect. Actually, I think it looks BETTER when the snowflakes are different sizes.
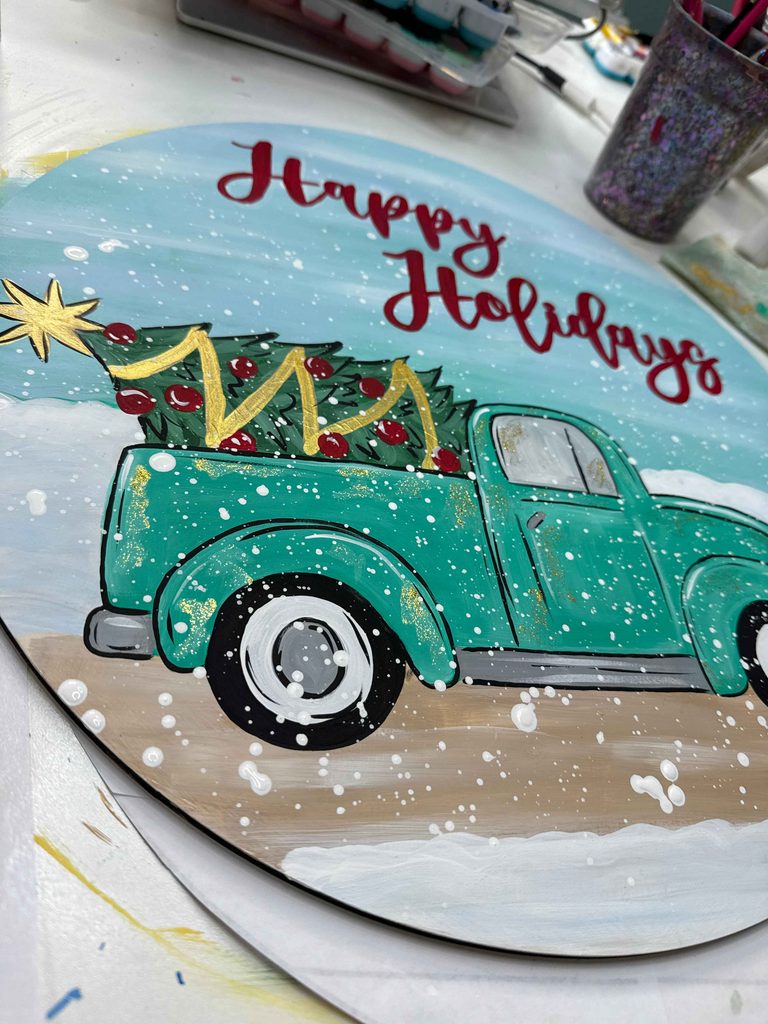
A few tips for realistic painted snow:
- Mix white acrylic paint with water to create a thin, splatter-friendly consistency
- Use a combination of larger and smaller splatters for a natural look
- Practice on scrap paper before adding snow to your finished project
- Cover your workspace because those little white splatters can go EVERYWHERE!
This technique looks adorable on Christmas trees, snowmen, winter signs, and even painted ornaments. And don’t feel like you have to cover the entire project with snow. Sometimes, a few little splatters are all you need.
Looking for a Christmas project to practice on? My Christmas Camper Door Hanger Tutorial is a fun place to start.
#2: Give Your Christmas Paintings Dimension With Textured Snow
Now, if you want your Christmas crafts to have a little extra dimension, you’ve GOT to try textured snow! One of my favorite products for this is DecoArt Snow-Tex. It’s a textured medium that creates the appearance of fluffy, piled-up snow.
Unlike regular acrylic paint, Snow-Tex gives your project a raised finish.
I especially love using it on:
- Christmas tree branches
- Snow-covered rooftops
- Snowman scenes
- Winter door hangers
- Snowdrifts along the bottom of wooden signs
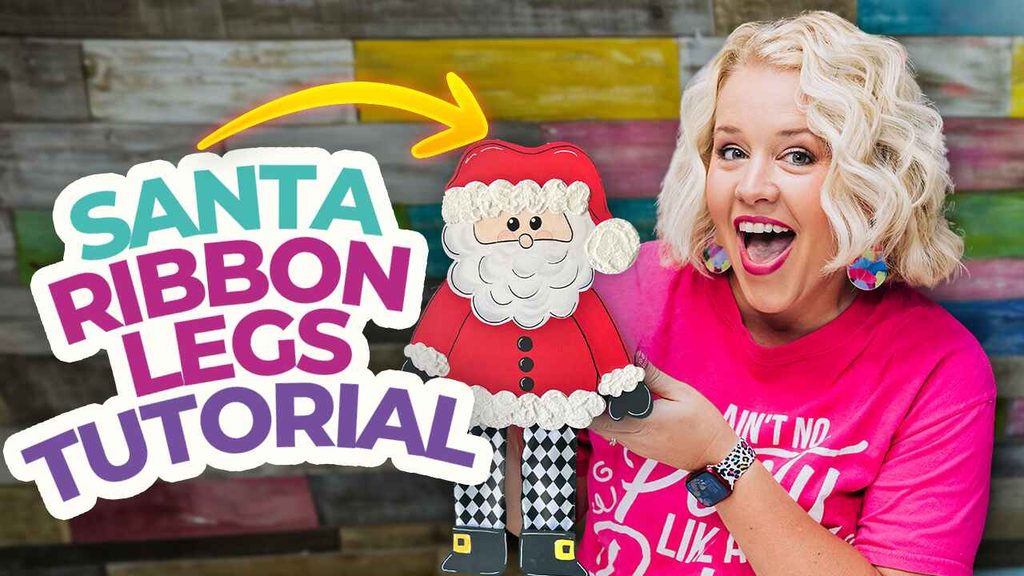
Watch the tutorial here to see how I apply it!
Don’t worry about smoothing it out perfectly! I actually prefer dabbing and pushing the product around with a palette knife because it creates those fun, uneven snowdrifts.
And if you love a little sparkle, you can use a glitter version or sprinkle loose glitter over the wet texture.
One thing to remember: Textured snow may take longer to dry than regular acrylic paint, especially when applied thickly. Give it plenty of time before handling or sealing your project.
#3: Add Christmas Sparkle Without the Glitter Mess
Y’all know I love a little glitter! Especially at Christmas. But you know what I don’t love? Finding loose glitter all over my craft room three weeks later.
That’s why DecoArt Craft Twinkles in Crystal is one of my favorite Christmas painting supplies.
It’s a clear glitter paint with a beautiful holographic shimmer, and you can brush it right over your existing paint colors. That means you don’t need to buy a separate glitter paint for every color in your project!
I love using it on colorful Christmas ornaments, whimsical trees, and holiday lettering.
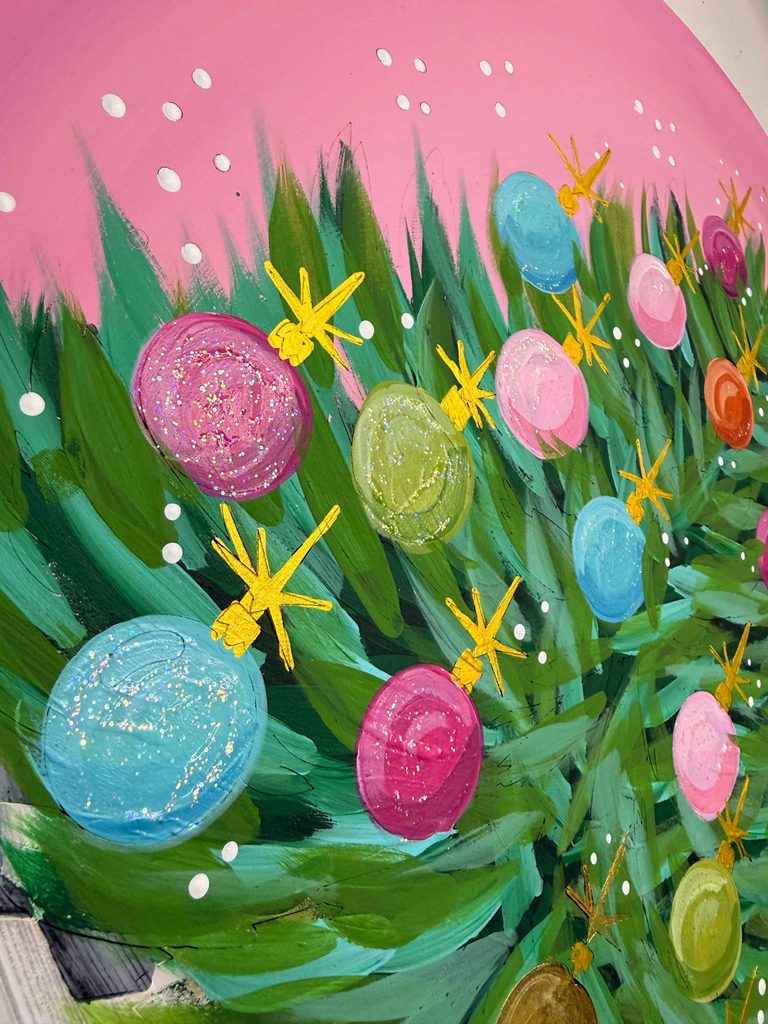
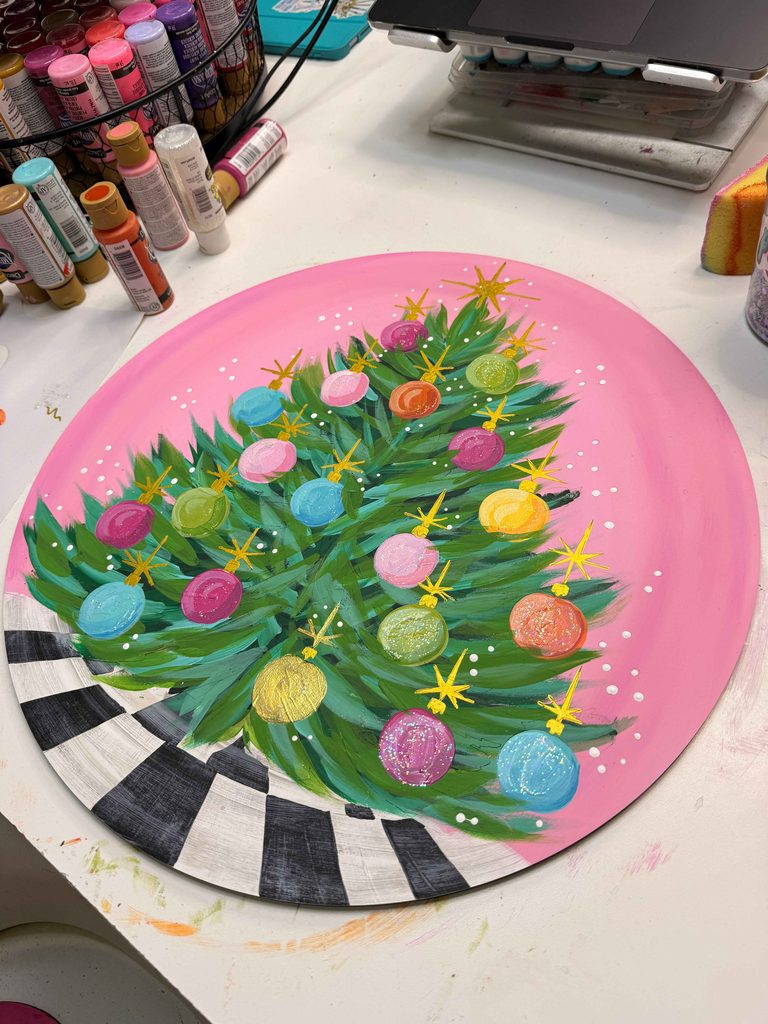
My biggest tip? Be selective about where you add sparkle.
You don’t need glitter on every single part of your design. Sometimes, adding it to the ornaments on a Christmas tree or just a few decorative details makes those areas stand out even more.
#4: Create Christmas Patterns Without Painting Every Detail
Have you ever seen a Christmas ornament covered in metallic leopard print and wondered how somebody painted all those tiny details?
Well, here’s a little secret. They might not have painted them at all!
Transfer foils are one of my favorite ways to add eye-catching patterns to Christmas crafts without having to paint every little detail by hand. You can find transfer foils in all kinds of designs, including metallic finishes, animal prints, and decorative patterns.
I especially love using leopard print foil on oversized Christmas ornament door hangers. It gives them such a fun, whimsical look!
For this technique, you’ll need a special adhesive made for transfer foils. Regular craft glue won’t necessarily give you the same results.
My friend Jennifer over at Artistic Painting Studio carries transfer foils and the adhesive you’ll need.
A helpful tip: Always test your foil and adhesive on a scrap surface first. And remember that the pretty, patterned side faces UP when you’re transferring your design.
If you’ve never painted a door hanger before, don’t let these fancy finishes intimidate you. Start with the basics using my beginner door hanger painting course, then experiment with fun techniques as your confidence grows.
#5: Paint Buffalo Plaid Without Perfect Brushstrokes
Buffalo plaid is one of those patterns that looks complicated but is actually SO much easier than you think
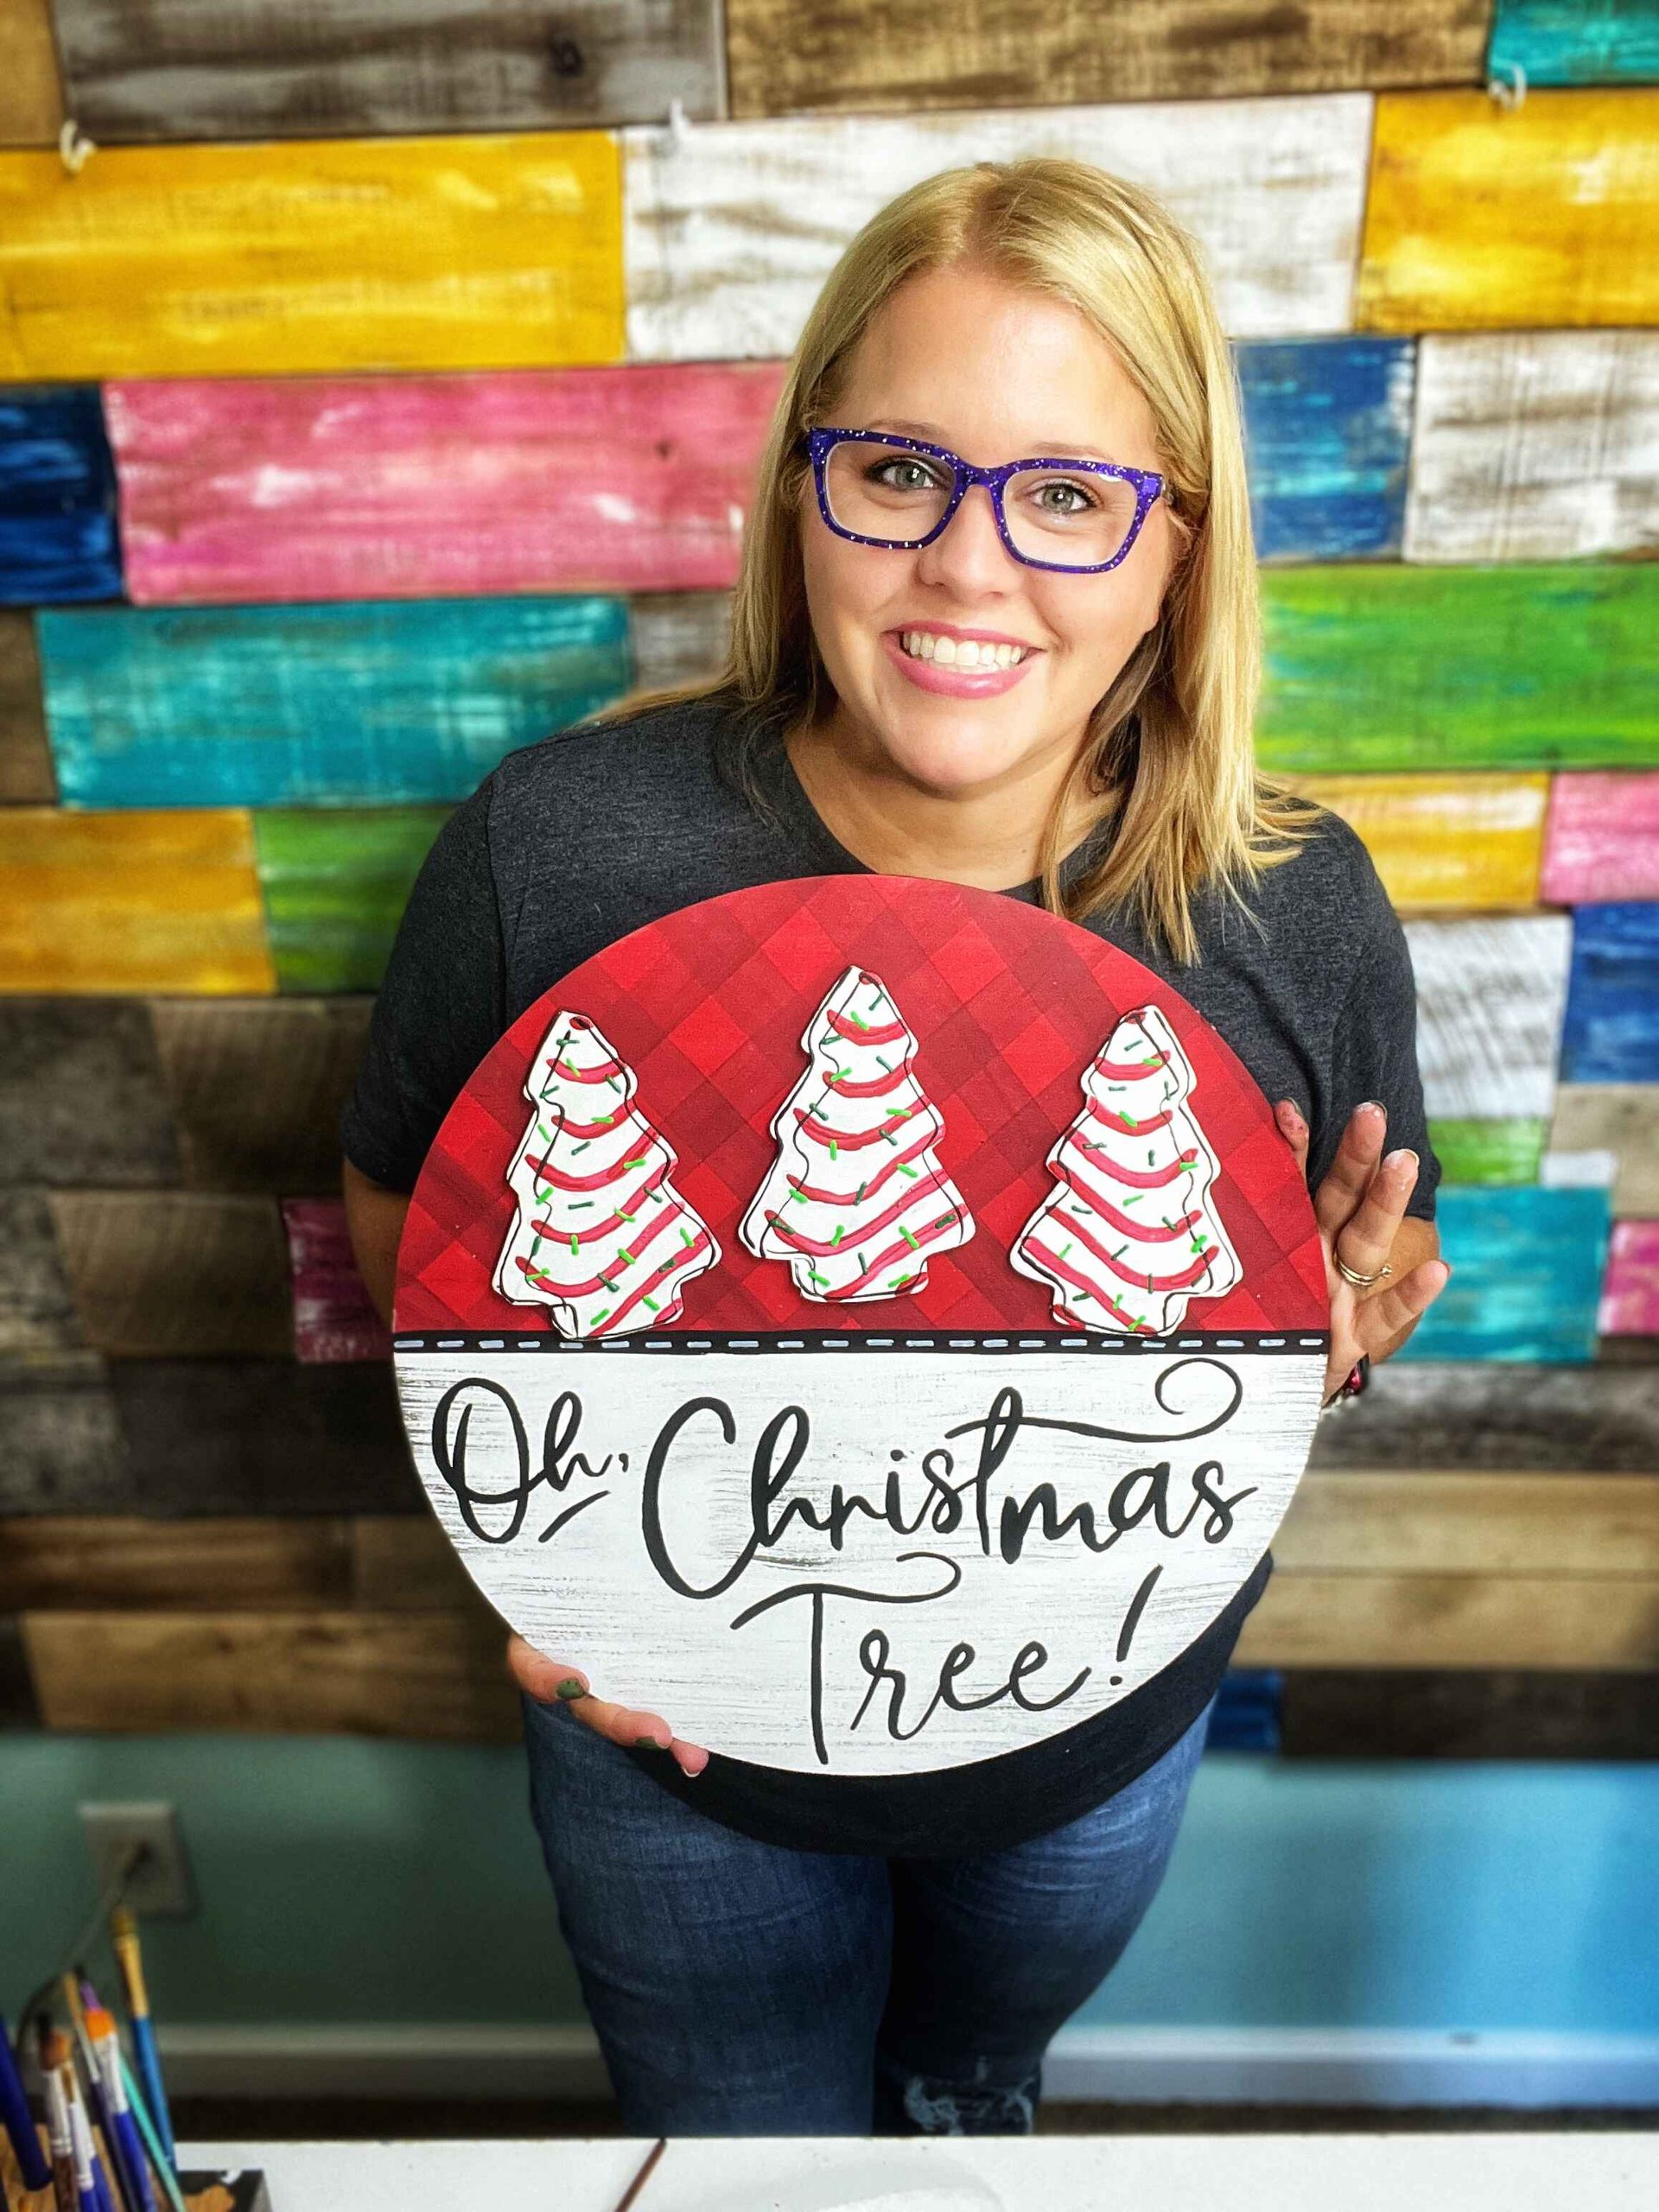
With painter’s tape, two shades of acrylic paint, and a baby wipe, you can create a beautiful plaid pattern on your Christmas crafts.
One of my favorite ways to use this technique is with two shades of red on a Christmas tree cake door hanger.
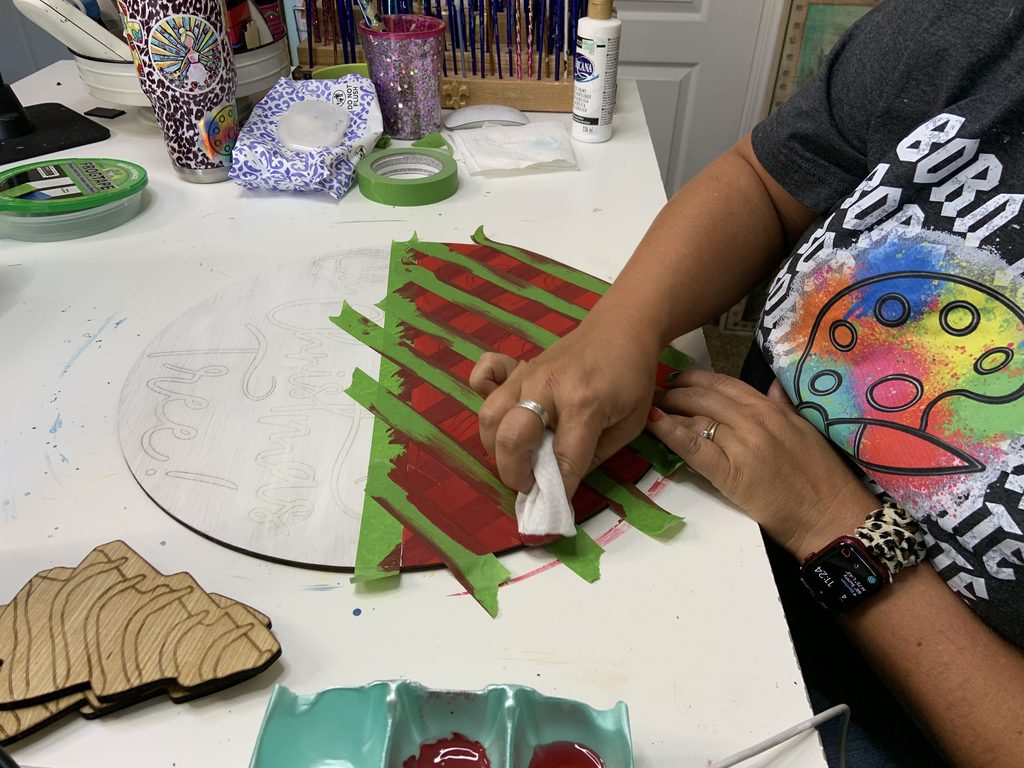
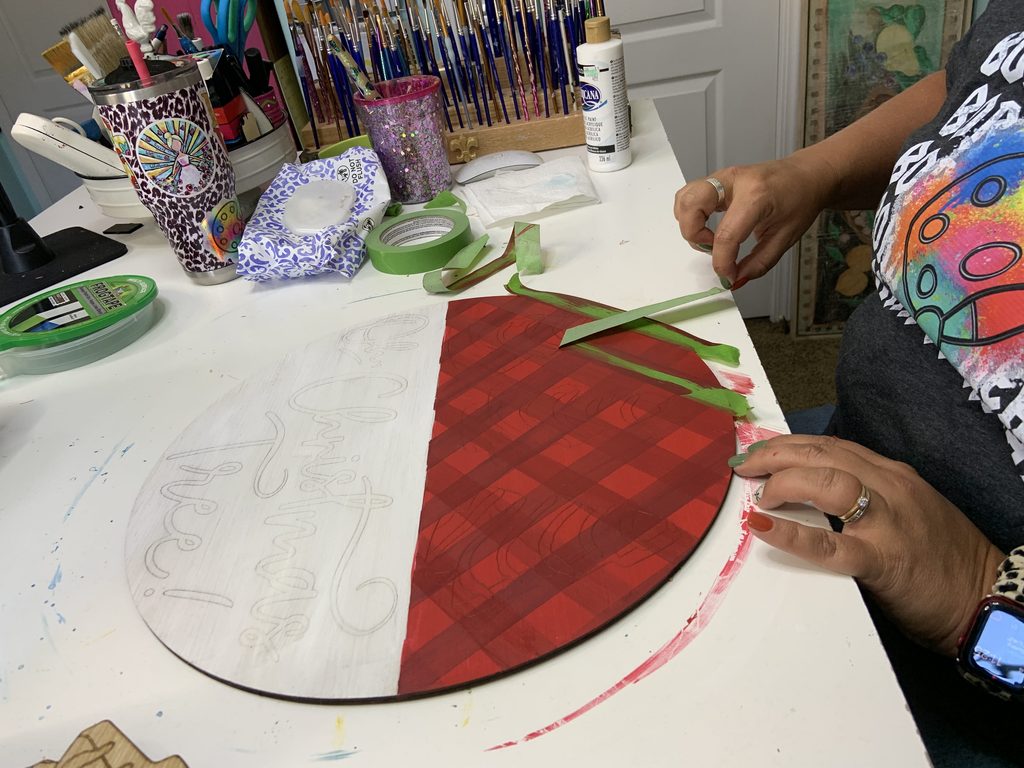
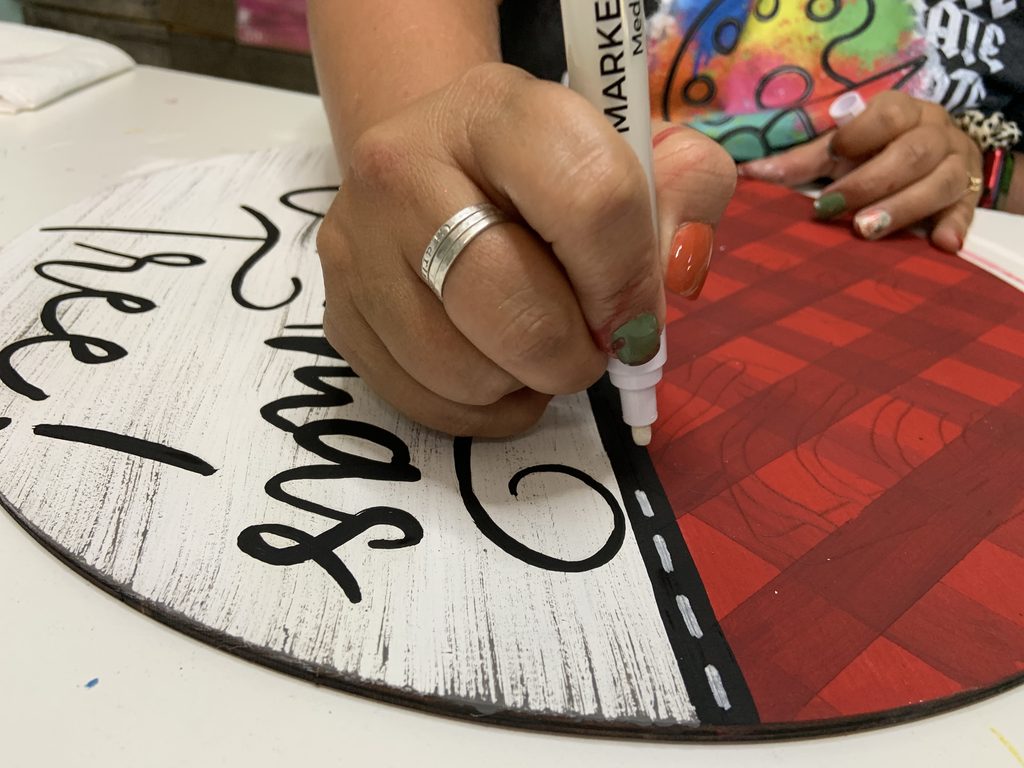
You could also use buffalo plaid with:
- Two shades of orange for fall pumpkins
- Red and pink for Valentine’s Day
- Blue and white for summer gingham
- Green tones for St. Patrick’s Day
Once you learn this technique, you’ll start seeing opportunities to use it everywhere!
My biggest tip: Make sure each painted layer is completely dry before applying your painter’s tape. This helps prevent peeling and keeps your plaid looking nice and clean.
I’ve got an entire blog post about how to create a buffalo plaid pattern if you want more ideas and helpful tips.
What Are the Best Christmas Painting Techniques for Beginners?
If you’re brand new to painting, my advice is to start with something simple.
Snow splattering and glitter paint are two of the easiest Christmas painting techniques because they don’t require precise brushstrokes or much experience.
Buffalo plaid is another great beginner-friendly option because painter’s tape helps create those straight lines for you.
And here’s something I always like to remind people of: You don’t have to use every technique on one project! Pick one or two finishing touches that complement your design.
For example, a Christmas tree door hanger might look adorable with a little textured snow on the branches and some glitter on the ornaments.
That’s plenty for now!
Ready to Make Something Beautiful This Christmas?
You don’t have to be naturally artistic to enjoy painting Christmas decorations. You just need a few supplies, a little guidance, and the willingness to try something new.
Sometimes your project is going to look a little funny halfway through. That’s when I want you to trust the process!
If you’re looking for cute wooden blanks, templates, and Christmas projects to paint, be sure to check out shopdoorhangers.com. We’re featuring special holiday deals, so it’s a great place to find your next creative project.

And if you’d love to keep learning new painting techniques alongside other women who enjoy crafting, I’d love to welcome you into the Painter’s Clubhouse.
It’s a place to learn, ask questions, make friends, and discover just how creative you really can be.
0 Comments