
Some of the links shared in this blog post are affiliate links. This means I make a small commission when you purchase through these links at no extra cost to you. All opinions and reviews shown are honest and my own. Thank you for supporting my small business!
Why is it that any time we try a new hobby, we feel like we need ALL the things before we begin? This is one of the biggest misconceptions I hear from women who want to start painting. And I’ve noticed that if they don’t have all the things, they don’t ever start.
The truth is, you don’t need everything — especially not fancy craft supplies — to start making beautiful door hangers.
In fact, I reach for the same basic supplies over and over. The same handful of paint colors. The same few brushes. The same basic supplies.
So if the cost of craft supplies — or the thought of figuring out what you really need — has kept you from trying door hanger painting, I want to make this feel a whole lot simpler.
Here are the must-have door hanger painting supplies for beginners versus what’s just nice to have.
You Don’t Need a Craft Room to Start Painting
I have a dedicated craft room today, but I didn’t start there. I started at my kitchen table. And honestly, your kitchen table, dining room table, folding table, or little corner of the house is plenty of space for your first door hanger.
You don’t need to wait until you have the perfect setup. Grab your supplies, protect your work surface, pour yourself something to drink, and make a little room to create.
You can always build a Pinterest-worthy craft room later!
Start With a Beginner-Friendly Wood Blank
Technically, you can learn to paint on all kinds of surfaces. But for beginners, I’m a big fan of painting on wood — especially a laser-etched door hanger blank.
Our Southern Adornments Decor blanks have the design lasered directly into the wood. That means the major details are already mapped out for you.


You aren’t staring at a completely blank surface wondering, “Okay…where in the world does the nose go?” You don’t have to know how to draw. You don’t have to freehand the entire design. You don’t even have to trace it! How easy is that?
You can focus on learning how to use your paint and brushes while the etched design acts almost like a roadmap. That takes away SO much of the intimidation beginners sometimes feel when they sit down to paint.
You Don’t Need Dozens of Paint Colors
I love paint. I have collected a LOT of it over the years. But you absolutely do not need a giant paint collection to start painting door hangers.
A small selection of versatile colors will take you much further than you might think.
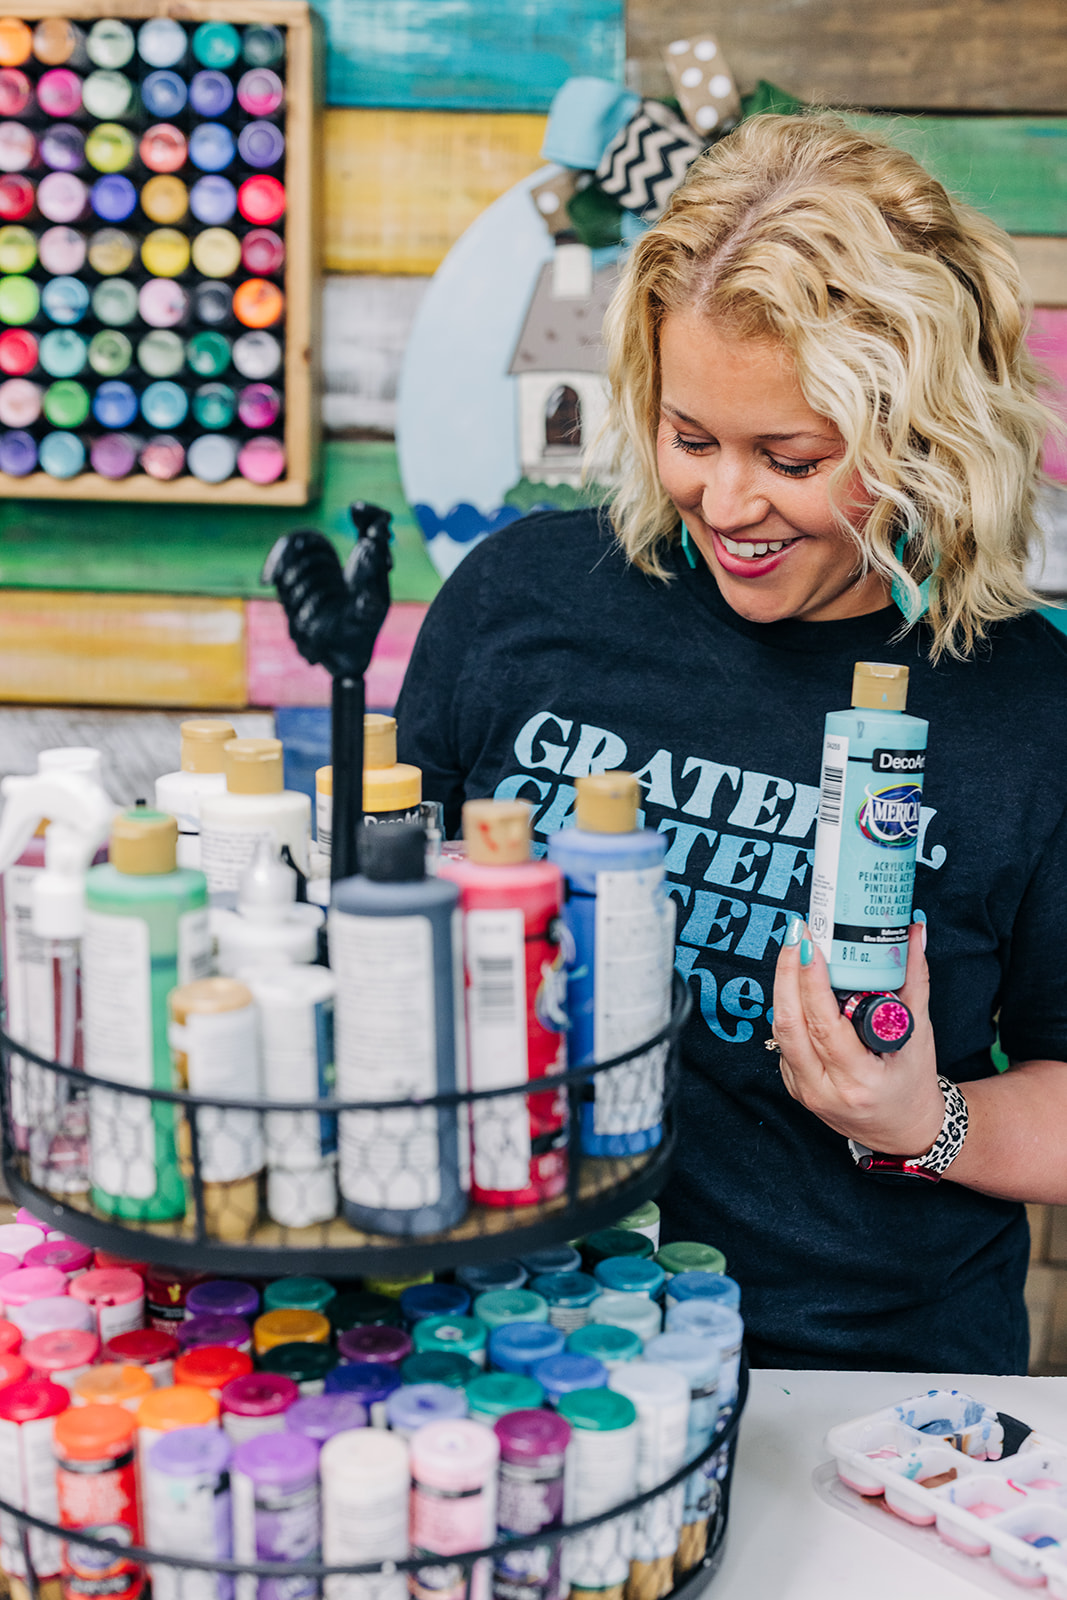
I personally use DecoArt Americana acrylic paint because I love the coverage and matte finish on wood. Matte paint also makes it easier for me to tell when a layer is dry because the wet areas still have a little shine to them.
If you’re building your first paint collection, focus on useful basics instead of buying every pretty shade you see.
You’ll want colors such as:
- Black and white
- A good red
- Yellow
- Blue or teal
- Green
- Pink
- Purple
- A few neutrals
From those basics, you can start mixing colors and slowly add new shades as you discover what you actually enjoy using.
And trust me…the paint collection will have plenty of opportunities to grow on its own. I also have a pack of favorite colors (and the basic ones available here) that you can use as a starting point!
Three Paint Brushes Can Take You a LONG Way
The brush aisle can make painting feel way more complicated than it actually is.
Round brushes. Flat brushes. Fan brushes. Rake brushes. Detail brushes. Angled brushes. Which ones do you actually need?
For beginner door hanger painting, I would start with just three:
- A larger flat brush for covering bigger sections of your wood blank.
- A smaller flat brush for filling in smaller areas and working around details.
- A small round-tip brush for outlines, details, and anything requiring a finer touch.

A basic inexpensive pack of nylon craft brushes will usually give you everything you need. Look for flexible bristles that spring back into place rather than worrying about buying professional or specialty brushes right away.
Once you’ve painted several projects, you’ll start figuring out which brush shapes and sizes YOU naturally reach for most.
Don’t Forget to Protect Your Finished Door Hanger
Once you’ve spent all that time painting something you’re proud of, you want to protect it! That’s where spray sealer comes in.

My favorite one is Aleene’s Gloss Finish Spray!
I like painting with matte acrylic paints and then adding a glossy spray sealer once the entire project is finished and completely dry.
Sealing your painted door hanger helps protect the finish from things like moisture, sunlight, scratches, and scuffs. It can also help protect your project while it’s packed away between seasons.
Learn more about how to seal your door hangers here →
Your “Paint Palette” Might Already Be in Your Kitchen
You don’t need a fancy artist palette either. A foam plate works great because it doesn’t absorb moisture from your paint as quickly as a traditional paper plate.
Don’t have one? Cover a regular plate with aluminum foil and put your paint on the foil. When you’re finished painting, cleanup is quick and easy.
You’ll also want a cup of water for rinsing brushes and a paper towel for removing excess water or paint.
See…nothing fancy required!
What Can Wait Until Later?
This is where craft shopping can get dangerous! There are SO many fun supplies out there, but there is a big difference between something being fun to have and something being necessary.
What can wait:
- Specialty brushes
- A heat tool to speed up drying
- A giant collection of paint markers
- Glitter paint
These are the items I see beginners reach for most often, and I just wish they knew they don’t need them to start.
How Much Does It Cost to Start Painting Door Hangers?
Your exact cost will depend on the wood blank and supplies you choose, but you can realistically put together a basic beginner door hanger painting setup for roughly $25 to $65.
And that’s just the starting point. Past that, you don’t have to buy much because your brushes, paint, and sealer spray can all be used for multiple projects.
For future projects, the main thing you’ll need is another wood blank, and occasionally a new paint color or replacement brush.
Start With What You Have
Before you head to the craft store, look around your house. You may already have a couple of bottles of acrylic craft paint from an old project. Maybe there are a few nylon brushes hiding in a drawer. You’ve probably got a cup, paper towel, plate, and aluminum foil.
Pull everything out and see what you’re missing. Then buy the gaps.
You don’t need to become a professional painter before you’re allowed to paint your first door hanger. You don’t need the perfect craft room or the perfect collection of supplies either!
You just need to begin.
Ready to Paint Your First Door Hanger With Me?
You don’t need a craft room full of supplies or years of painting experience to make something you’re proud to hang on your front door. You just need a place to start — and I’d love to help you do it!
Join me October 20 & 22 for the Merry & Bright Christmas Door Hanger Workshop, where I’ll walk you through painting an adorable Christmas tree door hanger.

Sign up for the workshop here →
The workshop is just $15, and I’ll guide you through the project step by step so you’re never left wondering what to do next. And if gathering supplies is the part that stresses you out, there’s an optional kit available to make getting started even easier.
Come paint with me and see just how much you can create when someone shows you the way!
0 Comments